 Save to Pinterest
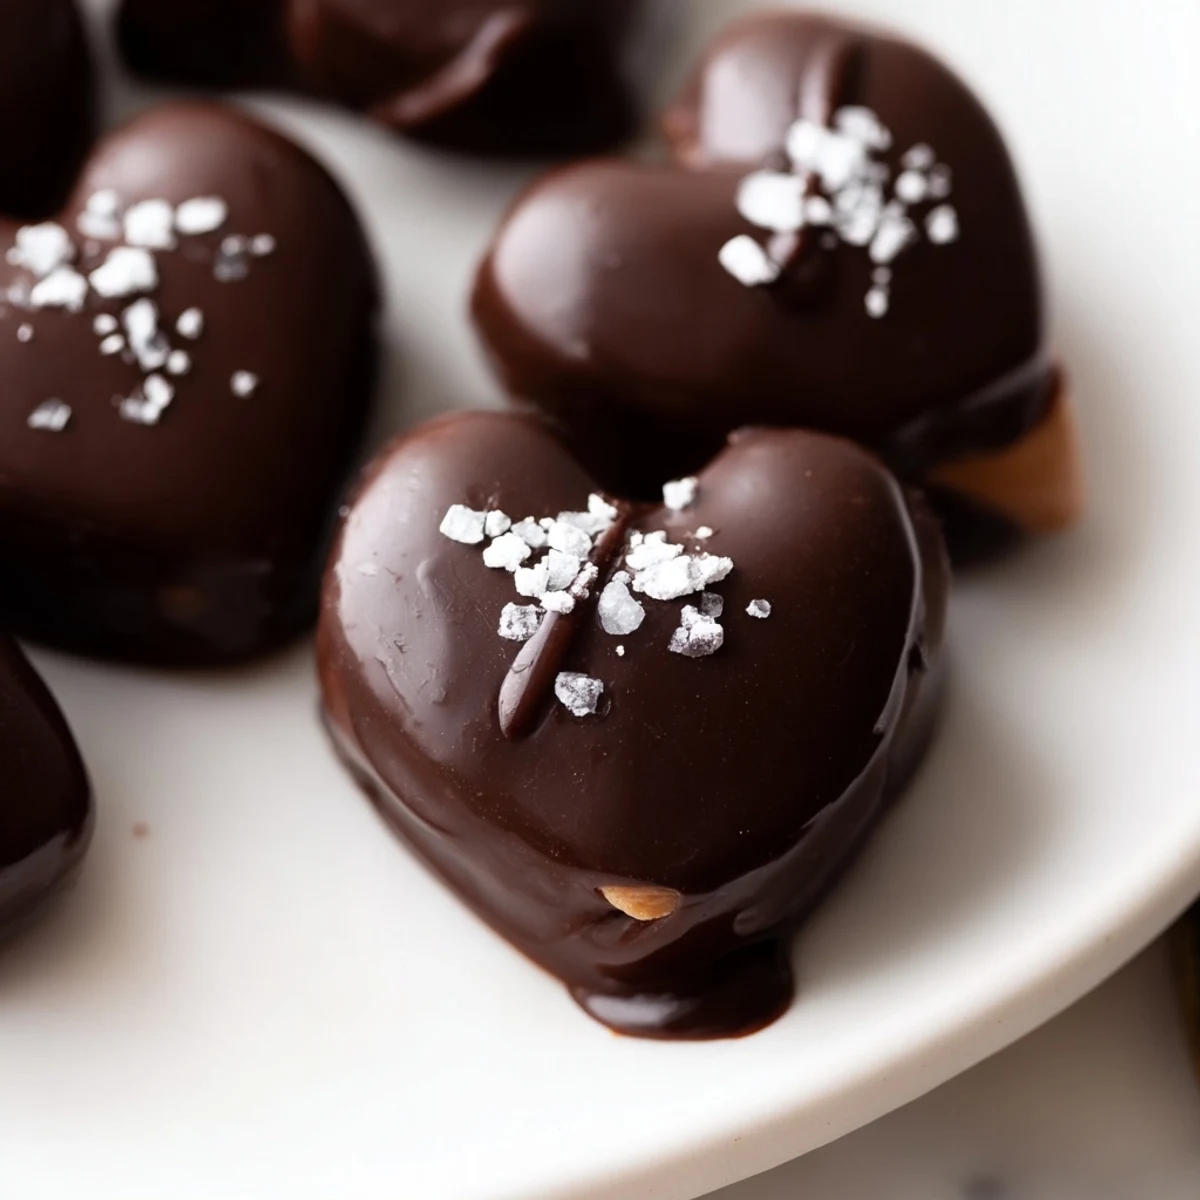
 These chocolate hearts feature a luscious peanut butter filling blended with buttery sweetness and a hint of vanilla. After shaping into small hearts and briefly freezing, each piece is dipped in smooth melted chocolate, creating a glossy coating. The no-bake method keeps preparation simple and quick, while chilling ensures a satisfying texture. Perfectly portioned and easy to store, they make an elegant, indulgent treat for celebrations or personal enjoyment. Variations include vegan substitutions and alternate chocolate types for customized flavor.
The first time I attempted chocolate-covered anything, I ended up with chocolate streaked across my forehead like war paint. My roommate walked in, took one look at me, and asked if I'd been fighting a cocoa bean. We both started laughing, and somehow those slightly lopsided hearts I'd made became our Valentine's Day tradition that year.
Last February, I made a double batch for my book club and watched grown women practically fight over the last heart. Someone admitted she'd been sneakily eating two before our meeting even started. Now they request them every month, Valentine's Day or not.
Ingredients
- 200 g semi-sweet or dark chocolate: I've learned that chopping a good quality bar gives smoother results than chips, which contain stabilizers that resist melting
- 1 tsp coconut oil: This tiny addition makes the coating thin enough to create that professional looking shell without seizing
- 120 g creamy peanut butter: Natural-style peanut butter works beautifully here, just give it a thorough stir first
- 40 g unsalted butter: Room temperature butter blends seamlessly into the filling without those annoying lumps
- 60 g powdered sugar: The filling needs just enough sweetness to balance the dark chocolate coating
- 1/2 tsp vanilla extract: Pure vanilla makes all the difference in the creamy center
- Pinch of salt: Don't skip this, it makes the peanut butter taste more peanut-buttery
Instructions
- Prep your workspace:
- Line a baking sheet with parchment paper and clear some space in your freezer now, or you'll be frantically rearranging frozen peas later like I did the first time.
- Make the filling:
- Beat peanut butter, softened butter, powdered sugar, vanilla, and salt until completely smooth, about 2 minutes.
- Shape your hearts:
- Scoop tablespoon portions and shape them with your hands, working quickly since the warmth makes them sticky.
- Chill thoroughly:
- Freeze for exactly 30 minutes, because warm filling will melt your chocolate coating into a disappointing puddle.
- Melt the chocolate:
- Use a heatproof bowl over simmering water or microwave in 30-second bursts, stirring until glossy and smooth.
- Dip each heart:
- Use a fork to lower each frozen heart into chocolate, lift it out, and tap gently against the bowl edge to remove excess.
- Add finishing touches:
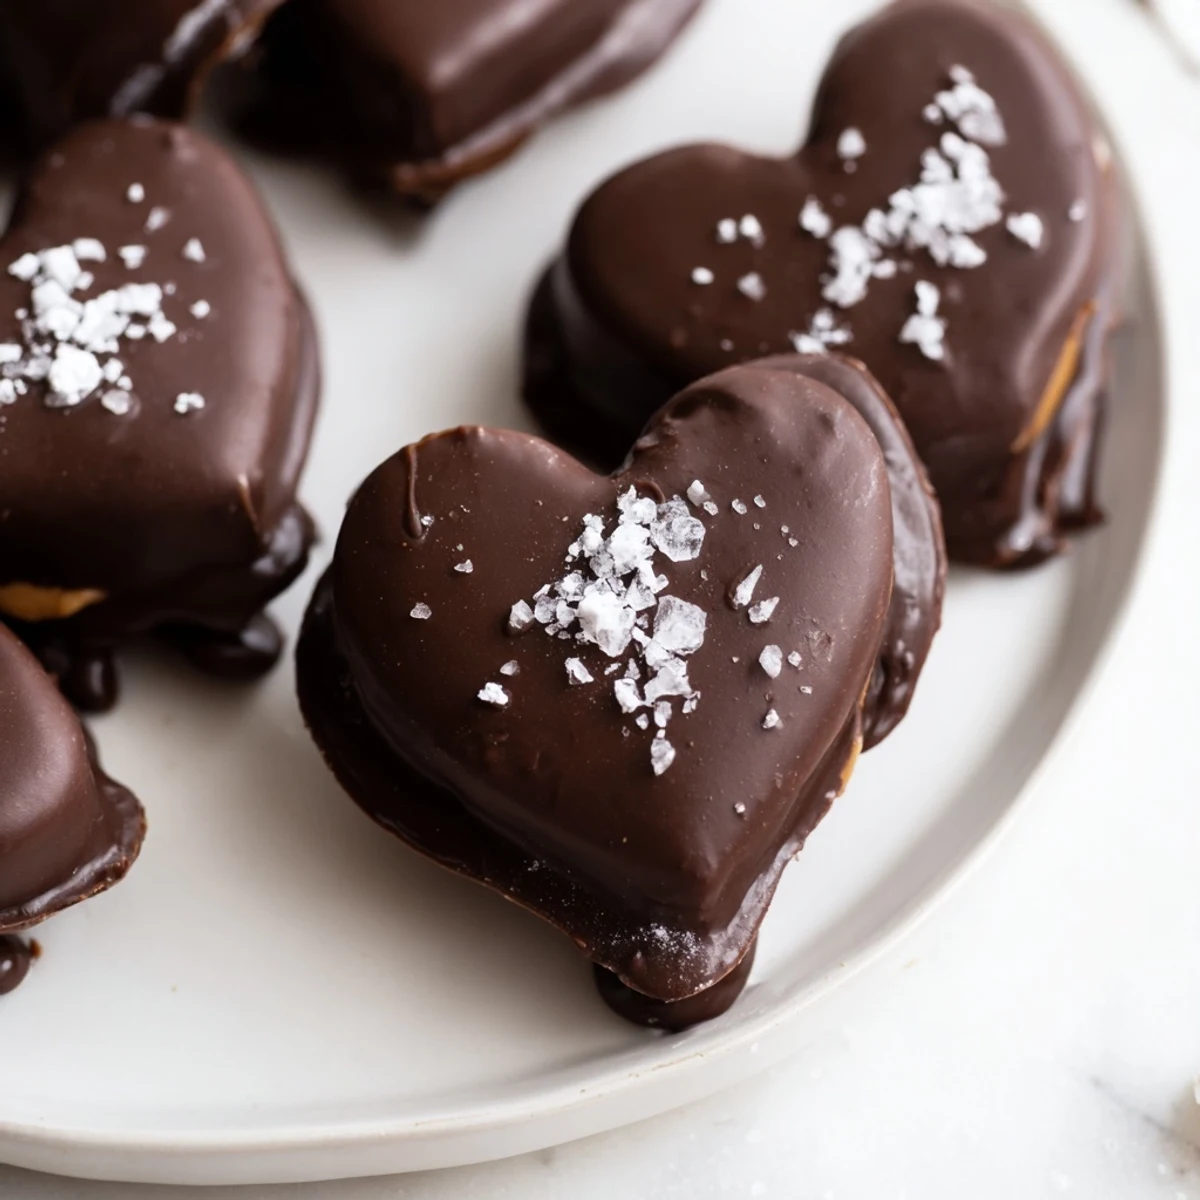
- While chocolate is still wet, sprinkle with sea salt or drizzle with extra chocolate for that artisanal look.
- Set completely:
- Refrigerate for 15-20 minutes until chocolate is firm to the touch.
- Store properly:
- Keep in an airtight container in the refrigerator for up to a week, if they last that long.
 Save to Pinterest
 My grandmother always said homemade candies were the most thoughtful gift because they show you're willing to get your hands sticky for someone. When I gifted these to her, she carefully arranged them on her best crystal plate and admitted she ate three before breakfast the next day.
Making Them Look Professional
The difference between amateur and professional-looking chocolates is often just temperature control. Work in a cool room and don't rush the chilling steps, because patience shows in every glossy, smooth-coated piece.
Flavor Variations
Sometimes I swap in almond butter and coat it in milk chocolate for a completely different experience that reminds me of those fancy European pralines. A tiny pinch of cinnamon in the filling creates warmth that surprises people.
Troubleshooting Your Chocolate
If your chocolate starts to thicken while dipping, simply warm it slightly. Working too slowly can cause the chocolate to cool and become difficult to work with.
- Keep your hands cold while shaping by running them under cold water periodically
- If chocolate seizes, whisk in a teaspoon of coconut oil to rescue it
- Practice your dipping technique with a spare piece of filling first
 Save to Pinterest
 There's something deeply satisfying about making candies that look like they came from a fancy shop but taste even better because they're made with real ingredients and real care.
Recipe Questions & Answers
- → How can I make the coating smoother?
-
Adding a small amount of coconut oil when melting the chocolate helps achieve a silky, even coating.
- → What is the best way to shape the filling?
-
Scoop the peanut butter mixture into small portions and form hearts by hand or use a small heart-shaped mold for uniform shapes.
- → Can I substitute crunchy peanut butter?
-
Yes, using crunchy peanut butter adds a pleasant texture contrast inside the smooth chocolate shell.
- → How long should the hearts be chilled before coating?
-
Freeze the shaped peanut butter hearts for about 30 minutes to firm up, making dipping much easier.
- → What storage conditions keep them fresh?
-
Store finished hearts in an airtight container in the refrigerator for up to one week to maintain freshness and texture.
- → Are there options for dietary preferences?
-
Yes, substituting dairy-free butter and vegan chocolate allows making this treat suitable for vegan diets.
