 Save to Pinterest
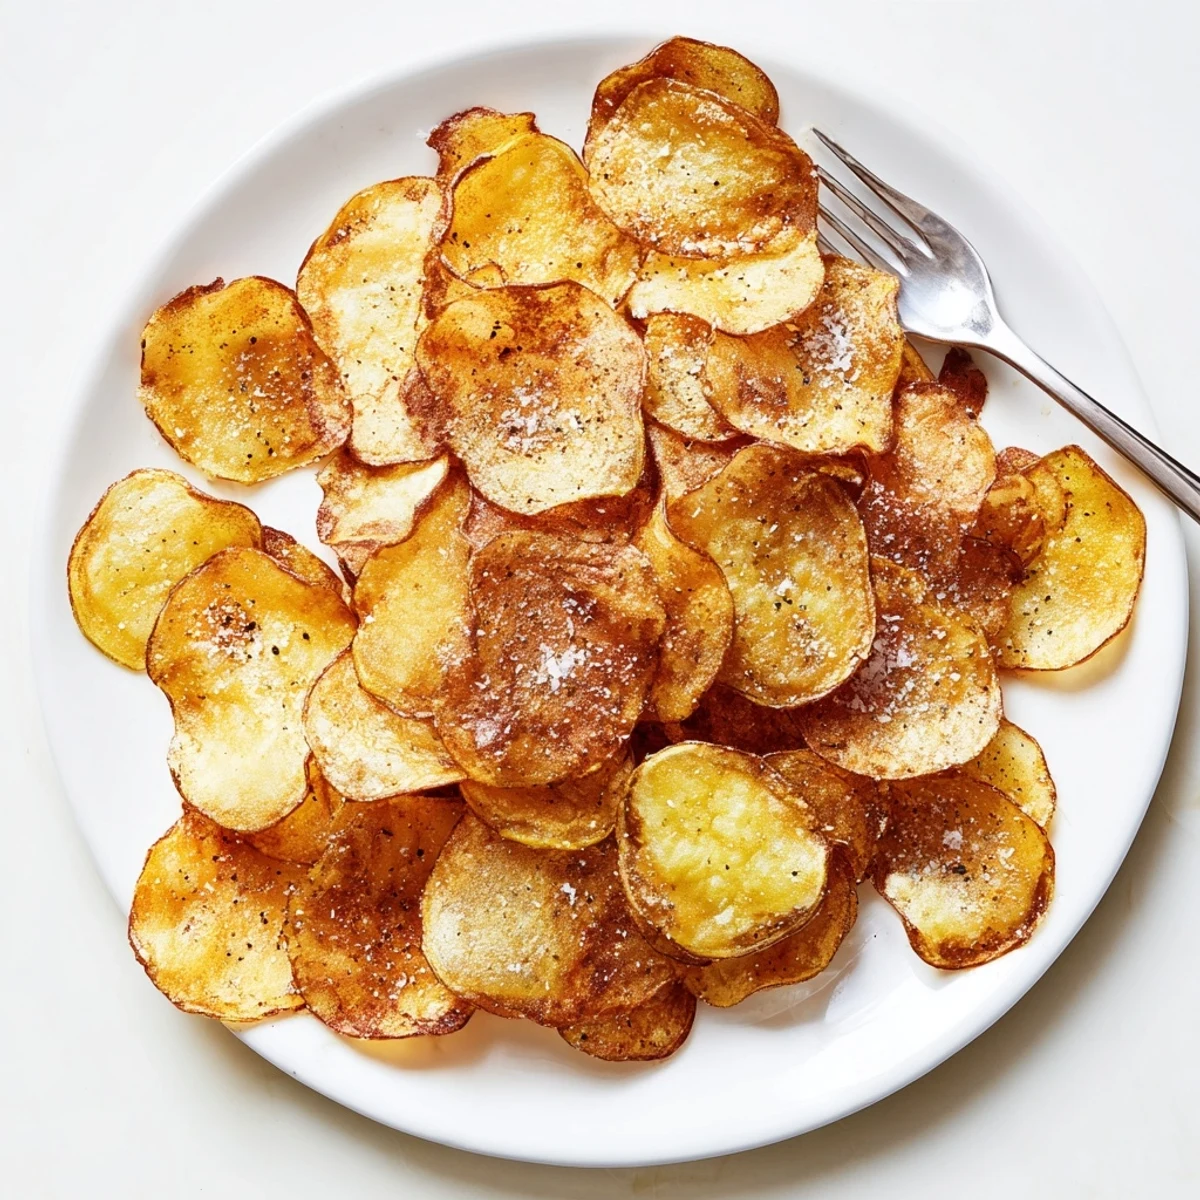
 Transform basic russet potatoes into golden, restaurant-quality chips with incredible crunch. The secret lies in thorough starch removal through rinsing and precise oil temperature control at 170°C. These homemade crisps deliver superior texture and flavor compared to store-bought versions, allowing complete control over seasoning and salt levels. Perfect for gatherings or as a satisfying snack any time.
Last summer my cousin bet me I couldn't make better chips than the local sandwich shop. Three burnt batches and one very smoky kitchen later, I finally understood what makes a chip truly exceptional. The secret has nothing to do with fancy equipment and everything to do with patience and water temperature. Now my family actually requests these over store-bought, which feels like the ultimate victory.
I made these for movie night with friends and we demolished an entire batch before the opening credits rolled. Someone actually asked if I'd bought them from a gourmet market, which might be the best compliment I've ever received in the kitchen. There's something magical about watching people's faces when they realize homemade chips can actually be this good.
Ingredients
- 4 medium russet potatoes: Russets have the perfect starch content and hold their shape beautifully when sliced thin
- 1 tsp fine sea salt: Season immediately while hot so the crystals cling to every nook and cranny
- ½ tsp freshly ground black pepper: Optional but adds a lovely subtle warmth that balances the salt
- 1 L vegetable oil: Sunflower or canola oil has a neutral flavor that lets the potato shine through
Instructions
- Slice the potatoes:
- A mandoline creates perfectly uniform slices but a sharp knife and steady hand work just as well
- Rinse and dry thoroughly:
- This removes surface starch that can make chips soggy and ensures even crisping
- Heat the oil:
- The oil must reach proper temperature so chips fry rather than soak and become greasy
- Fry in small batches:
- Crowding the pan drops the oil temperature and prevents that satisfying crunch
- Season immediately:
- The heat helps salt and pepper adhere while any residual oil is still present
- Cool completely:
- They continue crisping as they cool and reach their peak texture at room temperature
 Save to Pinterest
 My nephew declared these better than any restaurant chips he'd ever tasted and proceeded to eat three bowls worth during a single visit. That's when I realized this recipe had become something special in our family's kitchen rotation.
Getting the Perfect Thickness
Thin slices create that delicate shatter while slightly thicker ones yield a heartier crunch. I prefer somewhere in the middle because it gives you both qualities in every bite.
Mastering the Oil Temperature
If the oil is too cool the chips absorb oil and turn soggy. If it's too hot they burn before crisping through. That sweet spot around 170°C makes all the difference between homemade chips that disappoint and ones that dazzle.
Customizing Your Seasonings
The basic salt and pepper combination is timeless but this recipe happily welcomes creative experimentation.
- Smoked paprika adds incredible depth without being overwhelming
- A dusting of garlic powder right after frying creates an addictive savory snack
- Everything bagel seasoning transforms these into something entirely new and exciting
 Save to Pinterest
 Once you taste these fresh from the pan you might find it hard to go back to store-bought chips again.
Recipe Questions & Answers
- → Why rinse potato slices before frying?
-
Rinsing removes excess starch from potato surfaces, preventing chips from sticking together while frying and ensuring maximum crispiness. The cold water bath also helps firm up the potato texture for better results.
- → What's the ideal oil temperature for frying?
-
Maintain oil at 170°C (340°F) for optimal results. Too cool and chips absorb excess oil becoming soggy, too hot and they burn before cooking through. A kitchen thermometer ensures consistent temperature throughout frying.
- → How thin should I slice the potatoes?
-
Slice potatoes 1-2 mm thick for perfect chips—paper-thin but sturdy enough to handle. A mandoline slicer produces the most consistent results, though a sharp knife and steady hand work well too.
- → Can I bake these instead of frying?
-
While possible, baking produces different texture—less crispy and more like baked potato slices. For authentic chip experience, deep frying delivers the signature crunch and golden color that makes these irresistible.
- → How long will homemade chips stay fresh?
-
Properly cooled chips stored in airtight containers remain crispy for 2-3 days. Any moisture exposure causes sogginess, so ensure complete cooling before storing. Add paper towels in container to absorb residual moisture.
- → What seasonings work best?
-
Classic sea salt creates the perfect foundation. Enhance with smoked paprika, garlic powder, onion powder, or chili powder immediately after frying while hot—seasonings adhere better to warm surfaces.
