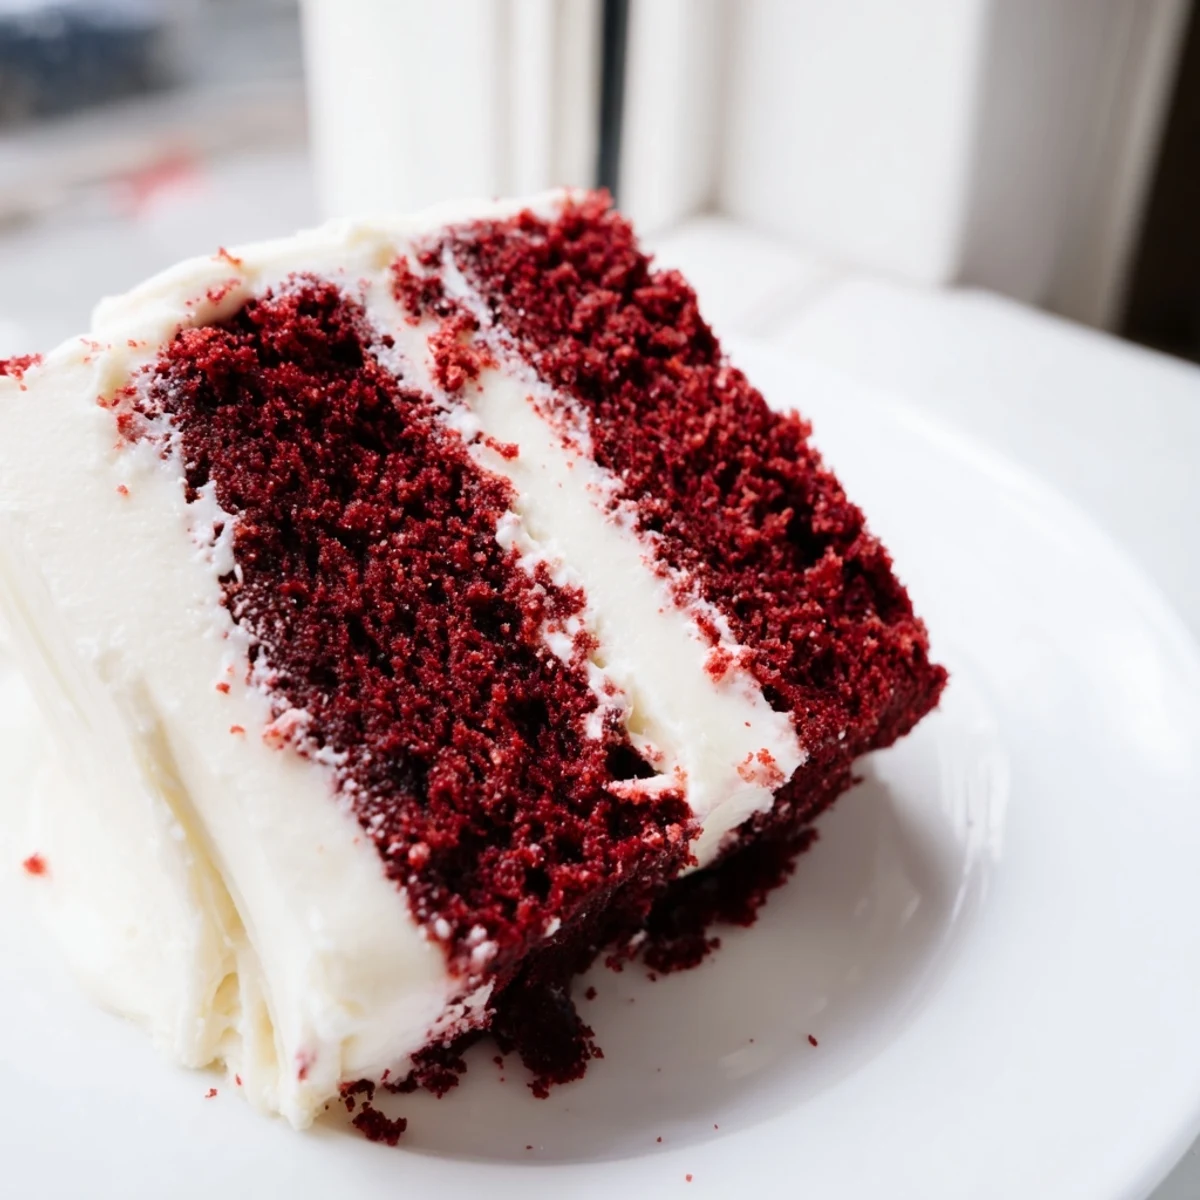
 Save to Pinterest
 This classic American dessert features two tender, moist red velvet layers with a hint of cocoa. The vibrant crimson color comes from food coloring, while buttermilk and vegetable oil ensure exceptional texture. Top it with fluffy cream cheese frosting for the perfect sweet-tangy finish. Ready in just one hour, this stunning cake serves twelve and works beautifully for birthdays, weddings, holidays, or any special gathering. The batter comes together quickly, and the frosting whips up in minutes.
The first time I attempted red velvet cake, I accidentally used gel food coloring instead of liquid and ended up with a batter so vibrantly crimson it looked like something from a science experiment. My kitchen counter was permanently stained pink for weeks, but that cake taught me that the color really does matter somehow—it makes the velvet texture feel more real. Since then I have learned that the magic is in that tiny bit of cocoa powder, just enough to hint at chocolate without announcing itself. Now I make this recipe whenever I need something that looks impressive but tastes even better.
Last Valentine's Day I baked three of these cakes in one afternoon because everyone who heard I was making it suddenly needed a red velvet cake in their life. My apartment smelled like warm vanilla and butter for hours. By the time I delivered the last one, I had learned that this cake has a strange way of making ordinary moments feel special. The friend who received the final cake texted me at midnight to say it was gone already.
Ingredients
- All-purpose flour: The backbone of the cake, providing structure while staying tender
- Granulated sugar: Sweetness that balances the slight tang from buttermilk
- Baking soda: Essential for the lift, reacting with the buttermilk and vinegar
- Fine salt: Enhances all flavors and prevents the cake from tasting flat
- Unsweetened cocoa powder: Just enough to give depth without turning this into chocolate cake
- Vegetable oil: Keeps the cake moist for days, unlike butter which can firm up when chilled
- Buttermilk: Adds tenderness and a subtle tang that makes red velvet distinctive
- Large eggs: Room temperature eggs incorporate better and help the cake rise properly
- Red food coloring: The signature color that somehow makes the cake taste more luxurious
- Vanilla extract: Rounds out the flavors and complements both the cocoa and cream cheese
- White vinegar: Reacts with baking soda for extra tenderness and brightness
- Cream cheese: Full fat and softened to room temperature makes the silkiest frosting
- Unsalted butter: Softened butter blends seamlessly into the cream cheese
- Powdered sugar: Sift it first to avoid lumps in your perfectly smooth frosting
Instructions
- Prepare your cake pans:
- Grease two 9-inch round pans thoroughly with butter or oil, then dust with flour, tapping out any excess. This simple step prevents heartbreak later when you try to remove the cakes.
- Whisk the dry ingredients:
- In a medium bowl, sift together the flour, sugar, baking soda, salt, and cocoa powder until everything is evenly distributed. Sifting aerates the flour and prevents lumps in your final batter.
- Combine the wet mixture:
- Whisk together the oil, buttermilk, eggs, food coloring, vanilla, and vinegar in a large bowl until completely smooth. The mixture will look vibrant and slightly thick.
- Make the batter:
- Gradually add the dry ingredients to the wet ingredients, mixing gently until no flour streaks remain. Be careful not to overmix, as this can make the cake tough.
- Bake the layers:
- Divide the batter evenly between the prepared pans and bake at 350°F for 28 to 30 minutes. The cakes are done when a toothpick inserted in the center comes out clean.
- Cool completely:
- Let the cakes rest in their pans for 10 minutes, then turn them out onto a wire rack. Cooling completely prevents the frosting from melting into a sad puddle.
- Make the frosting:
- Beat softened cream cheese and butter until absolutely smooth, then gradually add sifted powdered sugar. Finish with vanilla and a pinch of salt, beating until light and fluffy.
- Frost the cake:
- Place one layer on your serving plate and spread a generous layer of frosting on top. Add the second layer and frost the top and sides, then chill for 30 minutes before slicing.
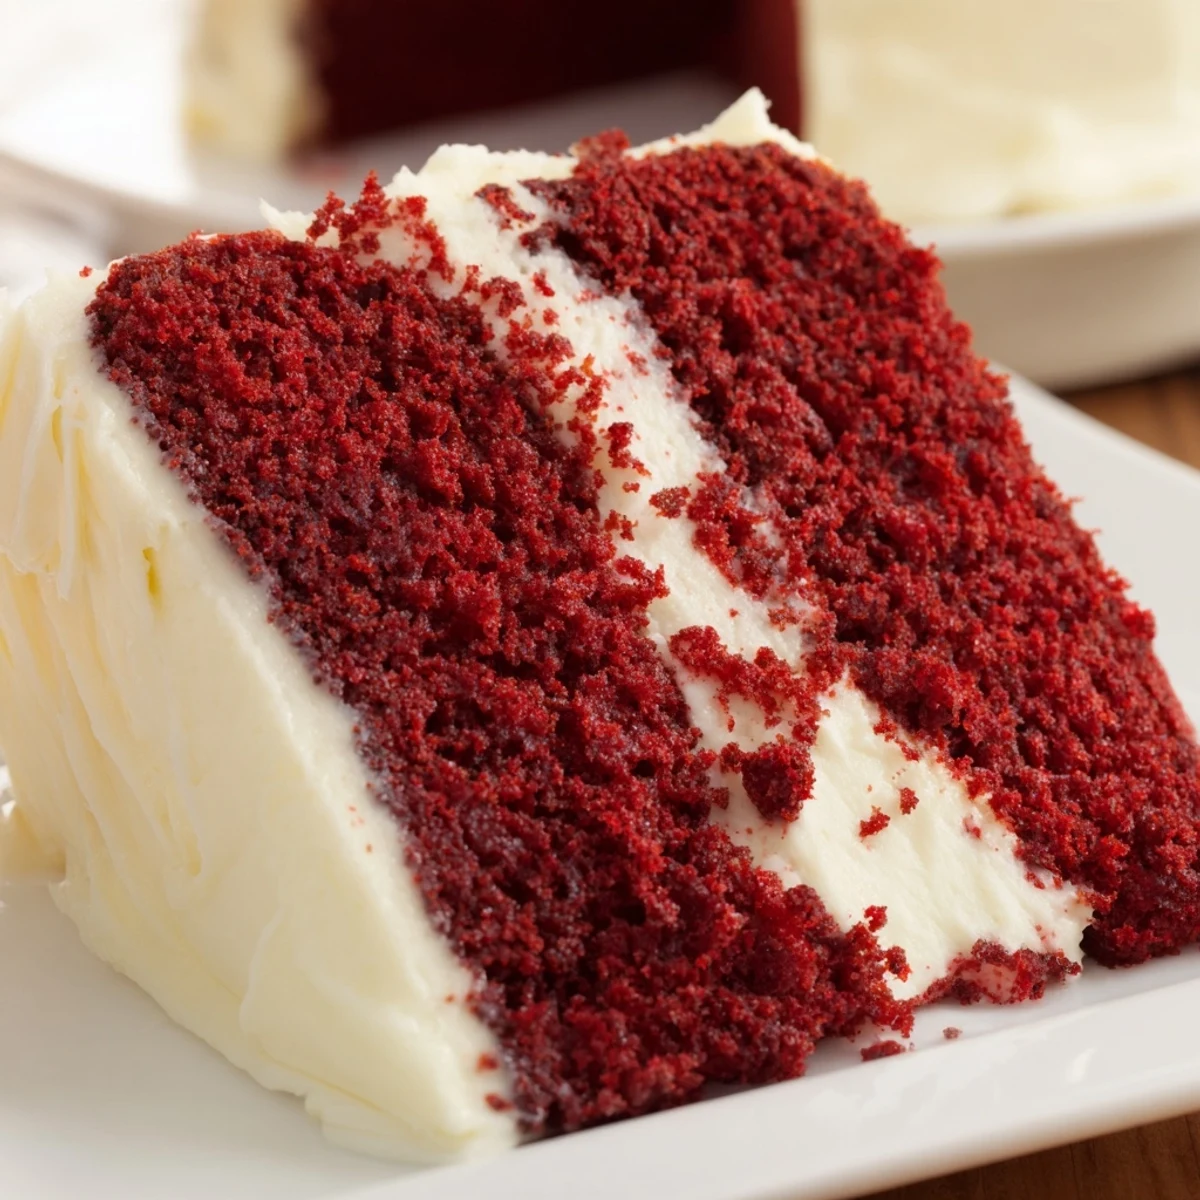
 Save to Pinterest
 This cake has become my go-to for birthdays because the look of delighted surprise never gets old. I once brought it to a potluck where no one knew I baked, and suddenly everyone wanted my secret recipe. Watching people debate whether the best part was the cake or the frosting is the kind of kitchen moment that keeps me baking.
Getting The Perfect Red Color
Gel food coloring will give you a more intense red with less liquid, which can affect your batter consistency. If you only have liquid coloring, do not worry, just use a full tablespoon as the recipe calls for. The color will deepen slightly as the cake bakes, so do not panic if the batter looks less vibrant than you expected.
Making The Frosting Silky Smooth
Cold cream cheese will create lumps that no amount of mixing can fix, so let both the cream cheese and butter sit out for a full hour. Sifting the powdered sugar might seem like an unnecessary step, but it makes the difference between grainy frosting and something luxurious. If your frosting becomes too soft while frosting the cake, pop the whole thing in the fridge for 15 minutes to firm it up again.
Storing And Serving
This cake actually improves after a day in the refrigerator as the flavors meld and the moisture distributes evenly. Keep it covered, and bring slices to room temperature for the best texture and flavor. The frosted cake will keep for up to five days if you can resist eating it all sooner.
- Use a hot knife to slice clean, professional looking servings
- Add a teaspoon of espresso powder to the frosting for subtle depth
- Press cake crumbs into the sides for a professional bakery finish
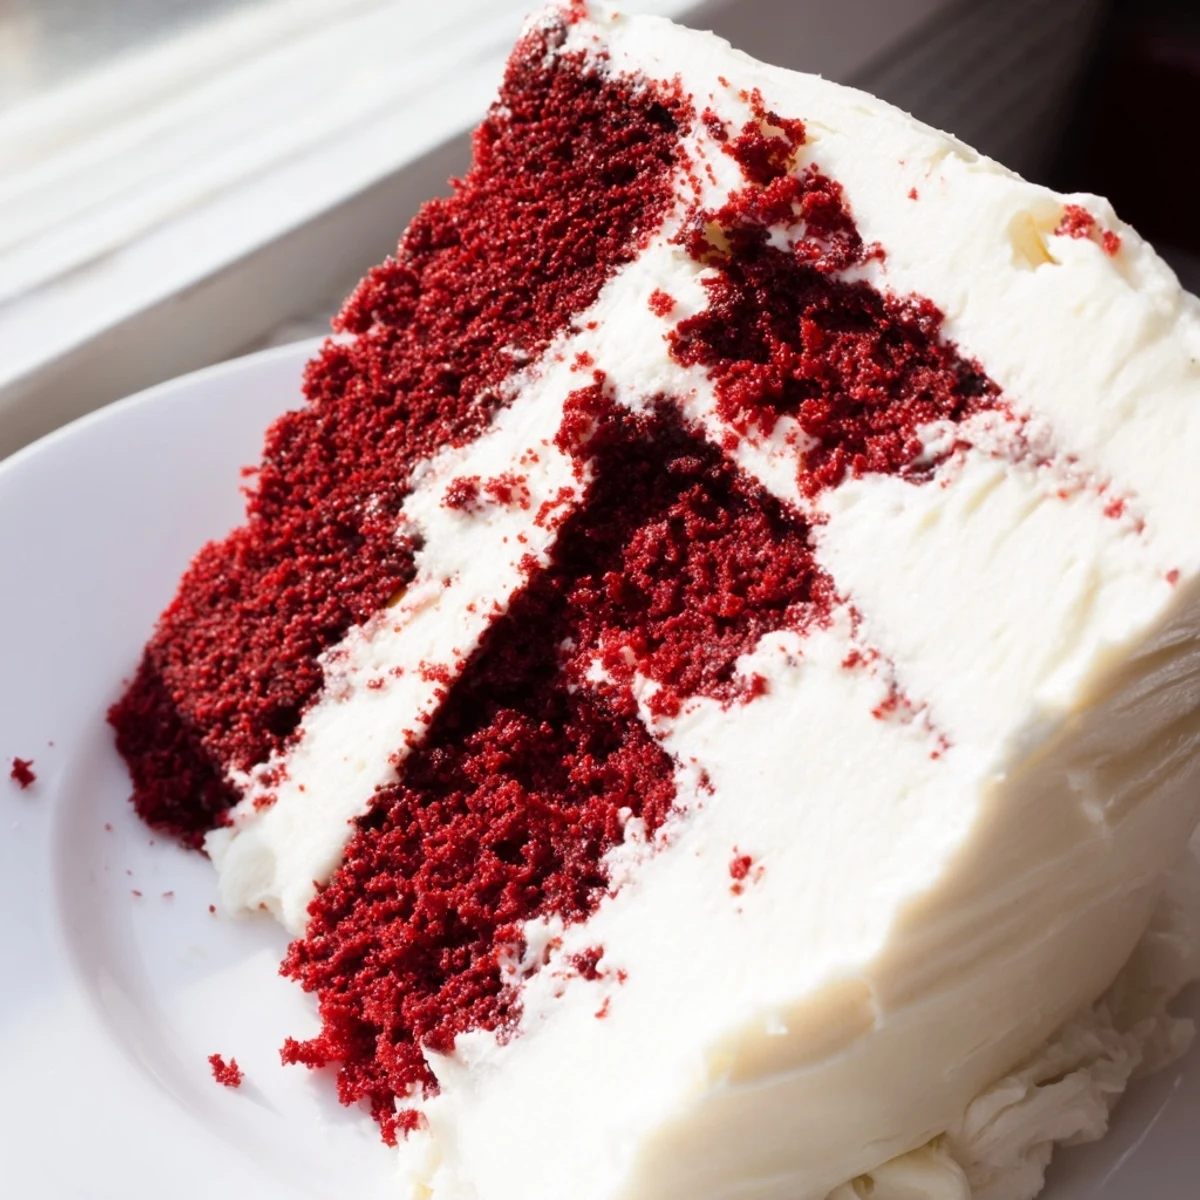
 Save to Pinterest
 There is something almost magical about cutting into that red velvet cake and seeing the contrast between the crimson crumb and snowy white frosting. Hope this recipe becomes as beloved in your kitchen as it is in mine.
Recipe Questions & Answers
- → Why is my red velvet cake dry?
-
Overbaking is the most common cause. Check for doneness at 28 minutes and remove once a toothpick comes out clean. Using room-temperature ingredients and proper measuring also ensures moisture.
- → Can I make red velvet cake ahead of time?
-
Yes! Wrap cooled cake layers tightly in plastic and refrigerate for up to 2 days before frosting. You can also freeze unfrosted layers for up to 3 months. Thaw overnight before assembling.
- → What makes red velvet cake different from chocolate cake?
-
Red velvet has much less cocoa than traditional chocolate cake, resulting in a subtle chocolate flavor. The buttermilk and vinegar create a tender, velvety crumb, while cream cheese frosting provides the classic tangy finish.
- → How do I get the best red color?
-
Use high-quality gel or liquid food coloring. Natural options like beet juice work but may alter flavor slightly. Two tablespoons typically yield a vibrant red. Cocoa can darken the color, so don't exceed one tablespoon.
- → Can I use butter instead of oil?
-
Vegetable oil is recommended for moisture and tenderness. Butter creates a firmer texture. If substituting, use melted butter and expect a slightly denser crumb. The oil method produces the classic velvety texture.
- → How should I store frosted red velvet cake?
-
Refrigerate due to the cream cheese frosting. Cover loosely with plastic wrap or a cake dome. It keeps well for 4-5 days. Bring to room temperature 30 minutes before serving for the best flavor and texture.
