 Save to Pinterest
 Making homemade yogurt is surprisingly simple and requires only two ingredients: whole milk and a small amount of plain yogurt with active cultures. The process involves gently heating milk to 85°C, cooling it to around 43–45°C, mixing in the starter, and then letting it incubate in a warm spot for 8 to 12 hours.
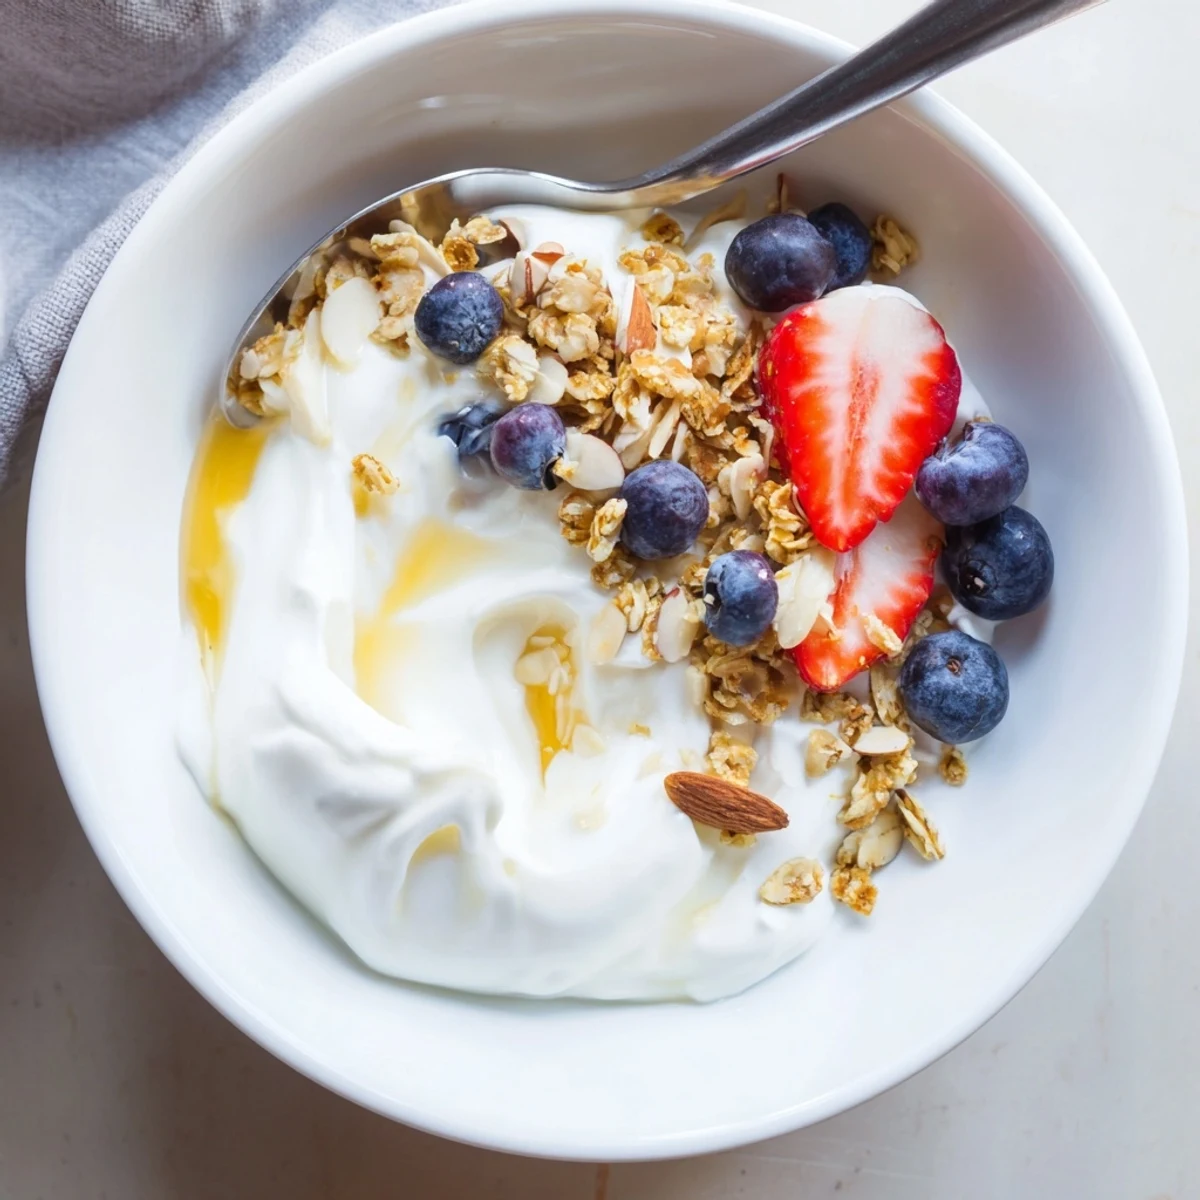
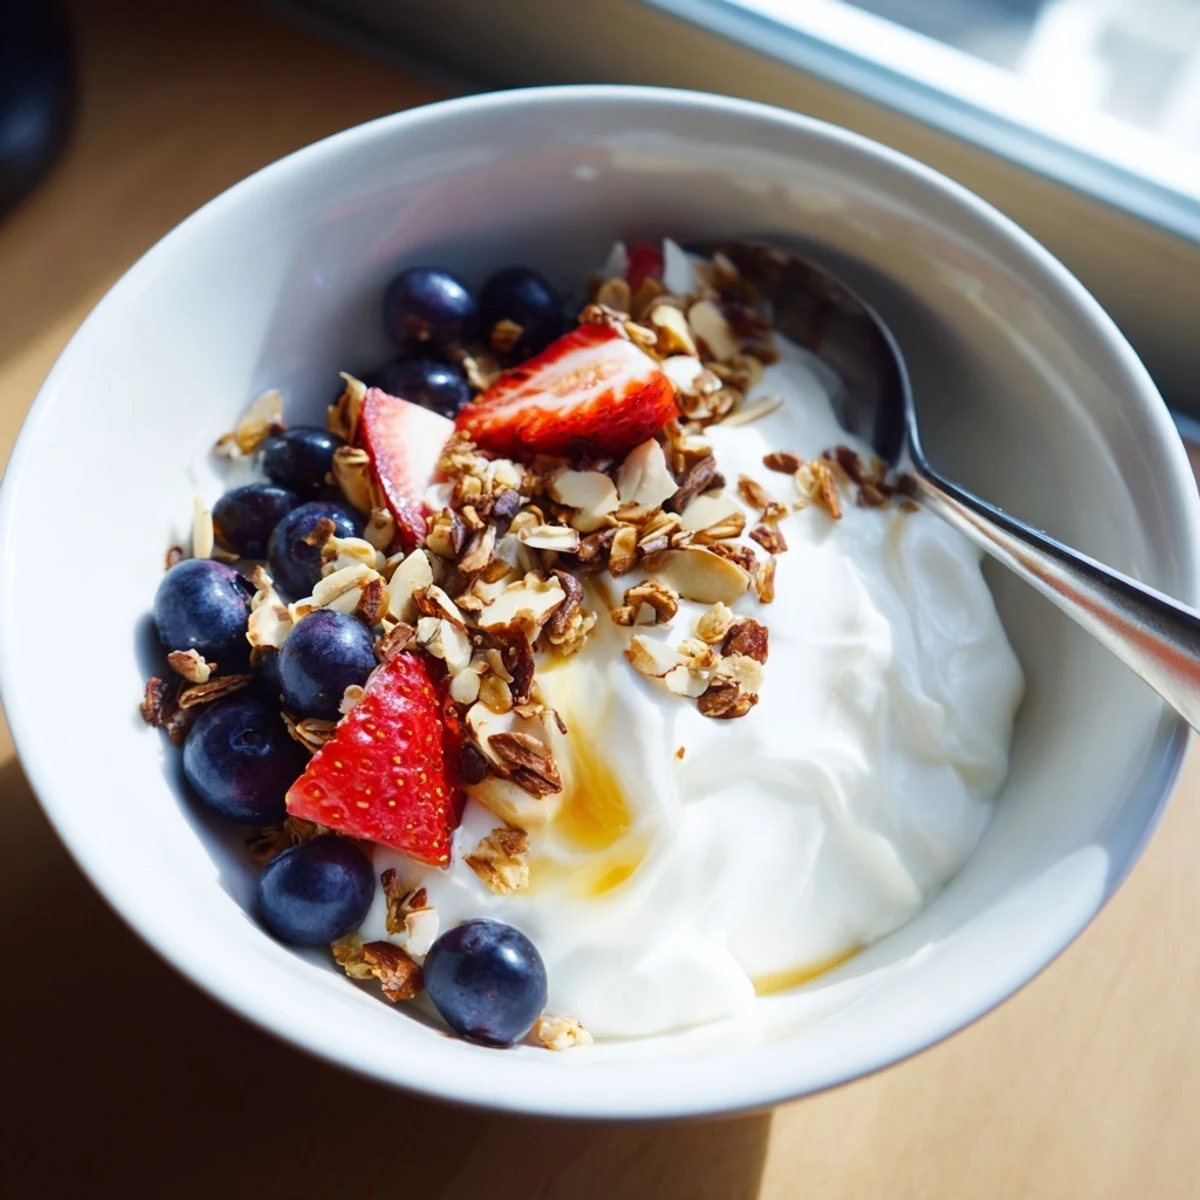
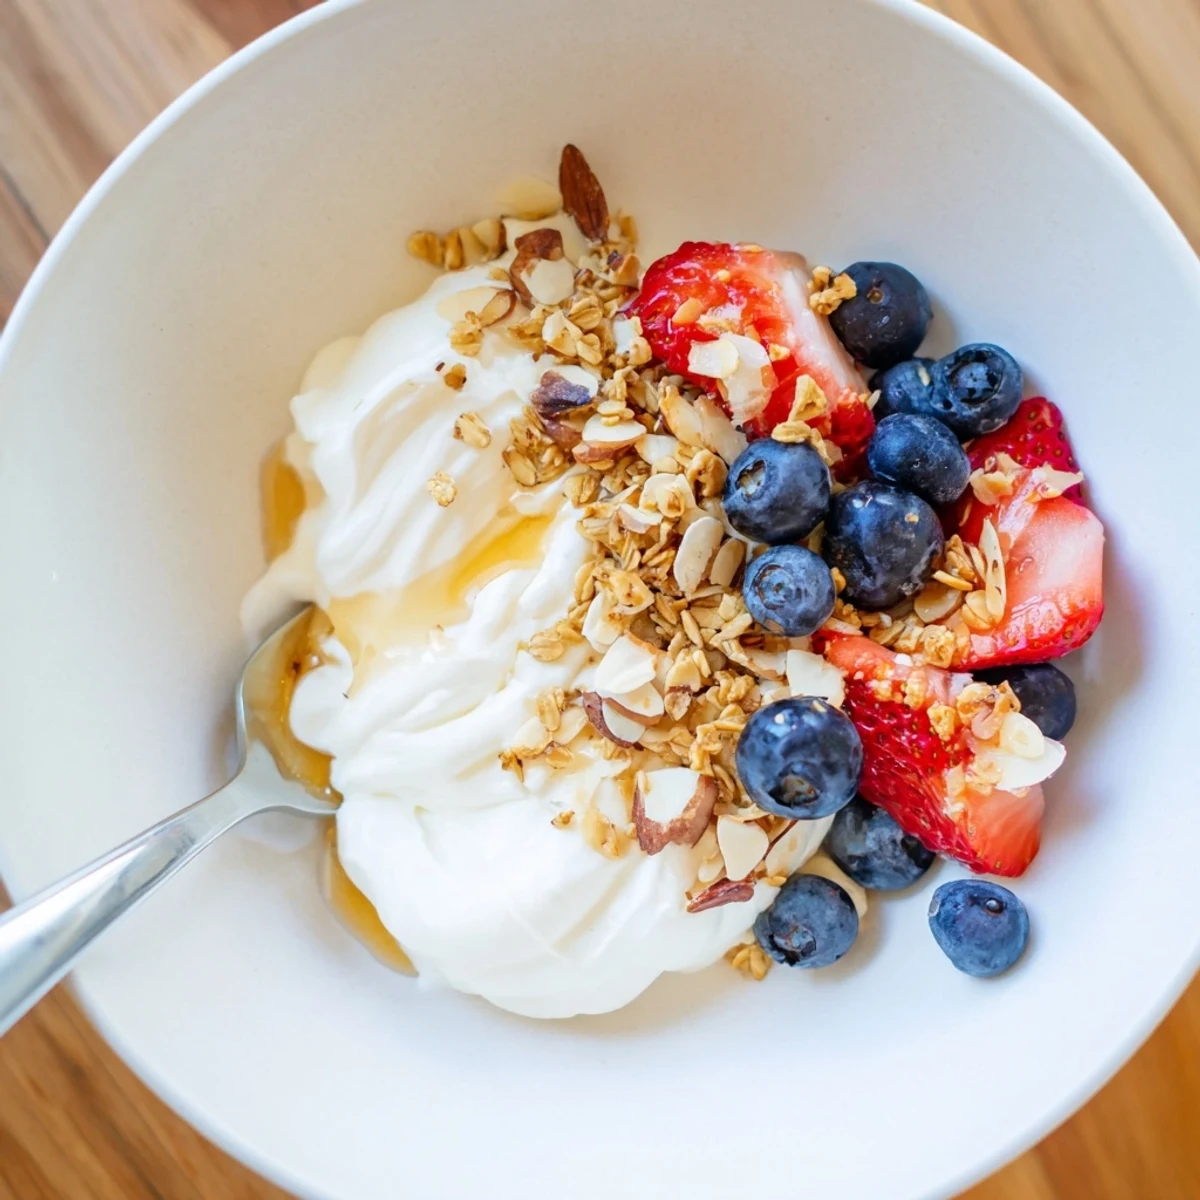
The result is a creamy, tangy yogurt that can be enjoyed on its own, topped with fresh fruit and honey, or used as a base for dips, sauces, and marinades. Once you make your first batch, you can save a portion to use as starter for the next one, making this an endlessly sustainable kitchen staple.
My kitchen smelled like warm mornings at my grandmothers house the afternoon I finally cracked homemade yogurt. She never measured anything, just poured and stirred and waited with the kind of patience I have never possessed. I stood at her elbow once, watching her test the milk temperature on her wrist like a bottle for a baby. That small gesture taught me more about cooking than any cookbook ever has.
I ruined my first batch by rushing the cooling step and scalding the cultures alive. My friend Sara laughed so hard she cried when I described the resulting sad watery mess.
Ingredients
- Whole milk: One liter of whole milk gives you the richest, creamiest result and whole milk produces a yogurt that coats your spoon like velvet.
- Plain yogurt with active cultures: Two tablespoons of a good quality plain yogurt with live cultures serves as your starter so check the label to make sure it lists live active cultures.
Instructions
- Warm the milk gently:
- Pour the milk into a saucepan and heat it over medium warmth, stirring now and then so the bottom does not scorch, until it reaches 85 degrees Celsius. Keep a thermometer handy because you want to coax the milk to temperature, not punish it.
- Cool to the sweet spot:
- Take the pot off the heat and let the milk fall to about 43 to 45 degrees Celsius. This is the temperature where the cultures feel welcome and ready to work their magic.
- Mingle the starter:
- Spoon the starter yogurt into a small bowl and whisk in a few tablespoons of the cooled milk until the mixture is completely smooth with no lumps hiding in the corners.
- Unite everything:
- Pour the thinned starter back into the pot of cooled milk and stir gently but thoroughly so the cultures are evenly distributed throughout every drop.
- Find a warm home:
- Transfer the mixture into a clean container or divide it among individual jars and cover them loosely. Place them in a warm spot like an oven with the light switched on and walk away.
- Wait and trust:
- Let the yogurt incubate undisturbed for 8 to 12 hours until it sets to the consistency and tang level you prefer. The longer you wait the sharper it becomes so taste test one jar if you are curious.
- Chill before serving:
- Move the yogurt to the refrigerator for at least two hours which helps it firm up and develop its final creamy texture. Cold yogurt fresh from your own kitchen is a quietly triumphant thing.
 Save to Pinterest
 I started saving a spoonful from each batch to start the next one and somehow that small ritual made the whole process feel like a conversation between past and present kitchens.
Choosing Your Milk Matters
Whole milk will always give you the creamiest bowl but low fat works too if you prefer a lighter result. Just know that lower fat means a thinner, more delicate yogurt that might benefit from straining.
Finding the Right Warm Spot
A yogurt maker is foolproof but a turned off oven with the light on works beautifully if you do not have one. I have also wrapped jars in a towel and tucked them near a warm radiator during winter with decent success.
Serving and Storing Your Yogurt
Keep your yogurt refrigerated and enjoy it within a week for the best flavor and texture. It makes a wonderful breakfast topped with fresh fruit and honey but it is equally at home stirred into a curry or served alongside flatbread.
- Always save a few tablespoons of your homemade yogurt to use as the starter for your next batch.
- A drizzle of honey and a handful of granola turns a simple bowl into something special.
- Dairy free versions are possible with plant based milk but you will need a dairy free starter specifically designed for them.
 Save to Pinterest
 There is something deeply satisfying about opening the fridge and seeing jars of yogurt you made yourself. It is a small act of self reliance that tastes like quiet accomplishment.
Recipe Questions & Answers
- → What type of milk works best for homemade yogurt?
-
Whole milk produces the thickest, creamiest yogurt with the richest flavor. Low-fat milk also works but will yield a thinner consistency. Avoid ultra-pasteurized milk if possible, as the high-heat processing can affect the culture's ability to set properly.
- → Why does the milk need to be heated to 85°C first?
-
Heating the milk to 85°C (185°F) denatures the proteins, which helps the yogurt thicken and set properly during incubation. It also kills off any competing bacteria that might interfere with the active cultures. Be careful not to let the milk boil.
- → How do I maintain a warm environment for incubation?
-
There are several effective methods: a turned-off oven with the interior light on, a dedicated yogurt maker, a warm spot near a heater, or wrapping the container in towels and placing it in a insulated cooler. The key is maintaining a temperature around 40–45°C for the full 8 to 12 hours.
- → Can I make yogurt without a kitchen thermometer?
-
While a thermometer ensures accuracy, you can estimate temperatures by sight and touch. The milk should be steaming and form small bubbles around the edges at 85°C. For the cooling stage, 43°C feels warm to the touch but not hot — similar to bath water. A thermometer is still recommended for consistent results.
- → How can I make my homemade yogurt thicker?
-
For a Greek-style consistency, strain the finished yogurt through a cheesecloth or fine mesh strainer for several hours in the refrigerator. The longer you strain, the thicker it becomes. You can also add powdered milk during the heating step to boost protein content and thickness.
- → How long does homemade yogurt last in the refrigerator?
-
Properly stored in a sealed container, homemade yogurt stays fresh for up to one week. Always use a clean spoon when scooping to avoid introducing bacteria. If you notice off smells, mold, or excessive separation, it's best to discard it.
