 Save to Pinterest
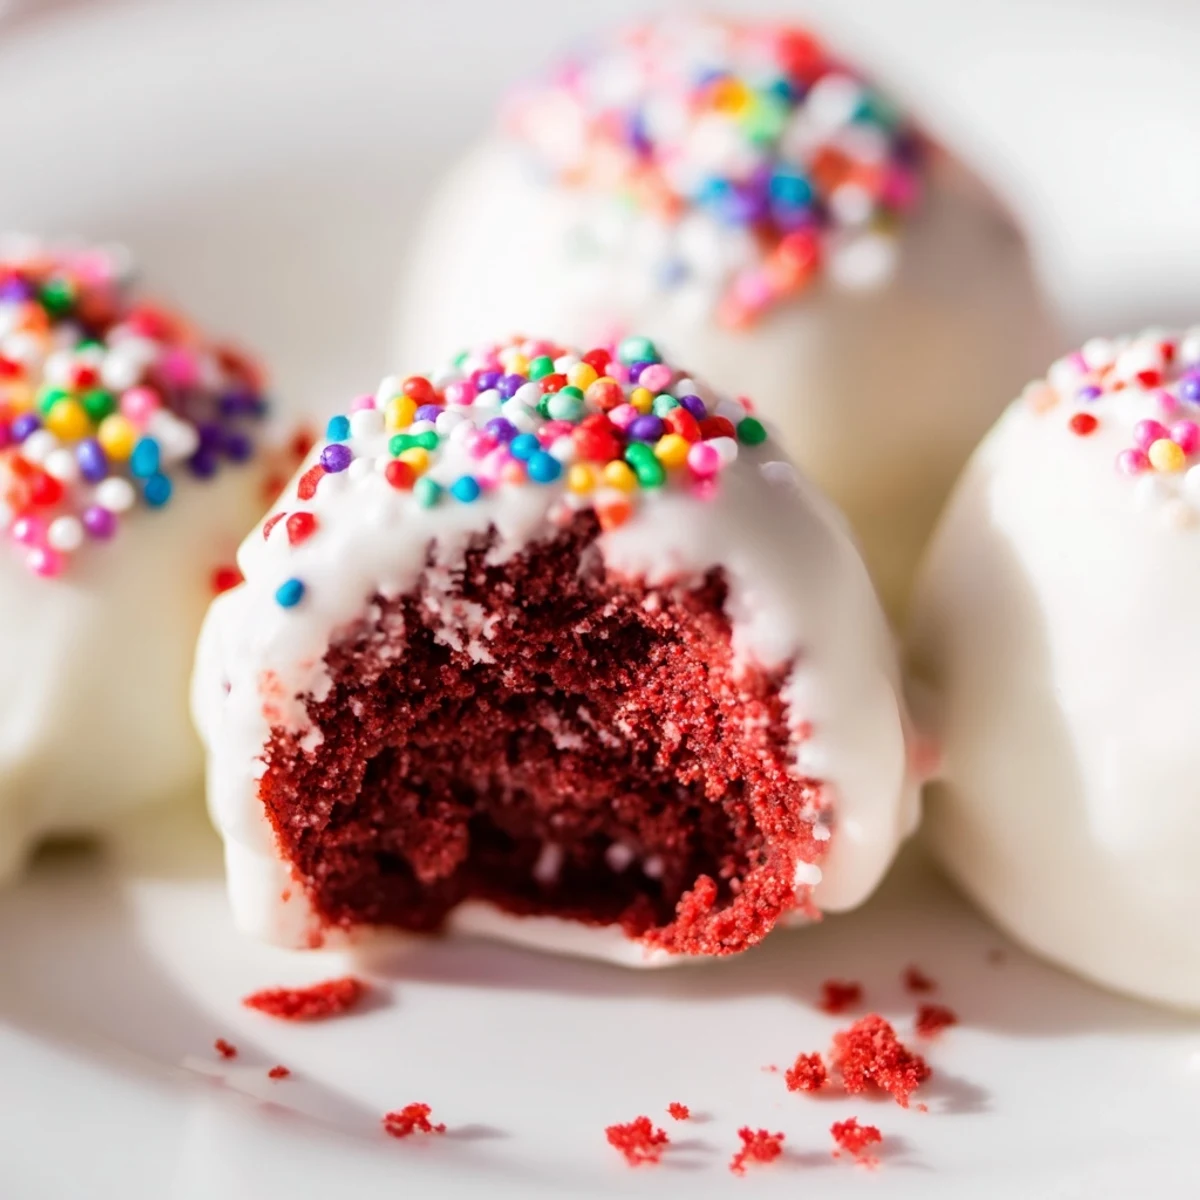
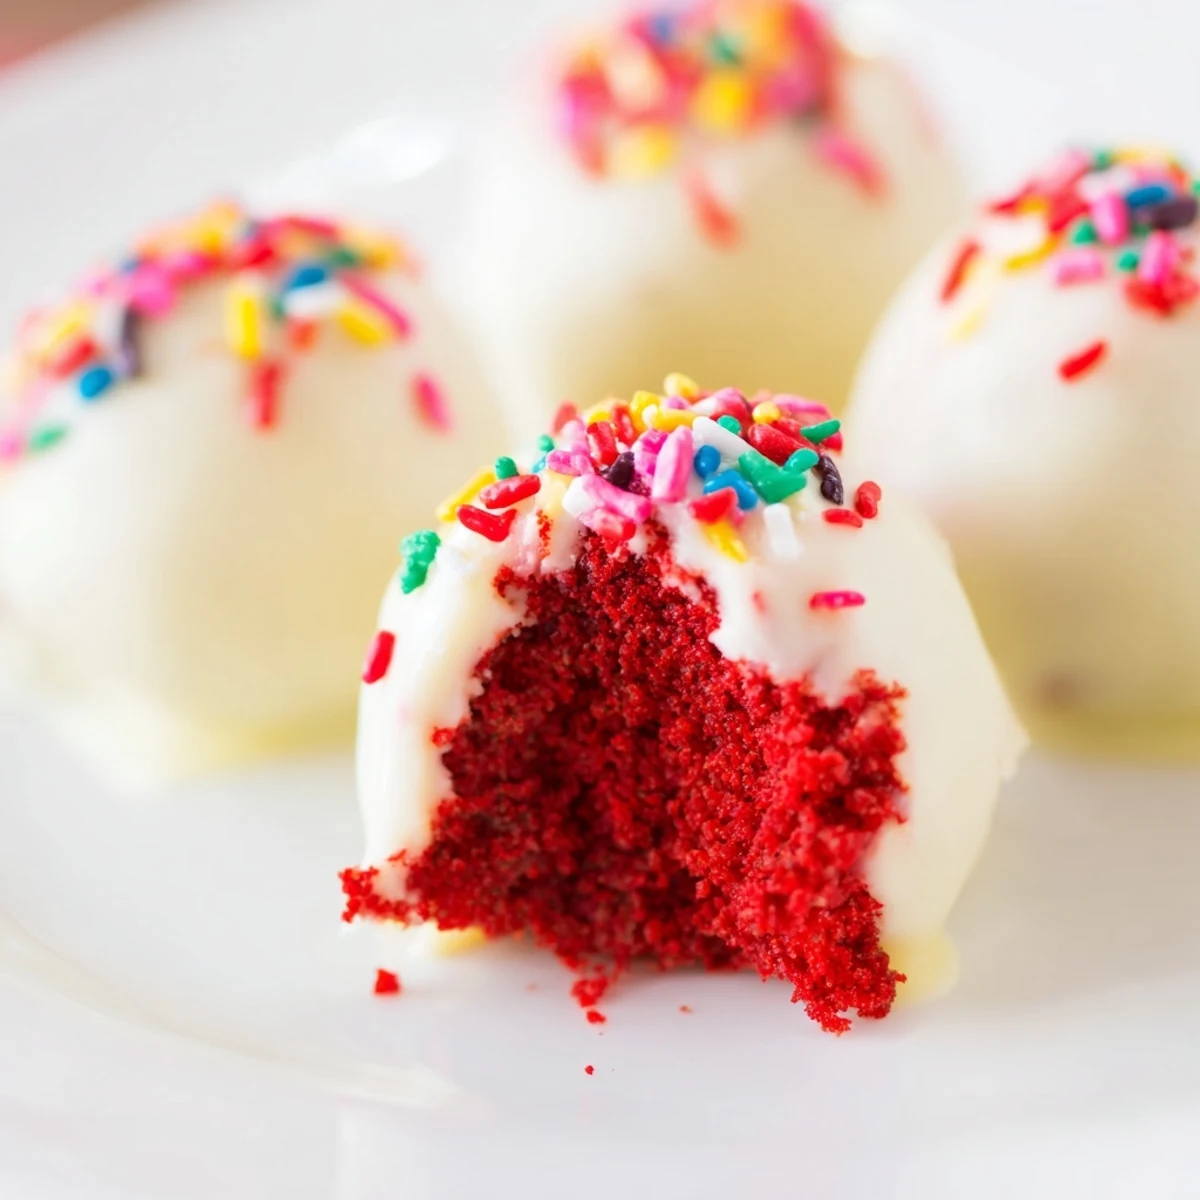
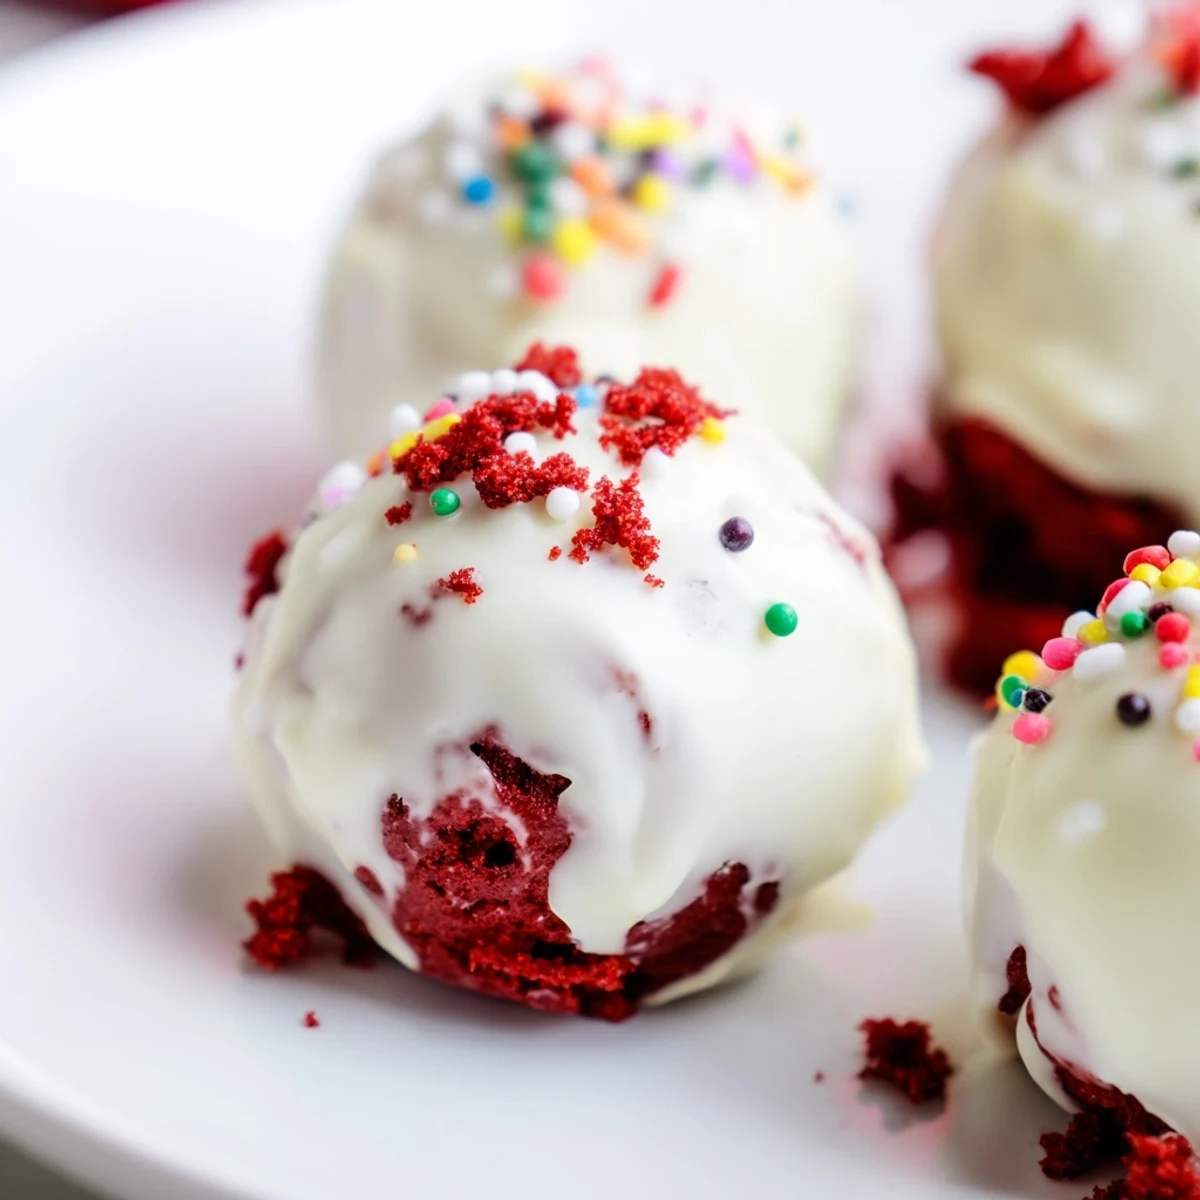
 These irresistible red velvet cheesecake balls combine the classic flavors of red velvet cake with smooth, tangy cream cheese filling. Each bite-sized sphere gets dipped in melted white chocolate for a sweet, decorative shell perfect for special occasions.
The process comes together quickly: crumble cake, mix with sweetened cream cheese, roll into balls, chill, then coat in chocolate. Customize with sprinkles, cake crumbs, or a drizzle of colored chocolate.
Make them ahead for easy entertaining. The combination of textures and the striking red-and-white appearance makes them ideal for Valentine's Day, Christmas, or any celebration calling for something sweet and visually stunning.
My kitchen counter looked like a crime scene after the first batch, bright red crumbs everywhere, chocolate smeared on the fridge handle, and my niece standing on a step stool with crimson fingers grinning ear to ear.
I brought a tray of these to a holiday potluck and watched three adults abandon all pretense of portion control within ten minutes.
Ingredients
- Red velvet cake (300 g): Day old or even slightly stale cake crumbles better and binds more easily into the dough.
- Cream cheese (150 g, softened): Leave it out for at least an hour because cold cream cheese will leave ugly lumps in your filling.
- Powdered sugar (40 g): Just enough to sweeten the cheesecake center without making it cloying.
- Vanilla extract (1 tsp): Use the real stuff here, imitation vanilla cheapens the flavor of something this simple.
- White chocolate (250 g): Ghirardelli or Guittard melt smoother than generic chips and save you from the seized chocolate headache.
- Red gel food coloring (optional): A tiny dot goes a long way for tinting a drizzle to match.
- Sprinkles or cake crumbs (optional): Both work but cake crumbs give a more polished, bakery style finish.
Instructions
- Wreak happy havoc on the cake:
- Tear the red velvet cake into chunks and pulse in a food processor or crush with your fingers until you have a fine, sandy crumb that holds together when squeezed.
- Whip the cheesecake heart:
- Beat the softened cream cheese, powdered sugar, and vanilla until the mixture is silky and no streaks remain, scraping the bowl once halfway through.
- Marry the two:
- Pour the cheesecake mixture over the crumbs and stir vigorously with a spatula until every speck of cake is coated and you have a dense, claylike dough.
- Roll and freeze:
- Scoop rounded tablespoons and roll them between your palms, placing each ball on a parchment lined tray before sliding the whole tray into the freezer for thirty minutes.
- Melt the white chocolate:
- Heat the chocolate in a microwave safe bowl in thirty second bursts, stirring between each one, until it flows like heavy cream with no lumps.
- Dip and dazzle:
- Lower each frozen ball into the chocolate with a fork, tap off the excess against the rim, and set it back on the parchment before the shell hardens.
- Decorate while wet:
- Shower with sprinkles or press on cake crumbs right away because the chocolate sets faster than you expect once it hits that cold center.
- Chill and serve:
- Refrigerate the tray for fifteen minutes until the coating is firm, then serve them cold or let them sit at room temperature for ten minutes so the cheesecake center softens.
 Save to Pinterest
 The moment my sister in law asked for the recipe and then texted me a photo of her own batch the next weekend, I knew this one had legs.
Making Them Ahead
These balls improve with a night in the fridge because the flavors settle and the chocolate shell tightens into a satisfying snap.
Swapping the Chocolate
Dark chocolate brings a bittersweet edge that balances the sweetness beautifully if white chocolate feels too sugary for your crowd.
Storage and Leftovers
Layer them in a single row between sheets of parchment inside an airtight container and they stay perfect for five days refrigerated.
- Freeze them on a tray first so they do not stick together.
- Thaw in the fridge overnight rather than on the counter to keep the shell glossy.
- Always hide a few extras in the back of the fridge before guests arrive.
 Save to Pinterest
 Keep a stash in your freezer and you will never show up empty handed to anything again.
Recipe Questions & Answers
- → How far ahead can I make these?
-
Prepare these up to 5 days in advance. Store in an airtight container in the refrigerator, placing parchment paper between layers to prevent sticking. The texture remains excellent for several days.
- → Can I use store-bought cake?
-
Absolutely. Store-bought red velvet cake works perfectly. Simply crumble it into fine crumbs and proceed with the recipe. This shortcut saves significant prep time without sacrificing flavor.
- → What if my mixture is too sticky?
-
If the dough feels too sticky to roll, refrigerate for 15-20 minutes to firm up slightly. You can also add a few extra cake crumbs to achieve the right consistency for shaping.
- → Can I freeze these?
-
Yes, freeze before dipping in chocolate for up to 3 months. Thaw in the refrigerator overnight before coating. Already-coated balls can be frozen for 1-2 months, though the chocolate may develop slight condensation.
- → What other coatings work well?
-
Dark or milk chocolate offer delicious alternatives to white coating. Try crushed graham crackers, toasted nuts, or red sanding sugar for different textures and visual effects.
- → Why did my chocolate seize?
-
Chocolate seizes when moisture contacts it during melting. Ensure all utensils and bowls are completely dry. Microwave in short 30-second intervals, stirring between each, for smooth results.
