 Save to Pinterest
 Crafting homemade marshmallows transforms simple sugar, gelatin, and vanilla into cloud-like confections that rival store-bought versions. The process involves blooming gelatin, cooking sugar syrup to precisely 240°F, then whipping the mixture until it triples in volume and becomes snowy white. After setting for four hours or overnight, these pillowy squares get a gentle coating of powdered sugar and cornstarch for the perfect texture.
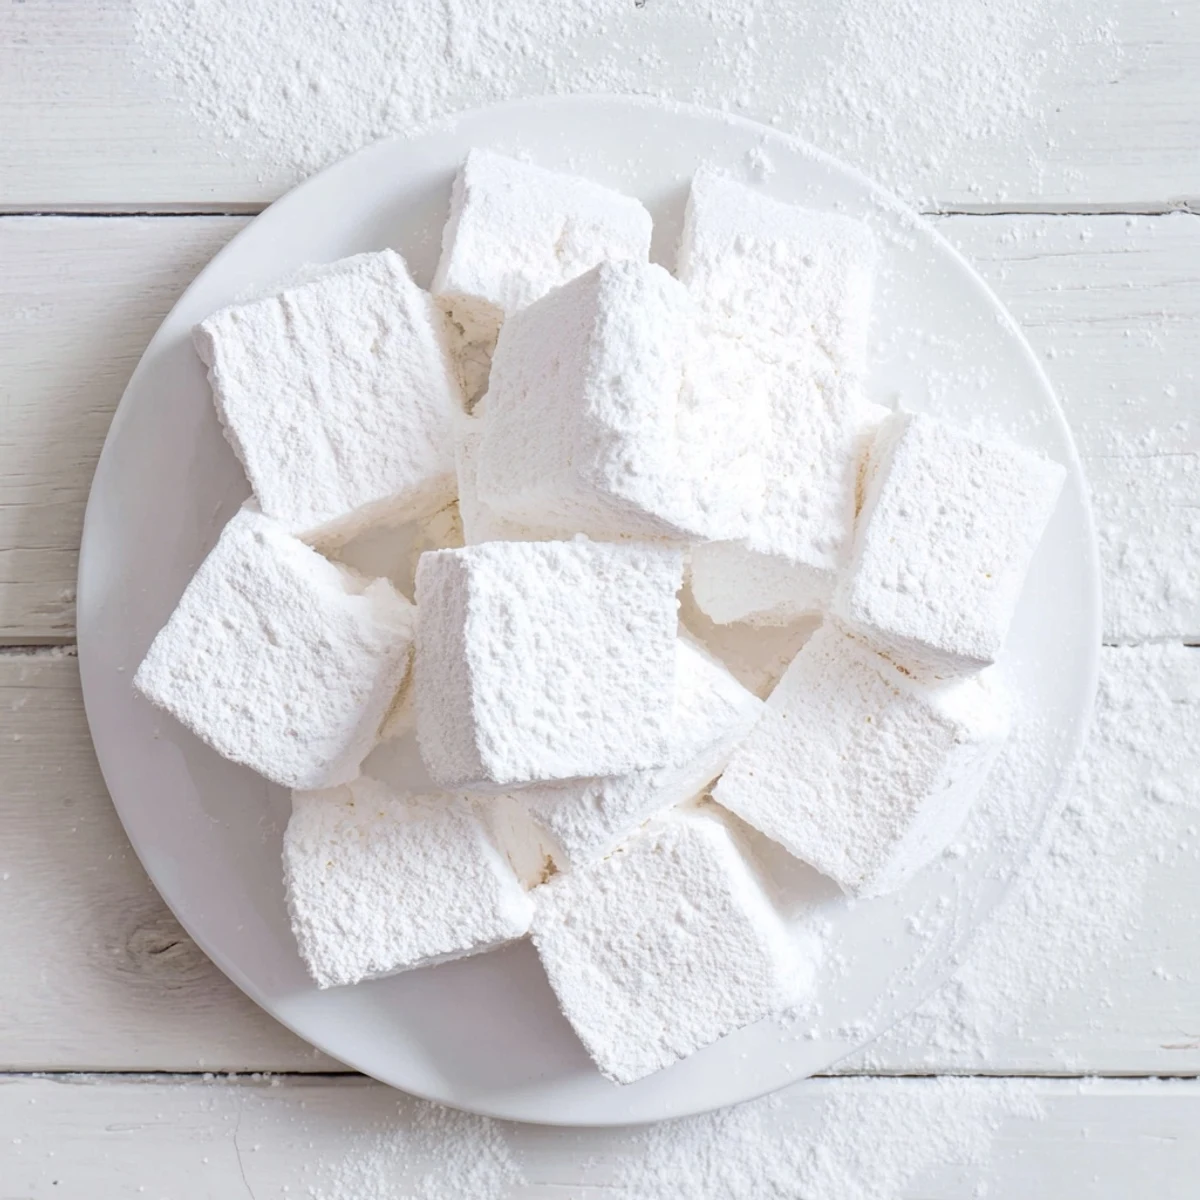
The result is supremely fluffy marshmallows with delicate vanilla sweetness—ideal for floating in hot cocoa, roasting over campfires, or enjoying straight from the container. Customize with peppermint or almond extract, add food coloring for fun variations, and store in an airtight container for up to a week.
My first attempt at homemade marshmallows ended in a spectacularly sticky disaster. I underestimated how aggressively hot sugar syrup expands when it hits bloomed gelatin and ended up with white fluff creeping up my mixer whisk and onto the backsplash. That mess taught me more about marshmallow physics than any recipe ever could. Now I make these regularly and the transformation from liquid sugar to fluffy clouds never stops feeling like edible magic.
I made a double batch last winter when friends came over for hot cocoa bar night. Everyone stood around watching the mixer whip the glossy white fluff higher and higher, completely mesmerized. Those marshmallows melted into our mugs with this incredible creamy texture that store bought versions can never achieve. Now they specifically request marshmallow night and bring their favorite mugs.
Ingredients
- 1 cup granulated sugar: The foundation of your syrup, this creates the structure that holds those tiny air bubbles in place
- 1 cup light corn syrup: Prevents crystallization and keeps your marshmallows soft and chewy instead of grainy
- 3 envelopes unflavored gelatin: Do not use sheets here, powder gives more consistent results for home cooks
- 1/2 cup cold water: Use ice cold water to bloom the gelatin properly
- 2 tsp pure vanilla extract: Real vanilla makes these taste sophisticated rather than like artificial candy
- Confectioners sugar and cornstarch mixture: This coating is absolutely non negotiable for cutting without the sticky situation of your life
Instructions
- Prep your pan like you mean it:
- Line a 9x9 inch pan with parchment paper and dust it generously with half your powdered sugar cornstarch blend. Get into the corners and up the sides.
- Bloom the gelatin:
- Combine gelatin with cold water in your stand mixer bowl and walk away for 10 minutes. Let it get wrinkly and fully absorbed.
- Cook the syrup to precision:
- Heat sugar, corn syrup, water and salt until dissolved, then boil without stirring until it hits exactly 240 degrees. Use a candy thermometer.
- The dramatic pour:
- With mixer running on low, carefully stream that dangerously hot syrup into the gelatin. Gradually crank to high and whip for 8 to 10 minutes until tripled in volume.
- Add vanilla and spread:
- Mix in vanilla for 30 seconds, then quickly scrape into your prepared pan. Smooth the top with a wet spatula.
- The waiting game:
- Dust the top with remaining sugar mix and let it sit uncovered for at least 4 hours. Overnight is better.
- Cut and coat:
- Turn the slab onto a board and cut into squares with a knife dusted in powdered sugar. Toss pieces in the coating until fully covered.
 Save to Pinterest
 My niece helped me cut a batch once and ended up wearing more powdered sugar than actually coated the marshmallows. She looked like a ghost and laughed so hard she could not stand up straight. Now whenever I make them, I think of her sugar dusted cheeks and uncontrollable giggles.
Getting Creative With Flavors
Beyond vanilla, these become extraordinary with peppermint extract during holidays or a tablespoon of raspberry powder stirred in at the end. I once folded in toasted coconut flakes and the texture combination was incredible. Some friends swear by a pinch of sea salt on top which makes them taste like salted caramel clouds.
The Tools That Matter
A stand mixer is absolutely non negotiable here. The mixture gets too thick and stiff for hand mixers and definitely for whisking by hand. A candy thermometer takes the guesswork out and prevents syrup that is too thin or burned. Invest in a good one.
Storage And Serving Ideas
These keep in an airtight container for a week but they rarely last that long in my house. Cube them for hot chocolate, cut them into rectangles for s mores, or just eat them plain. Homemade marshmallows transform ordinary desserts into something special.
- Toast them carefully with a kitchen torch for that campfire flavor without the campfire
- Package them in cute bags with ribbon for unexpectedly impressive homemade gifts
- Drop a few into your morning coffee instead of cream for a sweet vanilla kick
 Save to Pinterest
 There is something deeply satisfying about making something from scratch that most people only buy in plastic bags. These marshmallows have converted many skeptics who claimed they did not care about marshmallows at all.
Recipe Questions & Answers
- → Why do I need a candy thermometer?
-
A candy thermometer ensures your sugar syrup reaches exactly 240°F (115°C), the soft-ball stage. This precise temperature is crucial for achieving the perfect fluffy texture—too low and marshmallows won't set properly, too high and they become unpleasantly chewy.
- → Can I make these without a stand mixer?
-
While a stand mixer makes the 8-10 minute whipping process effortless, you can use a hand mixer. Just be prepared for a longer mixing time and arm fatigue—the mixture needs significant whipping to triple in volume and achieve that signature fluffiness.
- → How long do marshmallows need to set?
-
Minimum four hours at room temperature, though overnight setting yields the best texture. You'll know they're ready when they feel firm and springy to the touch, no longer sticky or gooey. Patience here pays off in perfect cutting and eating quality.
- → What's the purpose of the coating mixture?
-
The equal parts confectioners' sugar and cornstarch prevents marshmallows from sticking to everything—your pan, knife, hands, and each other. Dust generously during preparation and toss cut pieces thoroughly to coat all surfaces for easy handling and storage.
- → Can I substitute corn syrup?
-
Light corn syrup helps prevent crystallization and contributes to smooth texture. Glucose syrup works as a direct substitute. Honey or maple syrup will alter flavor significantly and may affect texture due to different sugar composition—best to stick with corn syrup for first attempts.
- → Why did my marshmallows turn out sticky or dense?
-
Sticky marshmallows usually need more setting time or additional coating. Dense texture typically results from under-whipping or incorrect syrup temperature. Ensure you whip until the mixture triples in volume and forms stiff peaks that hold their shape.
