 Save to Pinterest
 Elevate your next cookout with homemade hot dog buns featuring that signature sourdough tang. These soft, pillowy buns utilize unfed sourdough discard, reducing waste while adding incredible flavor depth. The dough comes together quickly and develops beautifully through two simple rises, resulting in golden-brown buns with a tender crumb and just enough chew.
Brush them with butter after baking for an extra-soft crust, or sprinkle with sesame seeds for that classic bakery look. They freeze beautifully, so you can always have fresh buns ready for impromptu grilling sessions.
The way these buns make the whole house smell on a Saturday morning caught me off guard the first time I baked them. I was experimenting with yet another way to use up my ever-growing sourdough discard stash, skeptical that anything with unfed starter could yield something this pillowy and tender. That first bite into a warm bun, fresh from the oven with a bit of butter melting into it, completely changed how I think about discard recipes.
Last summer I made these for my dad's birthday cookout, and I honestly spent half the time worrying they'd be too dense or weirdly sour. He took one bite, paused mid-conversation, and asked what made them taste like they came from an artisan bakery. Nothing beats watching someone who was raised on store-bought buns discover what real bread actually tastes like.
Ingredients
- 1 cup (240 g) sourdough discard: Using unfed starter works perfectly here because it adds that signature tang without requiring any extra planning
- 1 cup (240 ml) warm milk: Make it warm to the touch, about 105°F, so it activates the yeast without killing it
- 2 tbsp (28 g) unsalted butter, melted: This keeps the buns tender and gives them that golden color we all want
- 2 tbsp (25 g) sugar: Feeds the yeast and helps the crust brown beautifully
- 1 large egg: Adds structure and richness to the crumb
- 1 ½ tsp (7 g) salt: Essential for flavor, do not skimp here
- 3 ¾ – 4 cups (470–520 g) all-purpose flour: Start with less and add only until the dough feels right, humidity can change what you need
- 1 packet (7 g or 2 ¼ tsp) instant yeast: Gives the dough its rise and makes these buns light and airy
Instructions
- Wake up the yeast:
- Combine the warm milk, sugar, and yeast in your largest mixing bowl and let it sit for 3–5 minutes until you see tiny bubbles forming on the surface
- Mix in the good stuff:
- Add the sourdough discard, melted butter, egg, and salt, stirring until everything is incorporated and the mixture looks smooth
- Build the dough:
- Gradually add flour one cup at a time, mixing after each addition, until you have a soft, slightly tacky dough that holds together but still feels pleasant to touch
- Give it some muscle:
- Knead the dough on a lightly floured surface for 7–8 minutes until it transforms from shaggy to smooth, elastic, and bounces back when you press it with your finger
- Let it rest:
- Place the dough in a greased bowl, cover it with a clean towel, and walk away for 1–1.5 hours until it has doubled in size
- Shape your buns:
- Punch down the risen dough, divide it into 8 equal pieces, and gently roll each into a 6-inch log, tucking the edges under for a smooth top
- Second rise:
- Arrange the buns on a parchment-lined baking sheet with 2 inches between them, cover, and let them puff up for 30–45 minutes until they look pillowy and slightly expanded
- Preheat the oven:
- Heat your oven to 375°F (190°C) while the buns finish their second rise
- Add the finishing touches:
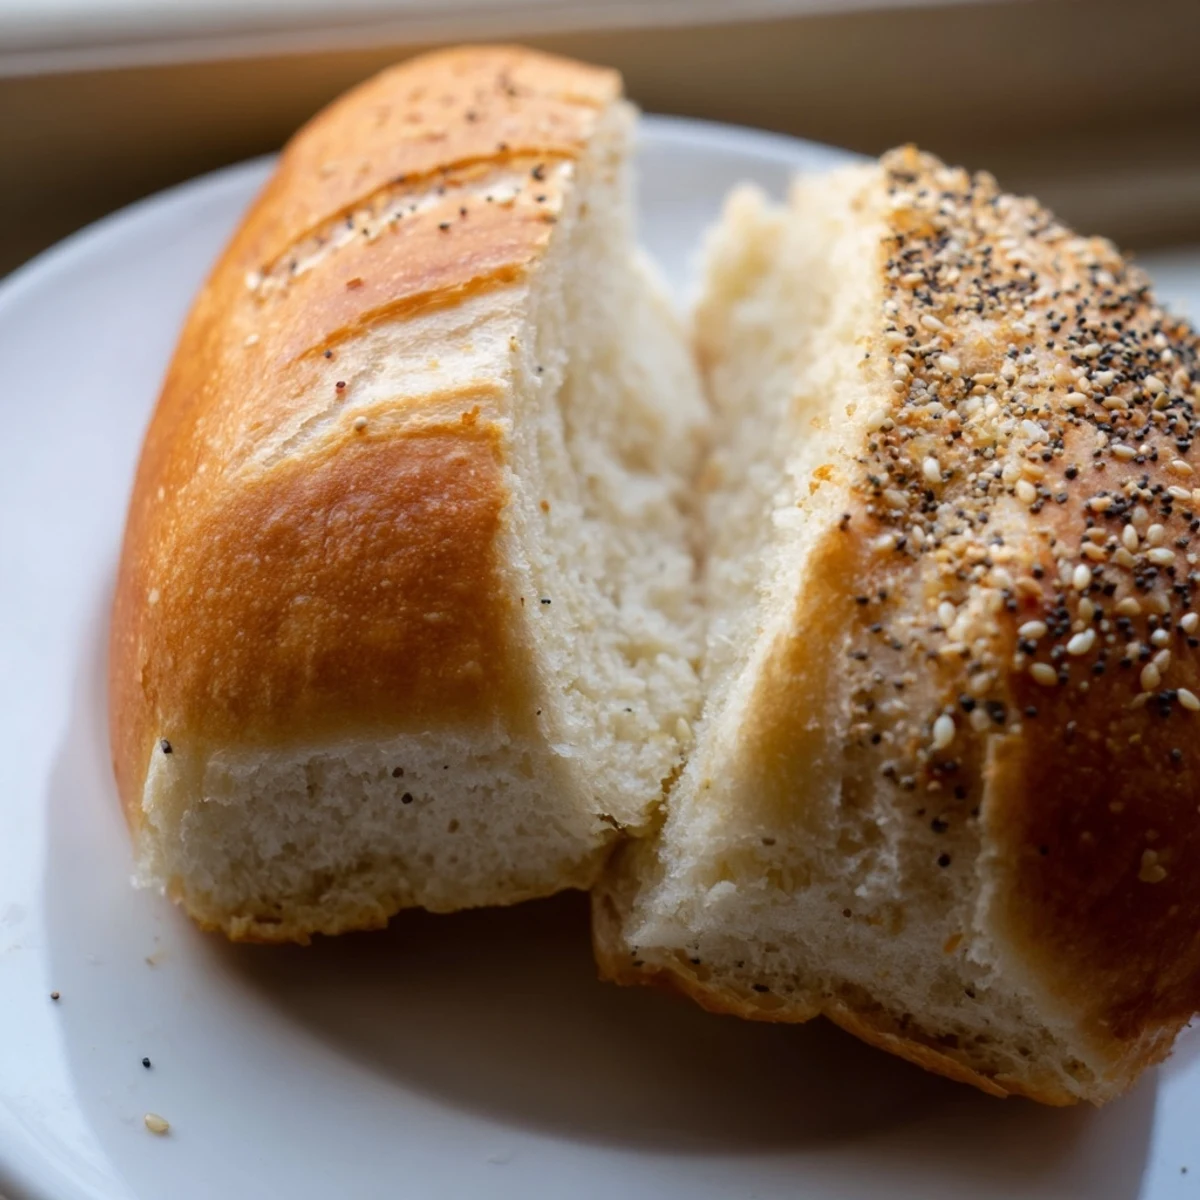
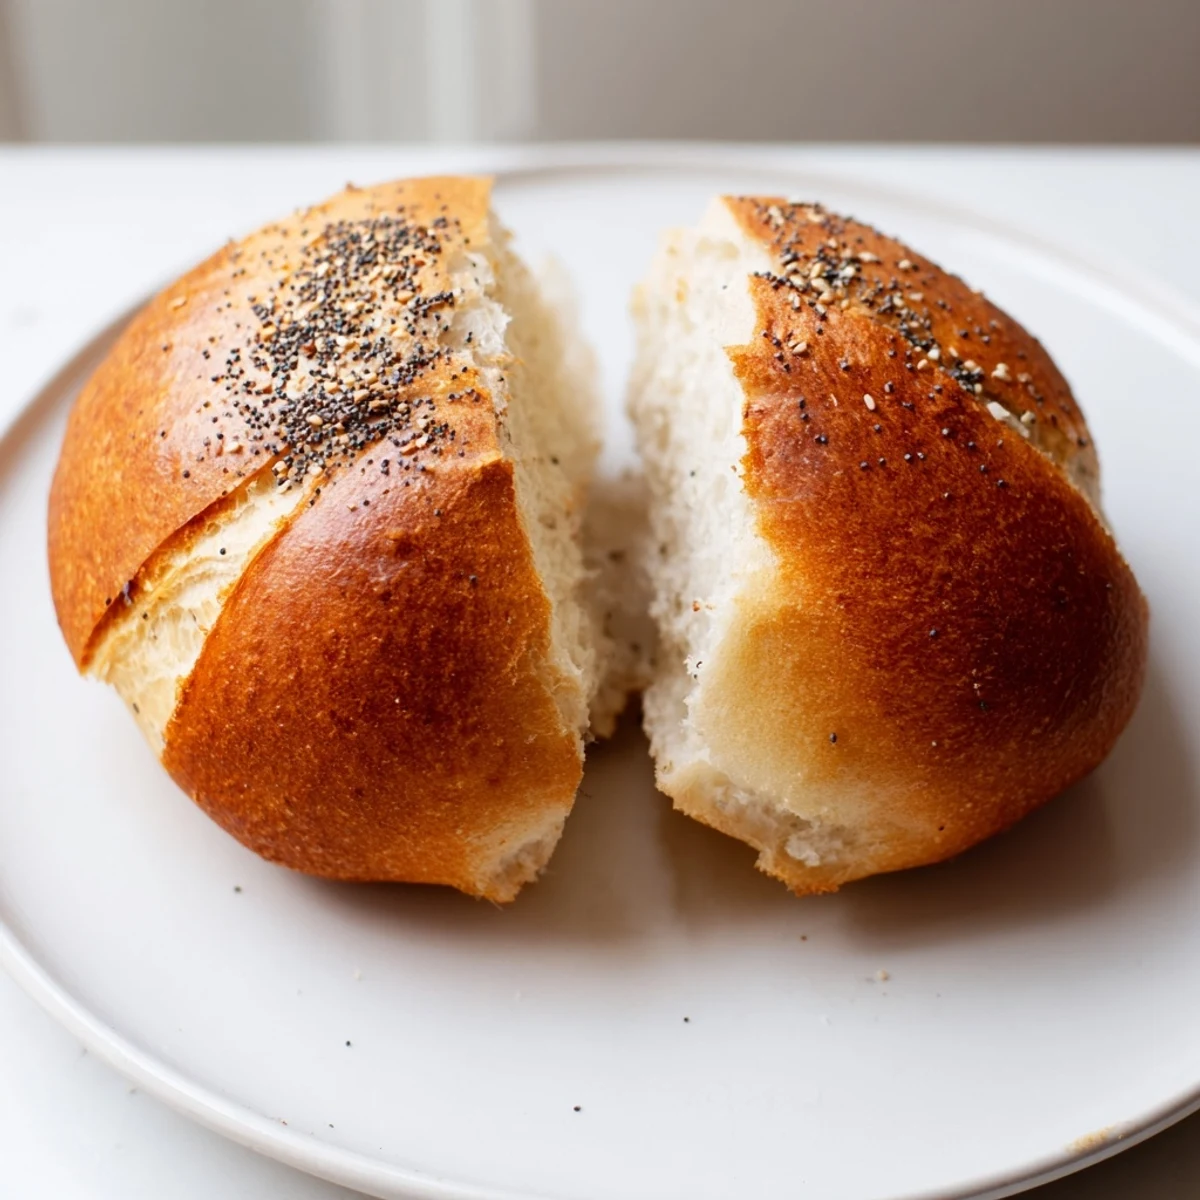
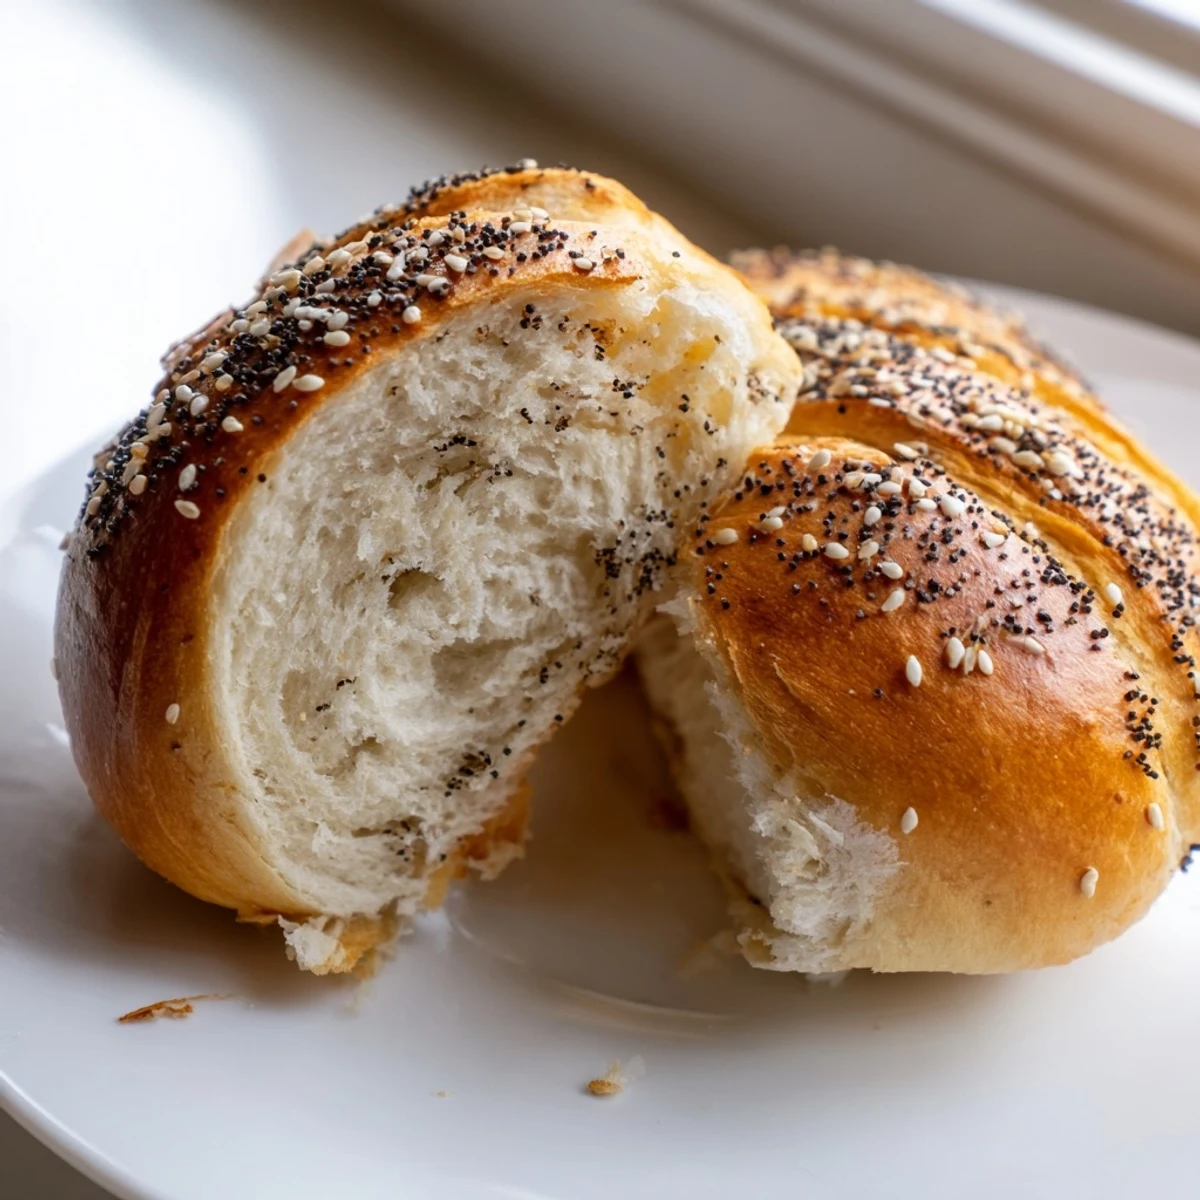
- Brush the buns with milk and sprinkle with sesame seeds, poppy seeds, or everything seasoning if you like that extra texture and flavor
- Bake to golden:
- Slide the baking sheet into the oven and bake for 18–20 minutes until the tops are deeply golden and the buns sound hollow when tapped
- Finish with butter:
- Brush the hot buns with melted butter immediately for a softer crust, then let them cool completely before slicing
 Save to Pinterest
 My neighbor texted me the day after that cookout asking for the recipe, saying her kids kept talking about the buns at breakfast. There is something genuinely satisfying about turning what would have been waste into something that creates memories for people you care about.
Getting the Shape Right
Shaping the buns used to stress me out until I realized they do not need to be perfect cylinders. Gently roll each piece under your palms, letting your hands do the work, and tuck any loose ends underneath. The slight unevenness actually makes them look homemade and inviting, not like they came from a factory assembly line.
Making Them Ahead
These buns freeze exceptionally well, which is why I never make just one batch anymore. Let them cool completely, wrap them individually in plastic, then stash them in freezer bags for up to three months. A quick 10-minute toast in the oven brings them right back to life, and no one can tell the difference between fresh and frozen.
Customizing Your Buns
Once you have the basic technique down, these buns are incredibly forgiving to experimentation. Swap in whole wheat flour for half the white flour, add shredded cheese to the dough for a savory twist, or brush them with garlic butter instead of plain butter after they bake.
- Try brushing with egg wash instead of milk for a shinier crust
- Add 1 tablespoon of everything bagel seasoning to the flour mixture
- Make them smaller for slider buns, adjusting the baking time to 12–15 minutes
 Save to Pinterest
 Every time I pull these from the oven now, I think about how something so simple can make an ordinary Tuesday dinner feel like a special occasion. Hope these become a staple in your kitchen too.
Recipe Questions & Answers
- → Can I make these buns without sourdough discard?
-
Yes, you can replace the sourdough discard with an equal amount of flour and water mixture, though you'll lose the subtle tangy flavor that makes these buns special.
- → How should I store the baked buns?
-
Store in an airtight bag at room temperature for 2-3 days, or freeze for up to 3 months. Thaw frozen buns on the counter and refresh in a warm oven for 5 minutes.
- → Can I use active sourdough starter instead of discard?
-
Absolutely. Active starter works well, but you may need to reduce the flour slightly since active starter tends to be more hydrated than unfed discard.
- → What's the best way to shape the buns?
-
Roll each dough piece into a 6-inch log, tapering the ends slightly. Use a flat hand to roll back and forth, applying gentle pressure to create an even cylinder shape.
- → Can I make these into hamburger buns?
-
Definitely. Shape the dough into flattened rounds instead of logs and adjust the baking time to 15-18 minutes for slightly smaller discs.
- → Why brush with butter after baking?
-
Brushing with melted butter while warm creates a softer crust and adds rich flavor. It keeps the buns tender longer, especially important for grilling the next day.
