 Save to Pinterest
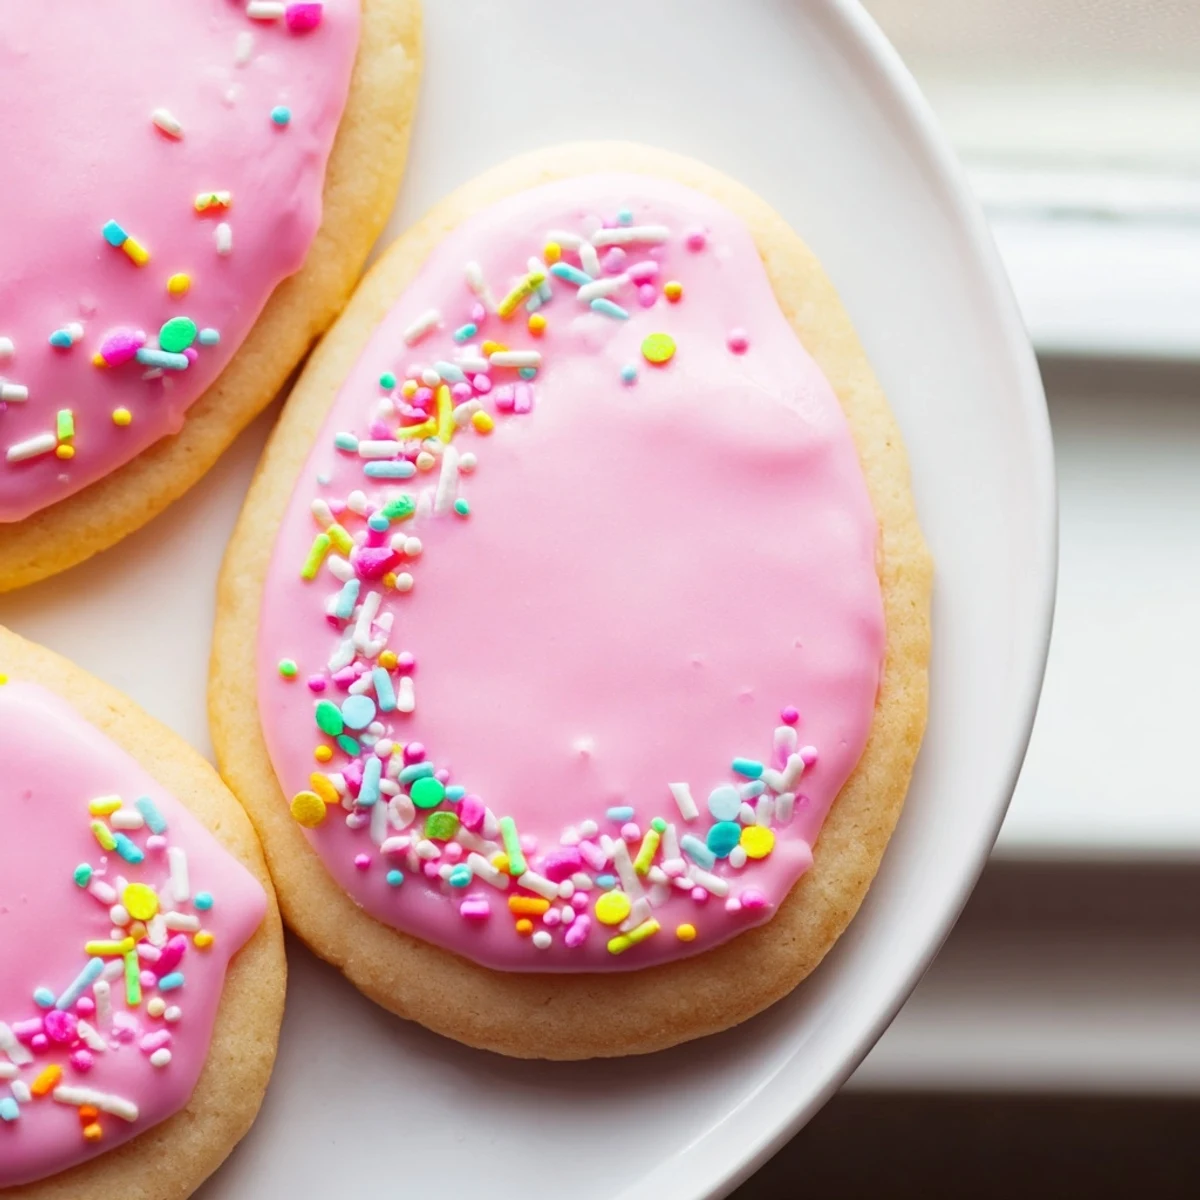
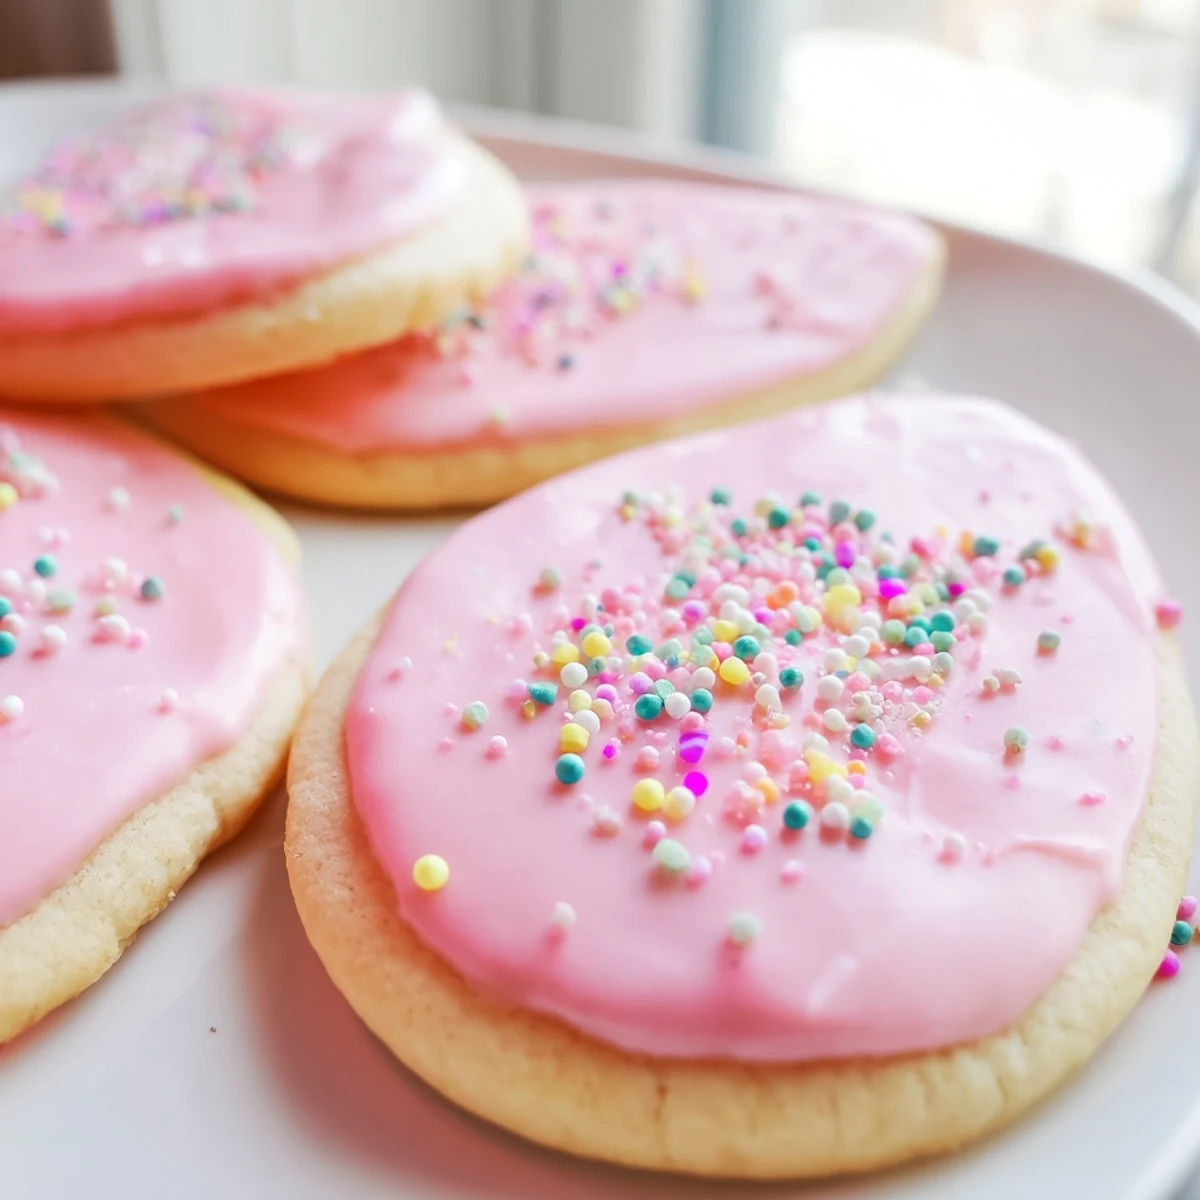
 These delightful spring Easter cookies feature a classic buttery sugar cookie base that's tender and melt-in-your-mouth soft. The dough comes together quickly and requires chilling for easy rolling and cutting into festive shapes like eggs, bunnies, and flowers. What makes these special is the glossy royal icing that dries smooth and hard, perfect for detailed decorating with pastel colors in pink, yellow, green, and purple. Each cookie is a miniature canvas for your Easter creativity, whether you prefer simple flood icing techniques or intricate piping designs. The vanilla-almond flavor combination adds subtle depth that appeals to both children and adults. Store them in airtight containers for up to a week, making them ideal for preparing ahead of your Easter brunch or spring gathering.
Last spring, my kitchen smelled like butter and vanilla for three straight days while I perfected these Easter cookies. My four-year-old niece insisted we needed "more pink" on every single bunny, which led to some interesting design choices. The whole experience was messy, flour-covered chaos, but seeing her little hands carefully placing sprinkles made it worth it.
I brought a batch to our neighborhood egg dyeing party, and within fifteen minutes, the platter was empty. My neighbor actually asked if she could pay me to make them for her daughters birthday. Now theyre the most requested item at every spring gathering.
Ingredients
- All-purpose flour: The structure that holds everything together, and dont skip the measuring spoon level-off for accuracy
- Baking powder: Just a half teaspoon gives these cookies their perfect tender lift
- Salt: Enhances all the buttery sweetness and balances the extracts
- Unsalted butter: Room temperature is non-negotiable here, it needs to be soft enough to create those tiny air pockets
- Granulated sugar: Creates the crisp edges while keeping centers chewy
- Large egg: Binds the dough and adds richness
- Pure vanilla extract: The foundation of that classic sugar cookie flavor
- Almond extract: This optional ingredient is what makes these taste like they came from a fancy bakery
- Powdered sugar: Creates the smooth royal icing that hardens just enough to stack
- Meringue powder: The secret to icing that sets beautifully without being too hard
- Water: Adjust this to get your icing to the perfect flooding consistency
- Gel food coloring: Concentrated pastels that wont make your icing too thin like liquid colors can
- Easter sprinkles: Because sometimes more is exactly what we need
Instructions
- Whisk the dry foundation:
- In a medium bowl, combine flour, baking powder, and salt until theyre evenly distributed. Set this aside where itll wait patiently for the wet ingredients.
- Build the buttery base:
- Cream the butter and sugar in a large bowl for two to three full minutes until it looks pale and fluffy. This step is where the cookie texture is born, so dont rush it.
- Add the flavor:
- Beat in the egg, vanilla, and almond extract until everything is fully incorporated. The mixture should look smooth and glossy.
- Bring it together:
- Gradually add the dry ingredients, mixing just until combined. The dough will be soft but should hold its shape when pressed.
- Chill for success:
- Divide the dough in half, shape into disks, wrap in plastic, and refrigerate for at least one hour. This is crucial for cookies that keep their shape in the oven.
- Prep your space:
- Preheat oven to 350°F and line baking sheets with parchment paper. This prevents sticking and makes cleanup so much easier.
- Roll and cut:
- On a floured surface, roll dough to 1/4 inch thick and cut into your favorite Easter shapes. Flour your cutters between each press for clean edges.
- Arrange and bake:
- Place cookies one inch apart on prepared sheets and bake for nine to eleven minutes. You want just the slightest hint of golden on the edges.
- Cool completely:
- Let the cookies rest on the baking sheet for two minutes before moving them to a wire rack. They need to be fully cool before icing or it will melt right off.
- Make the magic icing:
- Whisk powdered sugar, meringue powder, and water until smooth and glossy. Add more water for flooding, less for piping.
- Add the color:
- Divide icing into small bowls and tint each with a drop of gel coloring. A tiny bit goes a long way.
- Decorate and set:
- Frost each cookie with your colored icings and add sprinkles while wet. Let them sit undisturbed until the icing hardens completely.
 Save to Pinterest
 My grandmother never measured anything when she baked, but she taught me that good cookies come from the heart, not perfect precision. Making these with my own kids now, watching them get flour everywhere and argue over who gets the bunny cutter, I understand what she meant. The cookies are wonderful, but the memory of making them together is the real gift.
Getting The Icing Just Right
Royal icing consistency is everything, and I learned this the hard way after making several batches that were either too runny or too thick. For flooding cookies that smooths out to a perfect glass-like finish, the icing should fall off the whisk in a slow stream and disappear back into itself within ten seconds.
Making These Ahead
The dough freezes beautifully for up to three months, which means you can make it now and have fresh-baked Easter cookies whenever the mood strikes. Just thaw overnight in the refrigerator and proceed with rolling and cutting as usual.
Storage And Serving Tips
Once the icing has completely set, stack the cookies between layers of parchment paper in an airtight container. They stay fresh for up to a week at room temperature, though they rarely last that long in my house.
- Package them in clear bags tied with pastel ribbons for adorable Easter gifts
- Set up a decorating station at your Easter gathering and let guests create their own designs
- Make extra dough disks and freeze them for impromptu spring baking sessions
 Save to Pinterest
 These cookies have become our familys official herald of spring, appearing on every Easter table and bringing joy with every buttery bite. Heres to creating your own messy, flour-covered memories.
Recipe Questions & Answers
- → How long should I chill the cookie dough?
-
Chill the dough for at least 1 hour before rolling. This helps firm the butter, preventing cookies from spreading too much while baking and making the dough easier to handle and cut into shapes.
- → Can I freeze the decorated cookies?
-
Yes! Once the royal icing has completely hardened, freeze the cookies in single layers between parchment paper in airtight containers for up to 3 months. Thaw at room temperature before serving.
- → Why did my royal icing turn out too thick or thin?
-
Adjust consistency by adding water one teaspoon at a time for thinner icing, or more powdered sugar for thicker frosting. The ideal consistency for outlining should hold its shape, while flooding icing should spread smoothly but not run off the edges.
- → Can I make these cookies without a stand mixer?
-
Absolutely! Use a hand mixer or even cream the butter and sugar by hand with a sturdy wooden spoon. It will take a bit more effort and time, but the results will be equally delicious.
- → How do I prevent my cookies from spreading too much?
-
Ensure your dough is properly chilled, work with one portion at a time keeping the rest refrigerated, and avoid over-creaming the butter and sugar. Also, don't place cookies on warm baking sheets.
- → Can I use liquid food coloring instead of gel?
-
Gel coloring is preferred because it won't thin your icing. Liquid food coloring can be used but you may need to compensate with additional powdered sugar to maintain the proper icing consistency.
