 Save to Pinterest
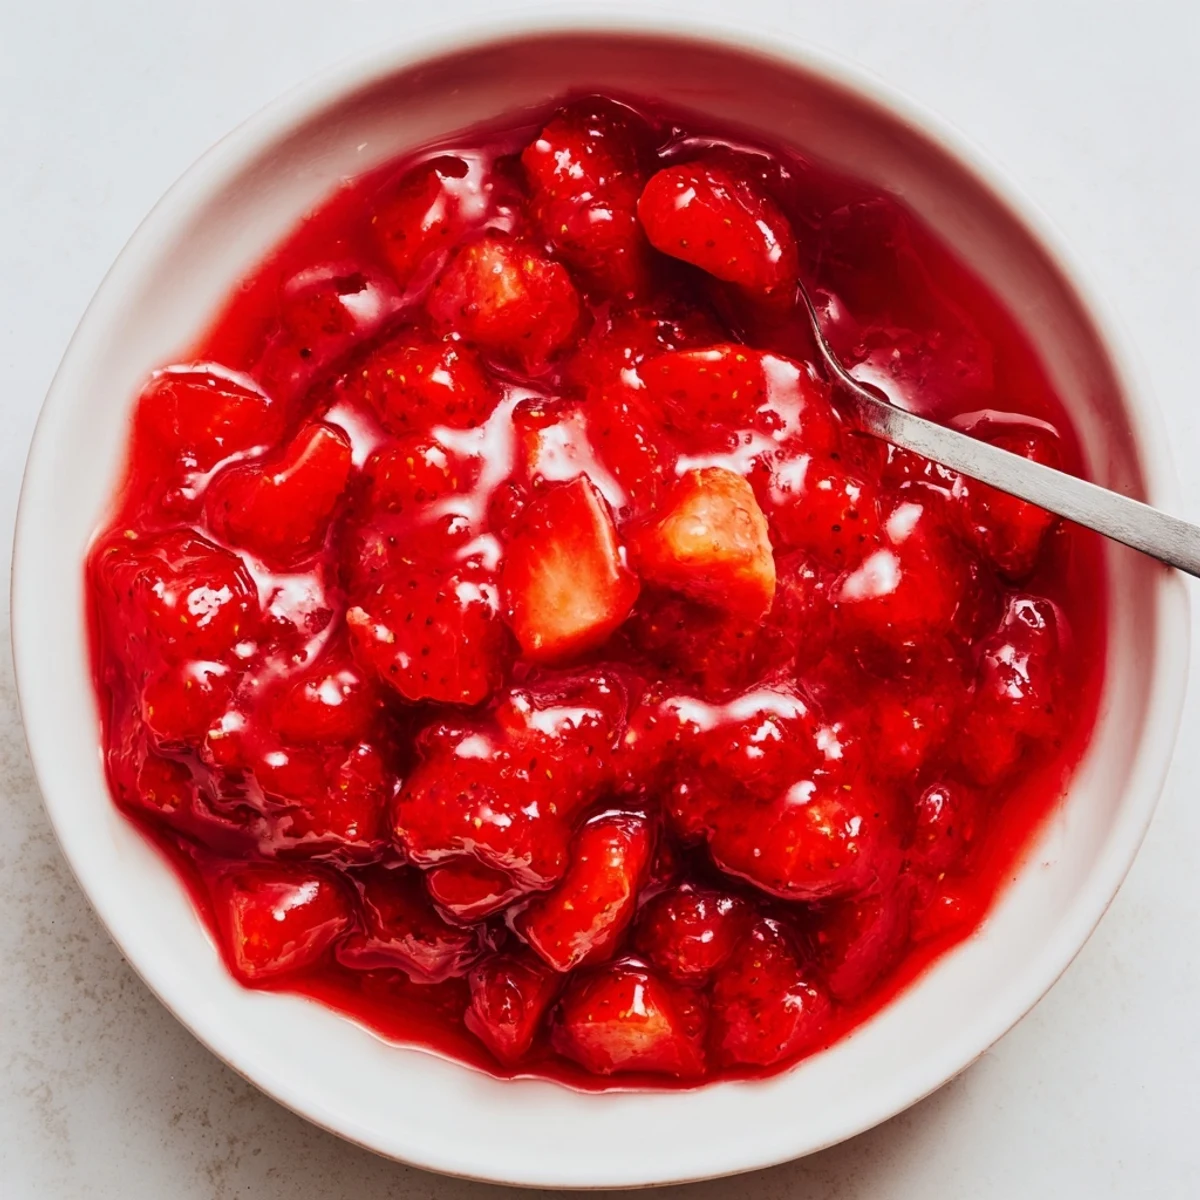
 This quick strawberry cake filling uses 2 cups diced fresh strawberries cooked with 1/3 cup sugar and a splash of lemon. A cornstarch slurry thickens the fruit into a glossy spread in about 15 minutes; let it cool to set. Stir in 1/2 tsp vanilla if desired for extra depth.
Use between cake layers, in cupcakes or pastries. For a smoother texture mash or blend and strain seeds. Refrigerate up to 5 days in an airtight container; freeze up to 3 months, thaw and stir before using.
The sound of strawberries snapping under my knife always brings a sense of possibility to the kitchen. A few summers ago, with a sunlit counter and a glut of ripe berries, I first experimented with this strawberry cake filling—no grand occasion, just a curiosity for adding something bright between cake layers. It surprised me how quickly the perfume of simmering fruit overtook the kitchen, merging sweetness and tang. There was no need for fancy gadgets—just simple stirring and a little attention.
I first made this for a friend's birthday layer cake when store-bought fillings felt like cheating and I wanted real fruit. The laughter coming from the living room as I whisked the filling was almost drowned out by the gentle bubble of strawberries breaking down on the stove.
Ingredients
- Fresh strawberries: Choose berries that are fragrant and deeply red for bursts of flavor and color; taste a piece before you start, and slice them evenly for smooth cooking.
- Granulated sugar: I learned the hard way not to skimp—it’s what helps coax out the strawberries’ natural juices and creates a lush texture.
- Lemon juice: Just a splash, but it brightens and balances the sweetness; if your berries are already tart, try half as much and taste as you go.
- Cornstarch: Work it into a slurry before adding—clumps in your filling are more stubborn than you’d think.
- Water: Helps distribute the cornstarch evenly so the filling thickens smoothly with no lumps.
- Vanilla extract (optional): A little adds a soft, round finish, but skip if you want pure fruit flavor to shine.
Instructions
- Start the strawberries:
- Pop your diced strawberries, sugar, and lemon juice into a medium saucepan and stir until every berry glistens with sugar crystals.
- Simmer and soften:
- Set the pan over medium heat; as the mixture begins to sizzle, stir occasionally and listen for the gentle sigh of berries letting go of their juice.
- Mix your slurry:
- In a small bowl, whisk cornstarch with water until smooth and cloudless—no lumps hiding at the bottom.
- Thicken the filling:
- Pour the slurry into your bubbling saucepan and stir steadily; watch as the liquid transforms into a glossy, ruby-red filling within a few minutes.
- Final flavor touch:
- Take the pan off the heat, add the vanilla if you like, and stir—smell how the aroma shifts just slightly sweeter.
- Cool before using:
- Let your filling come to room temperature; as it cools, it firms up to the perfect, sliceable consistency for cakes and pastries.
 Save to Pinterest
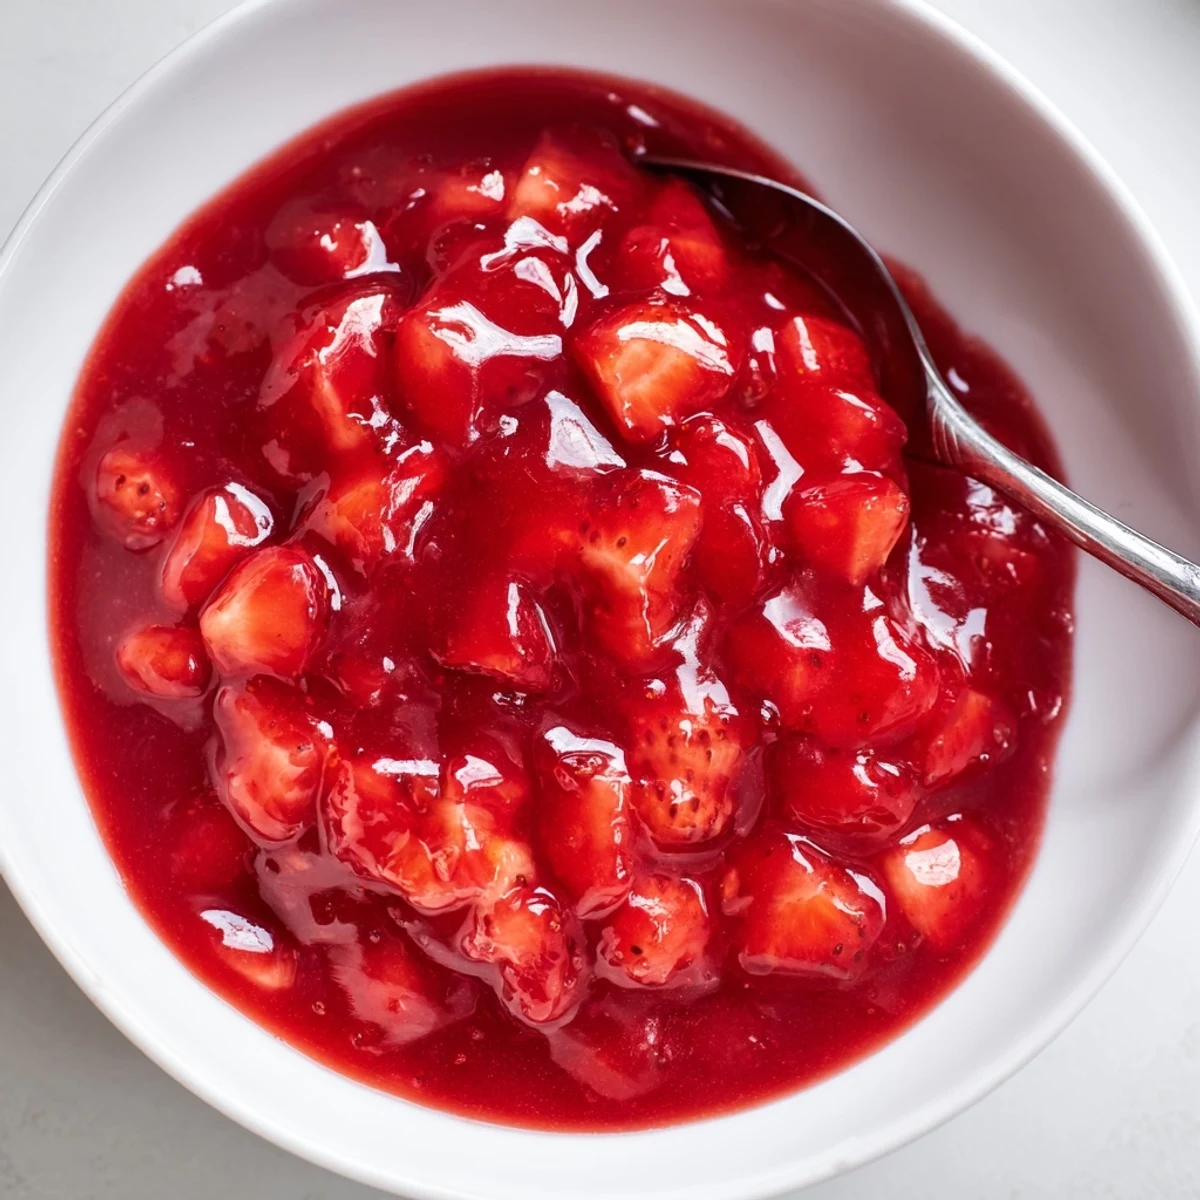
 It only took one perfect slice—cake layers gently cradling this rosy filling—for my cousin to blurt, 'Store-bought could never.' That simple compliment turned an ordinary recipe into a kitchen staple I now make without a second thought.
Best Ways to Use Your Filling
Beyond cakes, a generous spoonful of this filling transforms even plain breakfast yogurt into something celebratory. Layer it in trifles, swirl into cupcakes before baking, or try dolloping it onto warm scones for unexpected joy.
How to Adjust for Different Berries
Swapping strawberries for raspberries or blueberries is as easy as following the same steps—each fruit will bring its own subtle twist. You might up the sugar for tart raspberries or hold back a splash of lemon when blueberries are peak-sweet.
Little Shortcuts and Tricks
If I’m rushed, I mash the cooked berries straight in the pan with a fork, leaving just a few rustic chunks for texture. Using a hand blender for a smooth result is also fair game. Never forget: patience cooling the filling saves you from a runny disaster.
- Stir often as the filling cools so no skin forms on top.
- For a brighter flavor, zest a bit of lemon before juicing.
- Leftover filling freezes beautifully for surprise cake emergencies.
 Save to Pinterest
 I hope this strawberry cake filling brings as much joy to your kitchen as it has to mine—sometimes it’s the little things, like a homemade filling, that elevate any occasion. Happy baking, and may your cakes always ooze just the right amount of fruit.
Recipe Questions & Answers
- → How do I prevent a watery filling?
-
Cook the berries until they release their juices and the mixture begins to simmer, then add the cornstarch slurry while stirring constantly. Continue cooking until the mixture thickens and becomes glossy; cooling will further set the filling.
- → Can I make the filling smoother?
-
Yes. Mash the cooked fruit with a fork for a rustic texture or use an immersion blender for a silky finish. For an extra-smooth result, press the mixture through a fine-mesh sieve to remove seeds.
- → What are good substitutions for cornstarch?
-
Use tapioca starch or arrowroot in a 1:1 swap for cornstarch; they give a clear, glossy finish. If using pectin, follow package guidelines and reduce the liquid slightly to compensate.
- → How should I store leftovers?
-
Cool completely and refrigerate in an airtight container for up to 5 days. For longer storage, freeze in a sealed container for up to 3 months; thaw in the fridge and gently reheat or stir before using.
- → Can I change the fruit or flavor profile?
-
Yes. Swap strawberries for raspberries or blueberries, or add a splash of liqueur or citrus zest for brightness. Adjust sugar and lemon to balance sweetness and acidity.
- → Will the filling hold between cake layers?
-
Yes. Once cooled and slightly set, the thickened filling holds well between layers. For very soft cakes, use a thin barrier of frosting to keep the filling from seeping into crumb layers.
