 Save to Pinterest
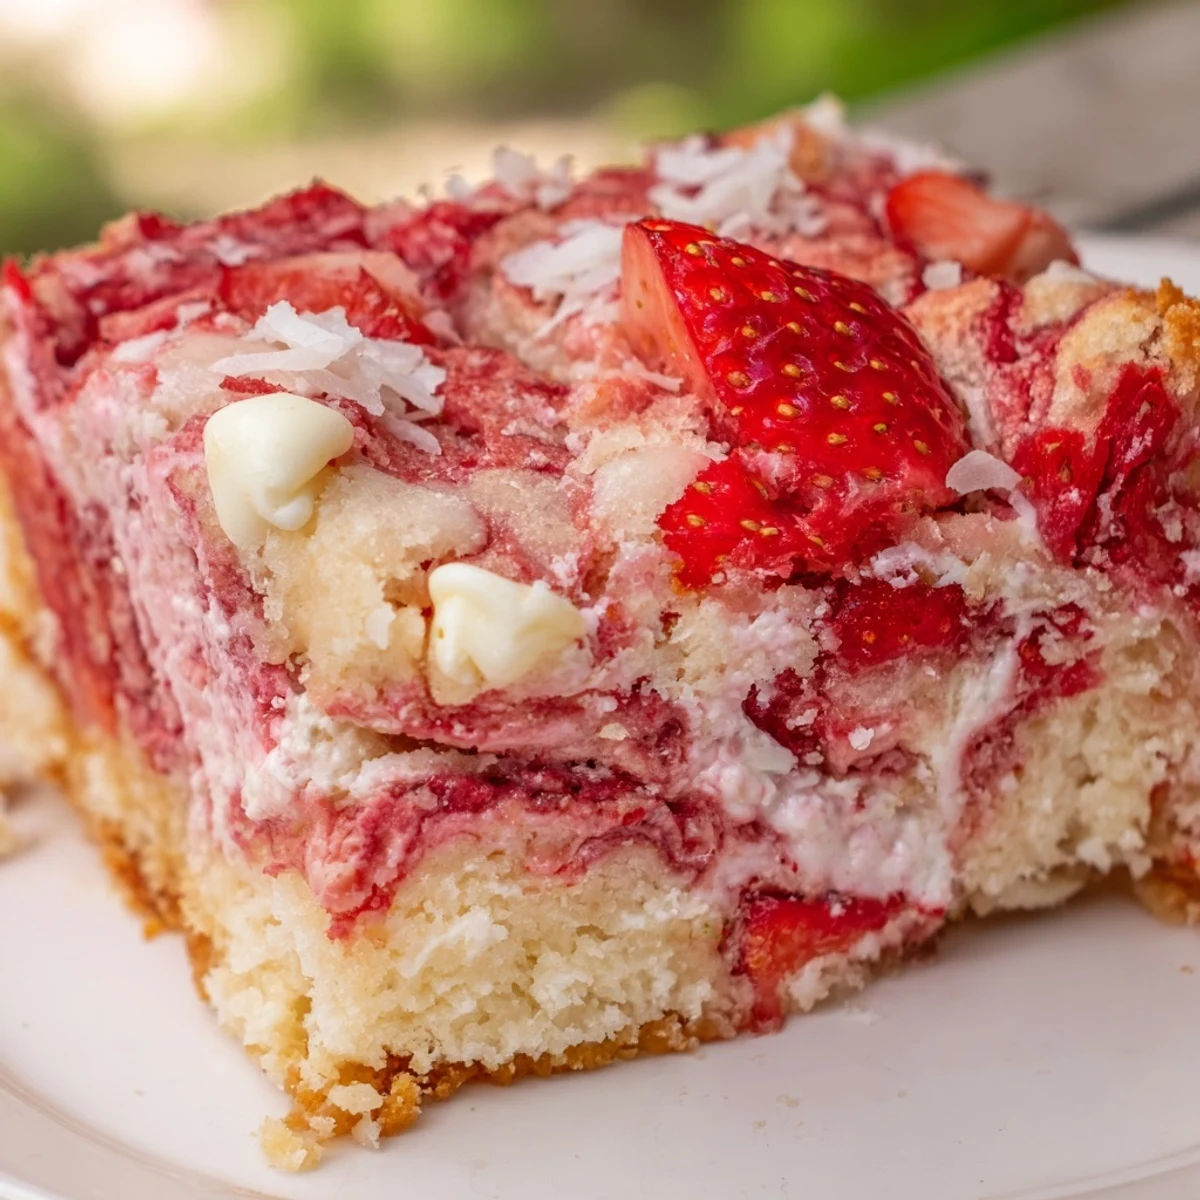
 This stunning dessert combines the bright sweetness of fresh strawberries with rich cream cheese and creamy white chocolate. As it bakes, the layers create gorgeous marbled swirls that give this treat its dramatic earthquake appearance.
The process begins with a simple strawberry cake base, then gets elevated with dollops of tangy cream cheese filling scattered across the surface. Fresh strawberries and white chocolate chips are sprinkled on top before everything gets swirled together with just a few passes of a knife.
What emerges from the oven is a beautifully textured creation with pockets of creamy filling, bursts of fruit, and melting chocolate throughout. It's impressive enough for special occasions yet easy enough for everyday baking.
The kitchen was still dark when I decided to bake this cake at 6 AM, something about the way morning light hits strawberry swirls just feels right. My roommate stumbled in, rubbing her eyes, asking what on earth I was making that smelled like vanilla and summer. Watching the marbled pattern come together in the pan felt like edible art, the kind that makes you pause mid-stir and appreciate how pretty baking can be.
I brought this to a potluck last spring, and within five minutes, three different people had asked for the recipe. Something about cutting into that swirled, strawberry-studded surface makes people lean in closer, plates already in hand. The best part was watching my friend Sarah take her first bite and immediately demand to know exactly what was in that cream cheese layer.
Ingredients
- Strawberry cake mix: The foundation that bakes up fluffy and moist, shortcut approved because sometimes the best recipes embrace convenience
- Eggs: Three large ones provide structure and richness, room temperature eggs incorporate more smoothly into the batter
- Vegetable oil: Half cup keeps the cake incredibly tender and prevents it from drying out, even after a few days
- Water: One cup is all you need to bring the cake mix to life, no milk necessary here
- Cream cheese: Eight ounces softened completely creates that luscious, tangy ribbon that runs through every slice
- Unsalted butter: Quarter cup adds depth to the filling, let it soften alongside the cream cheese for effortless mixing
- Powdered sugar: Two cups sweeten and stabilize the cream cheese layer, sift it first to avoid any lumps
- Vanilla extract: One teaspoon enhances all the other flavors and makes everything taste more homemade
- Fresh strawberries: One cup chopped into small pieces creates those beautiful pockets of fruity brightness throughout
- White chocolate chips: Another cup scattered on top melts into creamy puddles that balance the tart strawberries
- Shredded coconut: Half cup is optional but adds lovely texture and subtle sweetness that complements the white chocolate
Instructions
- Preheat your oven and prepare the pan:
- Heat your oven to 350°F and grease a 9x13-inch baking pan thoroughly, getting into all the corners so nothing sticks.
- Mix the cake batter:
- Combine the cake mix, eggs, vegetable oil, and water in a large bowl, beating until everything is smooth and no dry pockets remain.
- Spread the base:
- Pour the batter evenly into your prepared pan, using a spatula to spread it into all corners.
- Make the cream cheese filling:
- Beat the softened cream cheese, butter, powdered sugar, and vanilla in a separate bowl until completely smooth and creamy.
- Drop the filling:
- Spoon dollops of the cream cheese mixture over the cake batter, spacing them evenly across the pan.
- Add the toppings:
- Scatter chopped strawberries and white chocolate chips over everything, then sprinkle with coconut if you are using it.
- Create the earthquake effect:
- Run a butter knife gently through the layers, swirling just enough to marble everything together without overmixing.
- Bake until just set:
- Bake for 40 to 45 minutes until the center is set and a toothpick comes out with moist crumbs but not wet batter.
- Cool completely before serving:
- Let the cake cool completely in the pan, allowing those cream cheese swirls to set up properly before slicing.
 Save to Pinterest
 My sister claimed she did not even like coconut until she tried this cake, watching me spiral the knife through the layers like I knew exactly what I was doing. There is something genuinely satisfying about serving a dessert that looks this impressive but required zero special skills or techniques.
Making It Ahead
This cake actually tastes better after a night in the refrigerator because the flavors have time to mingle and the cream cheese layer firms up beautifully. I have baked it the day before a party and woken up to something even more delicious than the night before.
Serving Suggestions
A dollop of freshly whipped cream on top takes it over the top, though the cake is rich enough to stand on its own. I have served it slightly warmed with a scoop of vanilla bean ice cream melting into all those crevices, and let me tell you, that combination is absolutely worth the extra dish.
Storage and Reheating
Keep any leftovers covered in the refrigerator for up to three days, though in my experience it rarely lasts that long. The texture stays remarkably moist thanks to that cream cheese ribbon running through it.
- Bring slices to room temperature for 15 minutes before serving for the best texture and flavor
- Wrap individual portions in plastic wrap for easy grab and go breakfasts or snacks
- This cake freezes beautifully for up to two months if you want to get ahead of future cravings
 Save to Pinterest
 Every time I pull this cake out of the oven, seeing those dramatic cracks and crevices filled with cream cheese and fruit, I remember why simple desserts are often the most memorable ones. Happy baking.
Recipe Questions & Answers
- → Why is it called an earthquake cake?
-
The name comes from the cracked, swirled appearance that develops during baking. As the cream cheese filling sinks into the cake batter and the ingredients shift in the oven, it creates a marbled, uneven surface resembling earthquake fault lines.
- → Can I use frozen strawberries instead of fresh?
-
Fresh strawberries work best as they maintain their texture better. If using frozen, thaw them completely and pat dry before adding to prevent excess moisture from making the cake soggy.
- → How do I know when the cake is done baking?
-
Insert a toothpick into the center—it should come out with a few moist crumbs but not wet batter. The edges should be slightly golden and the center should feel set, not jiggly.
- → Can I make this cake ahead of time?
-
Absolutely! This cake actually tastes better after chilling in the refrigerator overnight. The flavors meld together beautifully and the texture becomes even more creamy and decadent.
- → What if I don't like coconut?
-
Simply omit the coconut topping—the cake is delicious without it. You can substitute chopped nuts, mini marshmallows, or extra white chocolate chips for a different texture variation.
- → How should I store leftovers?
-
Keep the cake covered in the refrigerator for up to 3 days. Serve chilled or bring to room temperature before serving. The cream cheese filling makes this dessert best kept cool.
