 Save to Pinterest
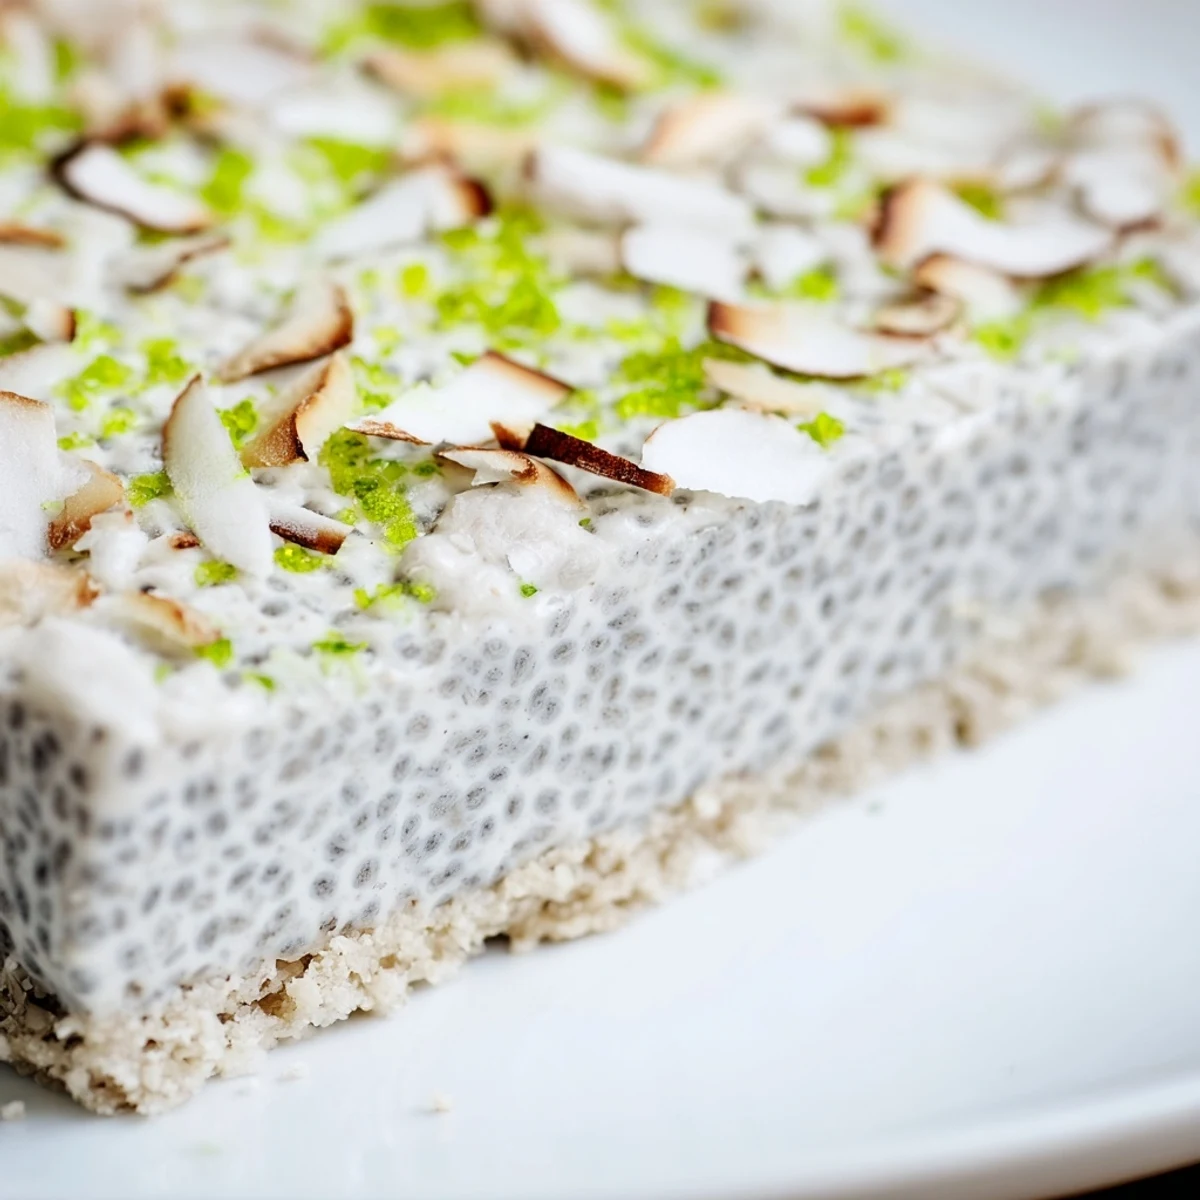
 These refreshing no-bake layers combine a nutty coconut-almond crust with a silky chia pudding infused with bright lime zest and juice. The base provides a satisfying crunch while the creamy topping delivers tropical notes and omega-3 rich texture. Chill for four hours until firm, then slice into portable squares ideal for grab-and-go breakfasts, afternoon snacks, or light desserts. The toasted coconut garnish adds irresistible crunch.
I was hosting a summer brunch and completely forgot about dessert until an hour before guests arrived. These bars saved me, and I've been making them ever since. The lime hits differently when everything else feels heavy and sweet.
My sister-in-law grabbed three of these before I could even get them plated. She swears she hates healthy desserts, but here we are.
Ingredients
- Unsweetened shredded coconut: Sweetened coconut turns these into candy bars, and the grassy vanilla notes of the raw stuff really shine against the lime
- Almond flour: Creates this crumbly shortbread texture that holds up beautifully under the soft pudding layer
- Maple syrup: Adds a caramel depth that white sugar just cant match, and it plays so nicely with coconut
- Coconut oil: Solidifies the base into something sliceable while adding that subtle coconut perfume throughout
- Chia seeds: These little guys transform coconut milk into proper pudding, no cooking required
- Full-fat coconut milk: The thick stuff from a can, not the carton. Thinner milk makes a sad, watery pudding layer
- Limes: Both zest and juice are non-negotiable. The zest carries the aromatic oils while the juice brings the bright acid
- Vanilla extract: Rounds everything out and keeps the lime from tasting too one-note sharp
Instructions
- Prep your pan and base:
- Line an 8-inch square pan with parchment paper, letting the paper hang over the sides like handles. Mix the coconut, almond flour, maple syrup, melted coconut oil, and salt in a bowl. Press it firmly into the pan and freeze while you make the pudding layer.
- Make the chia pudding:
- Whisk the coconut milk, chia seeds, maple syrup, lime zest, lime juice, vanilla, and salt in a bowl. Let it sit for 10 minutes, whisk again to break up clumps, then pour over your chilled base. Smooth the top and refrigerate for at least 4 hours.
- Finish and slice:
- Toast some extra coconut in a dry pan until golden and fragrant. Sprinkle the toasted coconut and fresh lime zest over the set bars. Lift them out using the parchment, slice into 12 pieces, and serve cold.
 Save to Pinterest
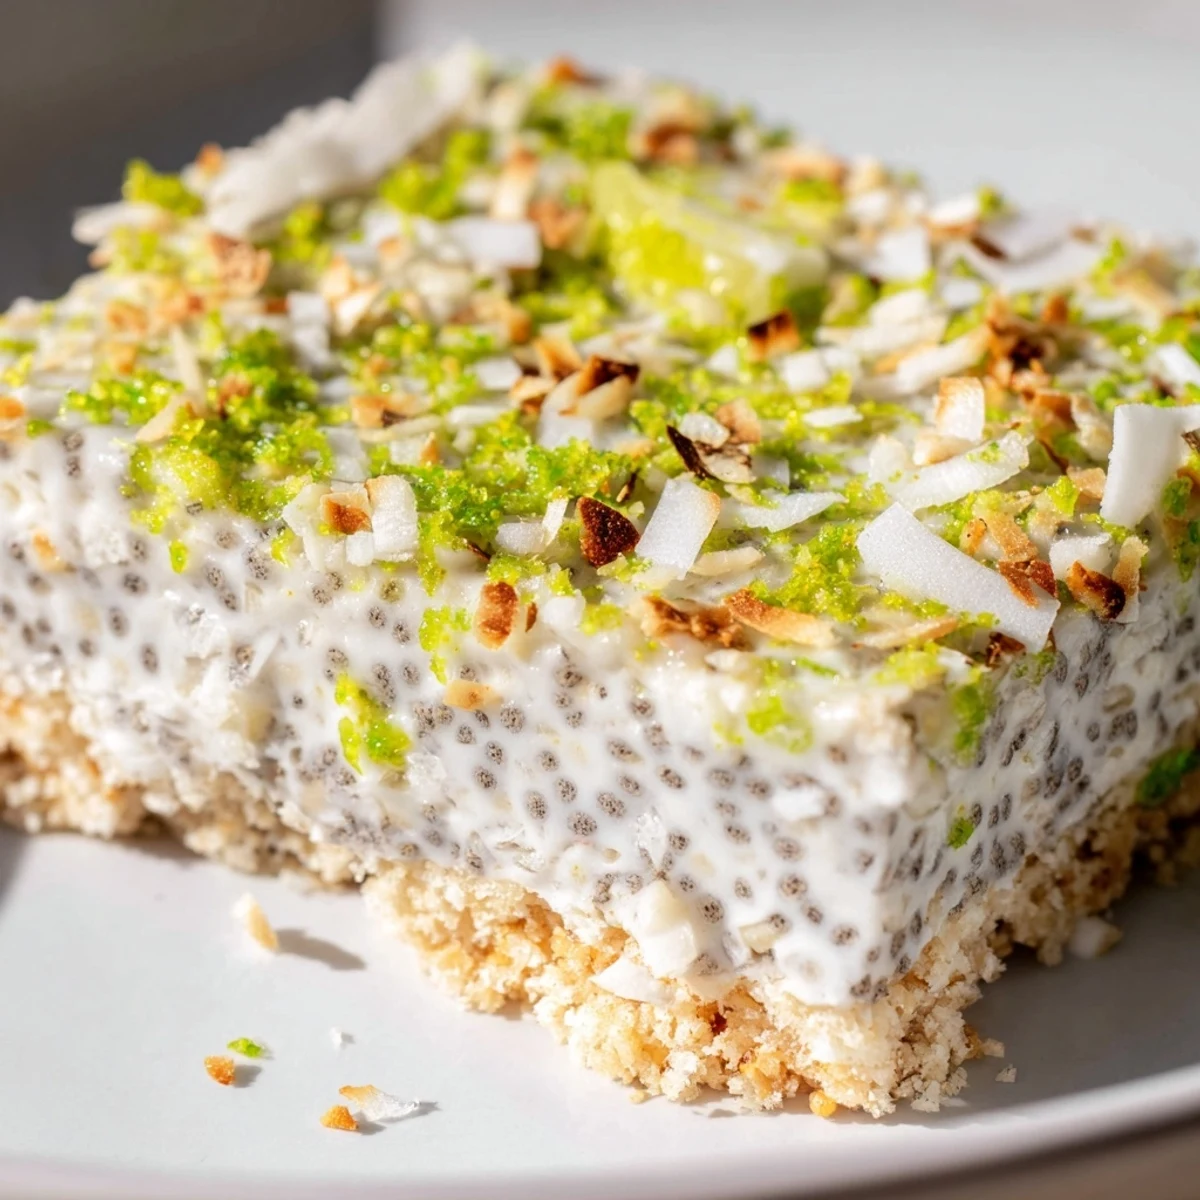
 These became my go-to contribution to potlucks after I realized they travel beautifully and people actually get excited about a dessert that wont make them feel gross afterward.
Making These Ahead
Ive made these up to three days ahead and they actually improve as the flavors meld. The lime softens into the coconut milk and the base firms up nicely. Just wait to add the toasted coconut topping until right before serving or it loses its crunch.
Serving Suggestions
Cold is the only way these shine. The chia pudding layer needs that firm set to feel luxurious against the crumbly base. I love serving them with a cup of peppermint tea after a spicy meal when something cooling feels like a relief.
Storage And Make It Yours
These keep for five days in the fridge and freeze surprisingly well for up to a month. I wrap individual bars in parchment and thaw them in the fridge overnight for emergency breakfasts or afternoon snacks. The texture holds up beautifully.
- Swap oat flour for the almond flour if you need nut-free
- Lemon works beautifully instead of lime, especially in spring when Meyer lemons are everywhere
- Press some fresh berries into the pudding layer before it sets for extra color and tang
 Save to Pinterest
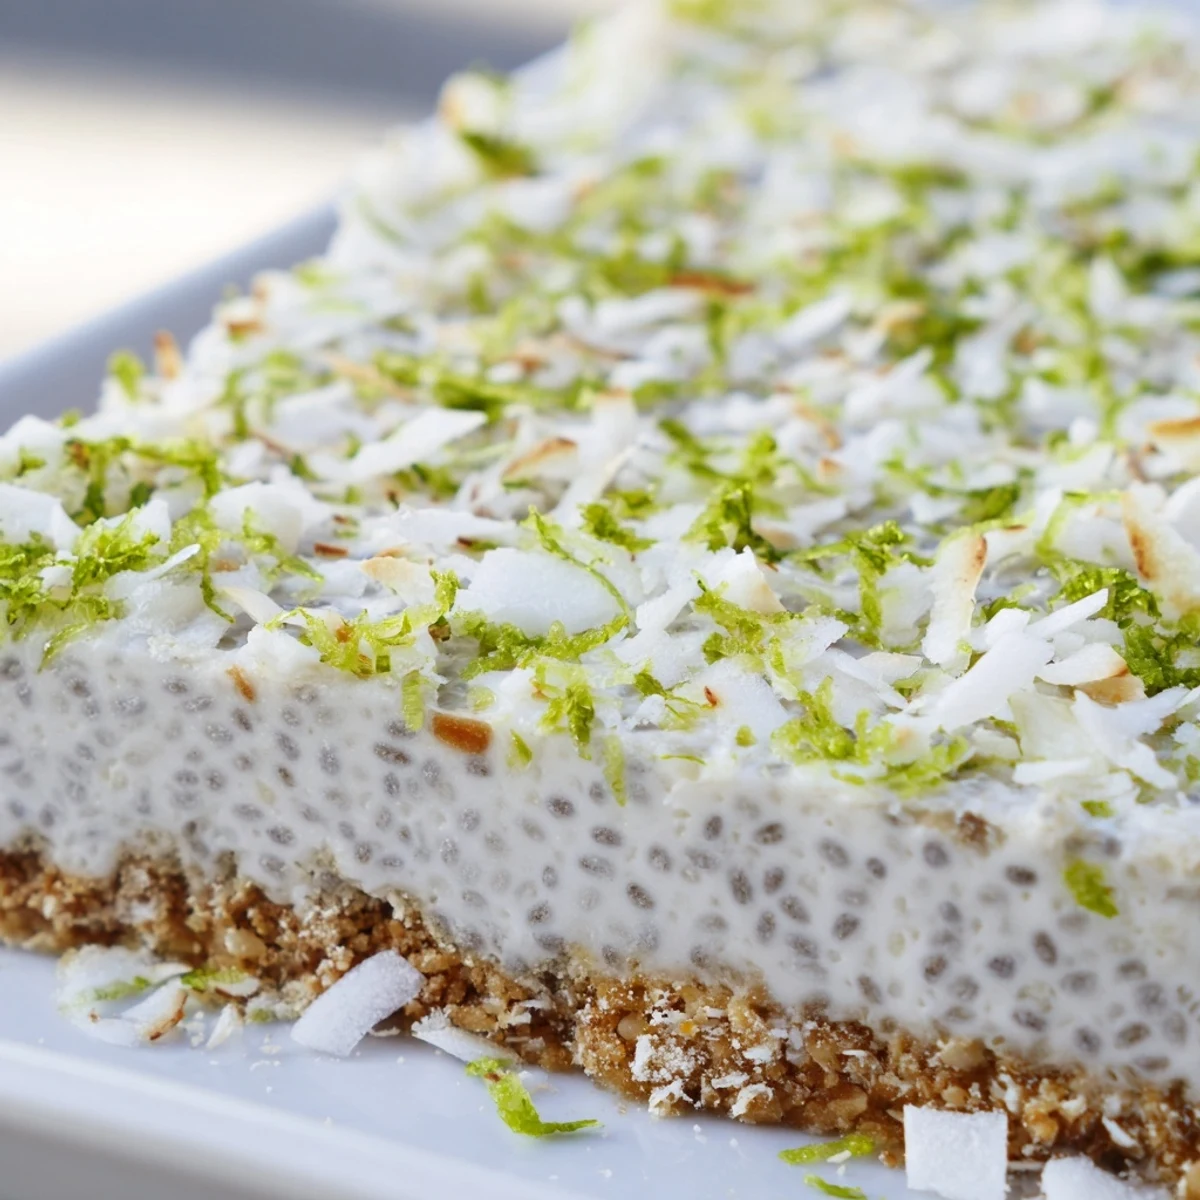
 Theres something deeply satisfying about a dessert that feels indulgent but actually leaves you feeling light and happy. These bars are that perfect sweet ending to any meal.
Recipe Questions & Answers
- → How long do these bars need to chill?
-
The bars require at least 4 hours in the refrigerator for the chia layer to set completely. For the best texture, overnight chilling yields the firmest, sliceable results. The chia seeds need adequate time to absorb the coconut milk and create a pudding-like consistency that holds its shape when cut.
- → Can I make these nut-free?
-
Yes, simply replace the almond flour with an equal amount of oat flour. Ensure your oats are certified gluten-free if needed. The texture will remain slightly nutty and the base will still press together beautifully with the coconut oil binding everything.
- → How should I store these bars?
-
Keep them in an airtight container in the refrigerator for up to 5 days. The bars maintain their texture best when chilled. For longer storage, wrap individually and freeze for up to 1 month—thaw in the refrigerator for 2-3 hours before serving.
- → Can I use fresh coconut milk instead of canned?
-
Canned full-fat coconut milk is recommended for its rich, creamy consistency. Fresh carton coconut milk is typically too thin and won't set properly. If you prefer a lighter version, use lite canned coconut milk, though the bars will be less creamy.
- → What can I substitute for maple syrup?
-
Agave syrup works seamlessly as a vegan alternative with similar sweetness. Honey adds a distinct floral note if you're not strictly vegan. Liquid stevia or monk fruit sweetener can reduce sugar content, though you may need to add 1-2 tablespoons of water to maintain proper moisture levels.
- → Why do I need to whisk the chia mixture twice?
-
Chia seeds tend to clump together when first added to liquid. The initial whisk distributes them evenly, while the second whisk after 10 minutes breaks up any gelatinous clumps that have formed. This ensures a smooth, uniform pudding layer without pockets of concentrated seeds.
