 Save to Pinterest
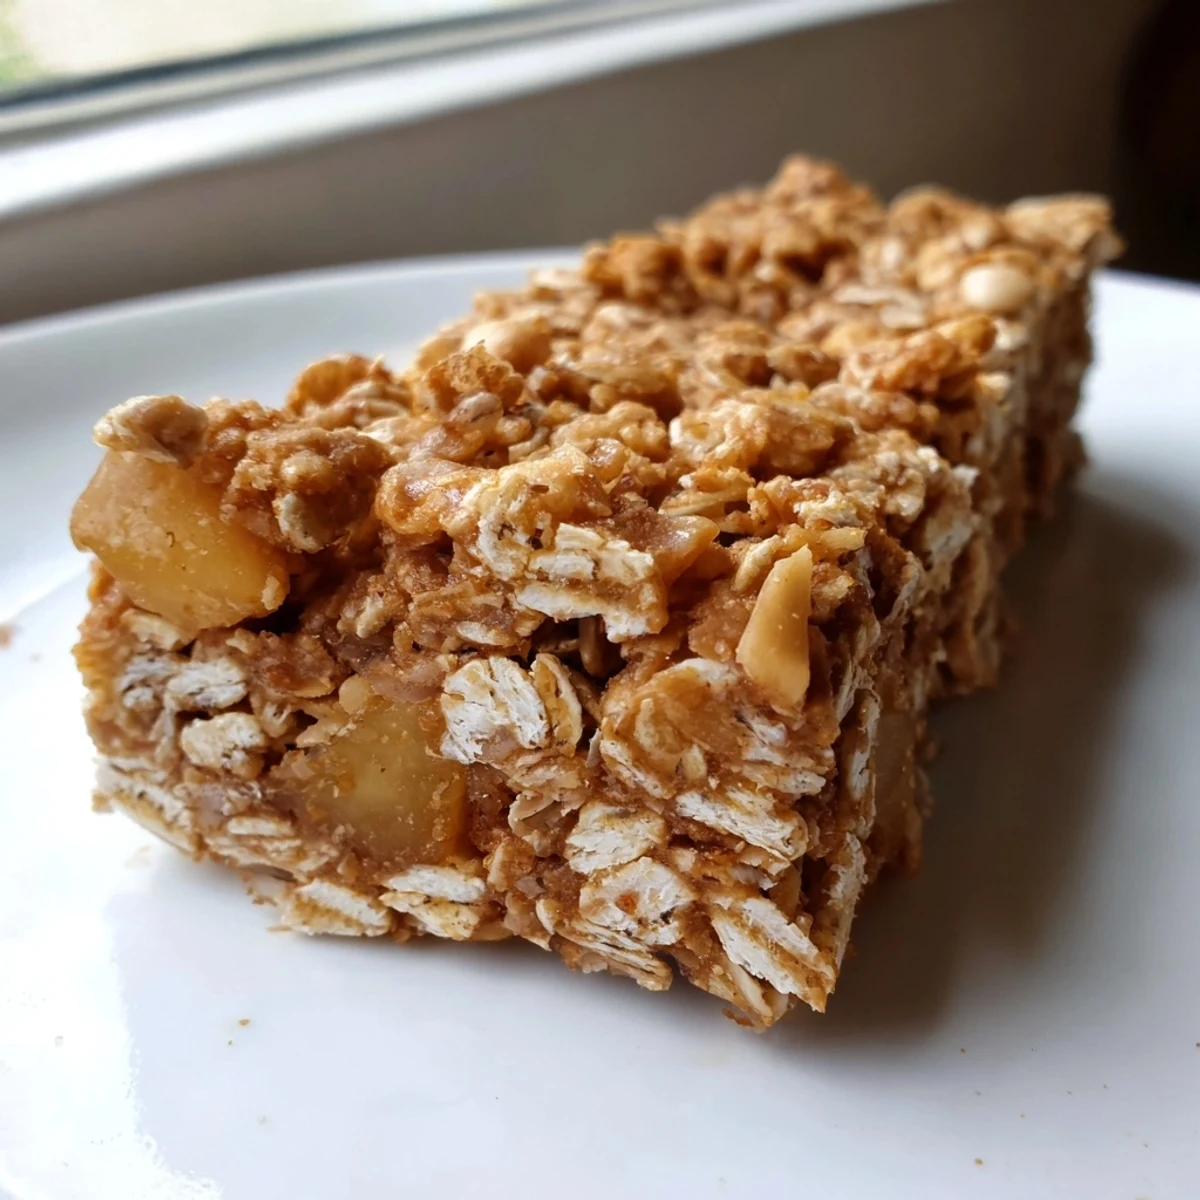
 These soft and chewy bars combine wholesome oats, crispy rice cereal, sweet dried apple pieces, and rich peanut butter into one satisfying handheld snack. The honey-sweetened mixture holds together perfectly after chilling, creating portable energy bars ideal for busy mornings, afternoon pick-me-ups, or post-workout fuel.
Customizing is simple—swap peanut butter for sunflower seed butter to make them nut-free, add chocolate chips for extra sweetness, or mix in your favorite seeds and dried fruits. They store beautifully in the refrigerator for up to a week, staying firm and ready whenever hunger strikes.
Last autumn, my kitchen became a granola bar laboratory after I realized store bought versions were either too expensive or filled with ingredients I could not pronounce. The first batch crumbled instantly, but by the third try, I had found the perfect sticky sweet ratio that keeps everything together without any baking at all. Now these apple peanut butter bars live in my refrigerator constantly, ready for afternoon hunger emergencies or road trip snacks.
My sister visited last month and ate three bars in one sitting, then asked for the recipe before she even left my driveway. There is something deeply satisfying about the chewy dried apple combined with the salty peanuts and creamy peanut butter that feels like a hug in bar form.
Ingredients
- 2 cups old-fashioned rolled oats: Steel cut will not work here, and quick oats turn to mush, so stick with the classic rolled variety for the perfect chewy texture
- 1 cup crispy rice cereal: This adds that essential crunch I crave in granola bars, plus it helps stretch the recipe without adding heavy ingredients
- 1/2 cup dried apple finely chopped: Chop these into small pieces so they distribute evenly throughout every bite instead of creating giant apple clusters
- 1/3 cup unsweetened shredded coconut: Totally optional, but I love the subtle sweetness and texture it brings
- 1/4 cup chopped peanuts: These add a salty crunch that balances the sweet honey and creamy peanut butter beautifully
- 1/2 teaspoon ground cinnamon: This makes the whole kitchen smell like autumn while they set
- 1/4 teaspoon salt: Do not skip this, it makes all the flavors pop
- 1/2 cup natural creamy peanut butter: The oil separation in natural peanut butter actually helps these bars hold together better than stabilized versions
- 1/3 cup honey: This acts as the glue that holds everything together while adding floral sweetness
- 2 tablespoons coconut oil melted: This helps the mixture firm up properly in the refrigerator
- 1 teaspoon pure vanilla extract: Stir this in after heating so you do not lose any of that fragrant vanilla flavor
Instructions
- Prep your pan like a pro:
- Line your 8x8 inch pan with parchment paper, letting the edges hang over two sides, which becomes your handy lifting mechanism later
- Mix the dry team:
- In a large bowl, combine the oats, rice cereal, dried apple, coconut, peanuts, cinnamon, and salt until everything is evenly distributed
- Make the sticky binder:
- Gently warm the peanut butter, honey, and coconut oil in the microwave or on the stove until it flows like warm caramel, then remove from heat and stir in the vanilla
- Bring it all together:
- Pour the warm peanut butter mixture over the dry ingredients and stir thoroughly, making sure no dry oats remain at the bottom of the bowl
- The crucial pressing step:
- Transfer the mixture to your prepared pan and press down firmly with a spatula or your hands, really compacting it so the bars hold their shape
- Patience pays off:
- Chill for at least one hour, though I often leave mine overnight for extra firm bars that are easier to cut
- Clean cutting:
- Use the parchment paper overhang to lift the entire slab out of the pan, then cut into 12 bars with a sharp knife
- Storage wisdom:
- Keep these in an airtight container in the refrigerator for up to a week, though they rarely last that long in my house
 Save to Pinterest
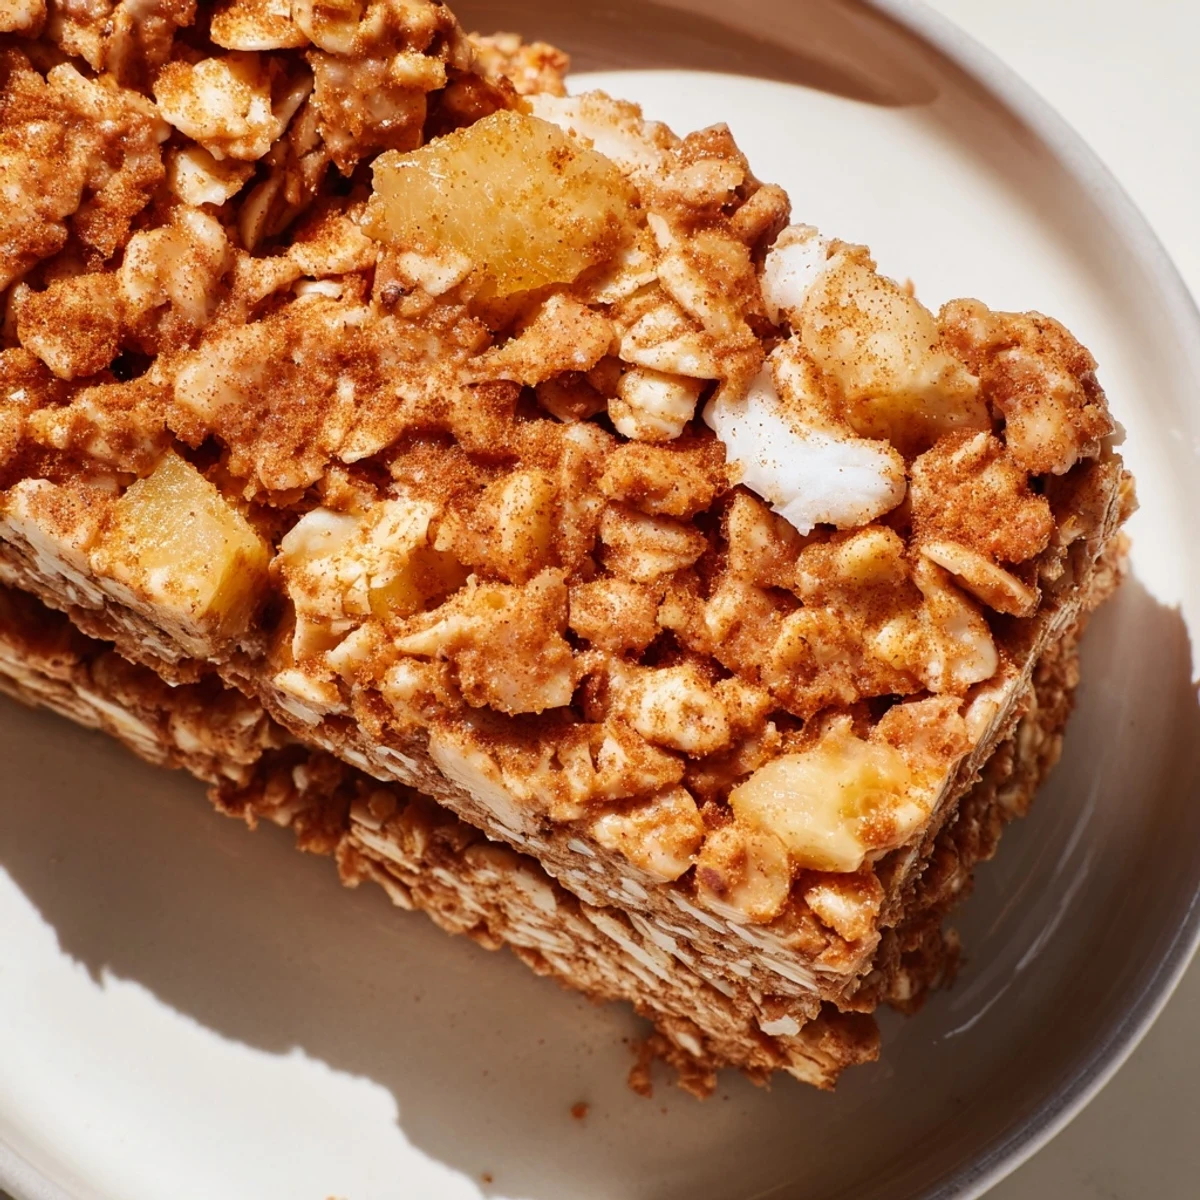
 These have become my go to contribution for potlucks and office snacks because people are always shocked they are homemade and gluten free. Something about that combination of apple and peanut butter feels nostalgic yet fresh at the same time.
Making Them Your Own
The beauty of this recipe is its flexibility. I have swapped the dried apple for chopped dried cherries, used almond butter instead of peanut butter, and added dark chocolate chips for a decadent version that my kids absolutely adore.
Nut Free Swaps
Sunflower seed butter works perfectly as a peanut butter substitute if you need to accommodate allergies. The flavor profile shifts slightly, but the texture and binding properties remain exactly the same.
Storage And Freezing
These bars freeze beautifully for up to three months if you wrap them individually in plastic wrap before popping them into a freezer bag. I often double the recipe and freeze half, which means I always have homemade snacks ready even during my busiest weeks.
- Layer bars between parchment paper in the freezer so they do not stick together
- Thaw frozen bars in the refrigerator for best texture
- Room temperature bars get softer but still hold together nicely
 Save to Pinterest
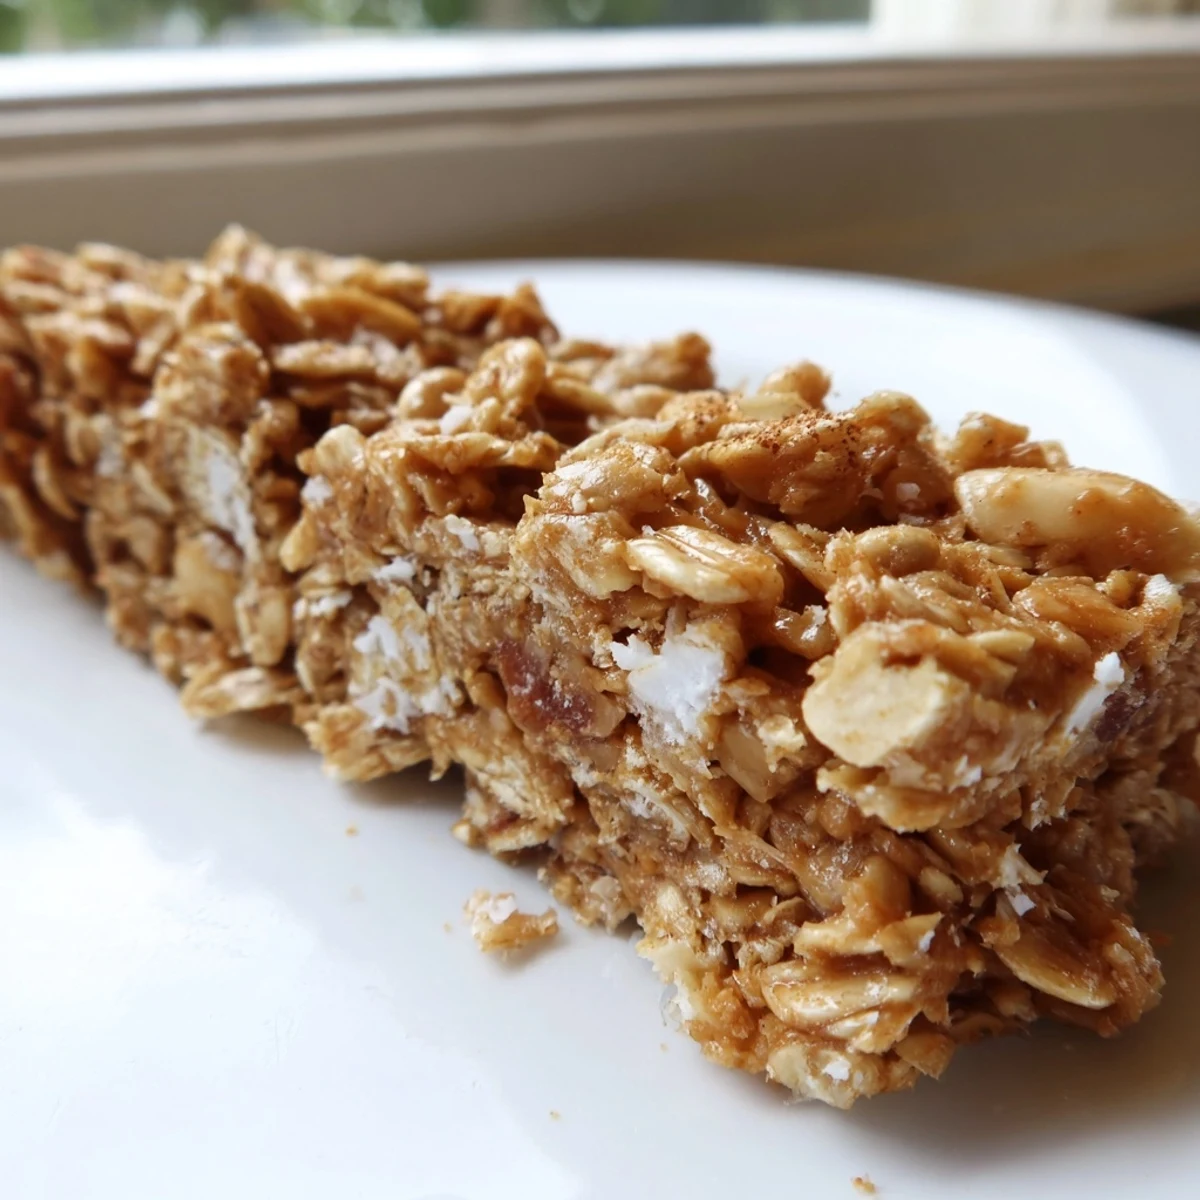
 There is something deeply satisfying about making your own granola bars, like you are outsmarting the entire snack aisle one batch at a time.
Recipe Questions & Answers
- → How long do these bars need to chill?
-
Refrigerate for at least one hour until firm. For best results, let them chill overnight—the flavors meld together beautifully and the bars slice more cleanly when fully set.
- → Can I use quick oats instead of old-fashioned rolled oats?
-
Old-fashioned rolled oats provide better texture and help the bars hold together. Quick oats may make the mixture too soft and crumbly, though they'll work in a pinch if that's what you have available.
- → What's the best way to store these granola bars?
-
Keep them in an airtight container in the refrigerator for up to one week. The cold temperature helps maintain their shape and chewy texture. You can also freeze individually wrapped bars for up to three months.
- → Can I make these without honey?
-
Yes! Substitute pure maple syrup, agave nectar, or date syrup one-for-one. These alternatives work equally well to bind the ingredients together and add natural sweetness.
- → Why do my bars fall apart when cutting?
-
Press the mixture firmly into the pan using the back of a spatula or clean hands—apply more pressure than you think you need. If they're still crumbling, they may need more chilling time or a touch more honey to help bind everything together.
- → Are these suitable for meal prep?
-
Absolutely! Make a batch on Sunday and you'll have grab-and-go snacks for the entire week. They're perfect for school lunches, office snacks, or pre- and post-workout fuel.
