 Save to Pinterest
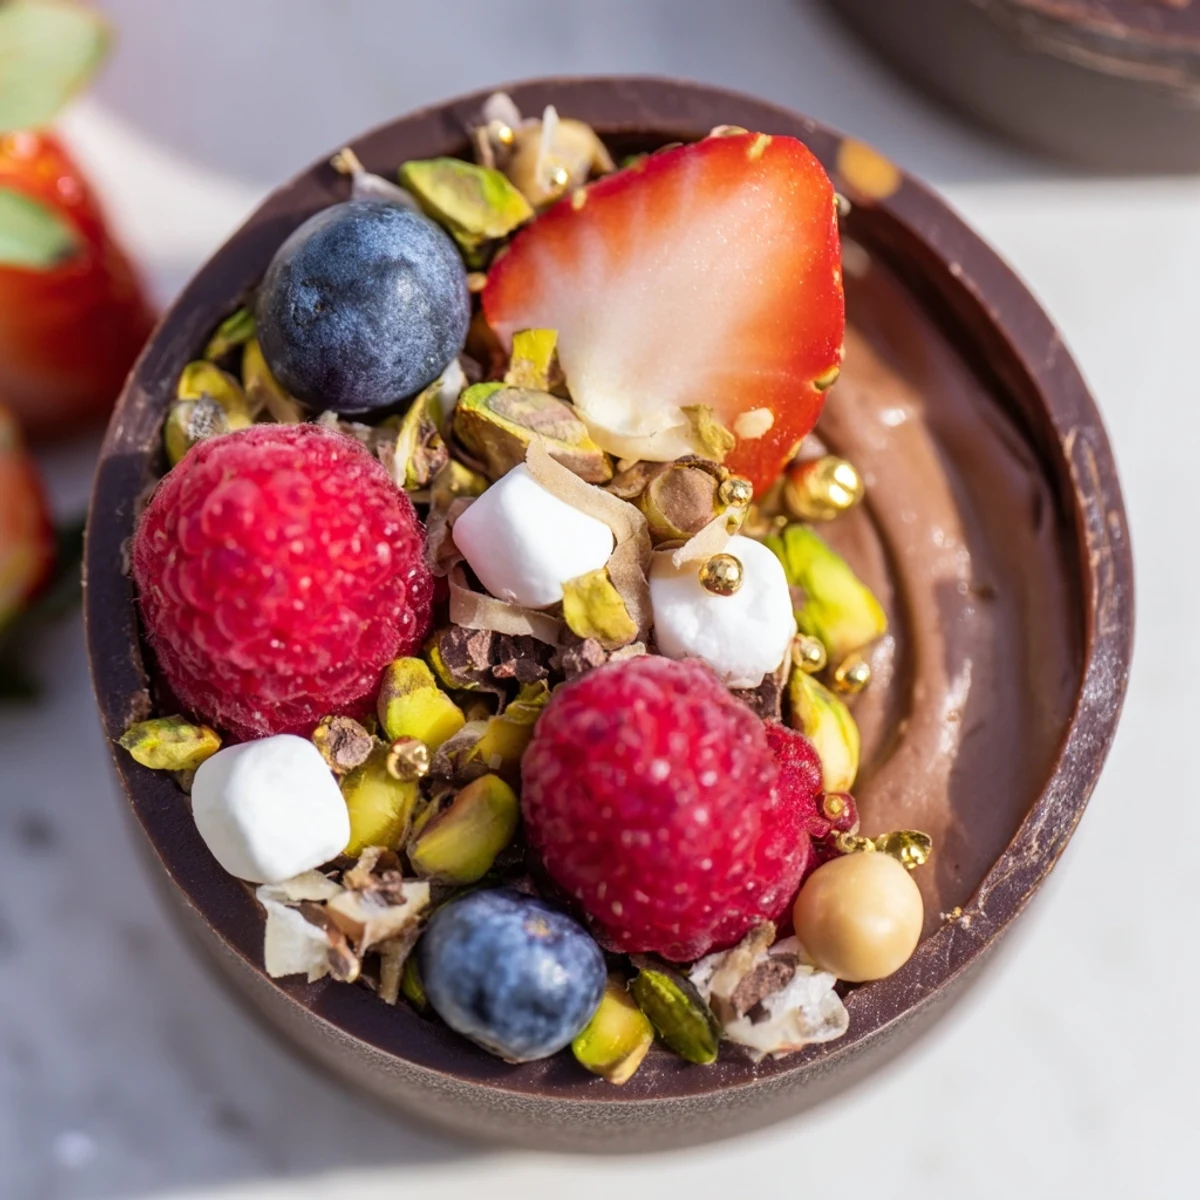
 Create stunning chocolate grazing cups with this elegant dessert featuring handmade dark chocolate cups filled with silky chocolate mousse. Each cup is topped with fresh mixed berries, chopped nuts, mini marshmallows, and chocolate curls for a visually stunning presentation.
These indulgent treats require just 25 minutes of active preparation and 10 minutes of cooking, making them perfect for entertaining. The combination of velvety mousse and crisp chocolate shells creates an irresistible texture contrast.
Customize with white or milk chocolate variations, add orange liqueur for an adult twist, and serve chilled for the ultimate sweet indulgence at any special occasion.
The first time I made these chocolate cups was for my sister's birthday dinner last winter. I'd been scrolling through dessert inspiration at midnight, feeling entirely too ambitious, but something about edible vessels made of pure chocolate called to me. My kitchen looked like a cocoa bomb had gone off by midnight, but when I presented those little cups filled with mousse and berries, nobody cared about the chocolate smears on my countertops. Now they're my go-to when I need something that looks like I spent hours but secretly came together in an evening.
I remember bringing a batch to a summer potluck and watching them disappear within minutes. My friend Sarah, who claims she doesn't even like sweets, went back for seconds and asked if I'd teach her the technique. There's something irresistibly playful about eating your serving vessel that makes people smile before they even take a bite.
Ingredients
- 200 g dark chocolate (at least 60% cocoa), chopped: The higher cocoa percentage creates cups that snap beautifully and aren't overly sweet
- 200 ml heavy cream: Cold cream whips up faster and holds its structure longer for that cloud-like mousse texture
- 100 g dark chocolate, chopped: Melting this into your whipped cream creates the richest mousse without being heavy
- 2 tbsp powdered sugar: Just enough sweetness to balance the dark chocolate without overpowering it
- 1 tsp vanilla extract: Pure vanilla extract rounds out the chocolate flavor and adds aromatic depth
- 1 cup fresh mixed berries: The tartness cuts through the rich chocolate while adding bright pops of color
- 2 tbsp chopped nuts: Toast them lightly beforehand for an extra layer of flavor and crunch
- 2 tbsp mini marshmallows: These add playful texture and remind everyone that dessert should be fun
- 2 tbsp chocolate curls or shavings: Use a vegetable peeler on a room-temperature chocolate bar for effortless curls
- 1 tbsp edible gold leaf or pearls (optional): These transform the cups from lovely to genuinely show-stopping
Instructions
- Craft your chocolate cups:
- Melt 200 g chopped dark chocolate until smooth, then use a pastry brush to coat the insides of 6 silicone or paper liners with an even layer. Chill on a tray for 20 minutes until completely firm before carefully peeling away the liners.
- Whip up the mousse:
- Gently melt 100 g dark chocolate and let it cool slightly while you whip cold heavy cream with powdered sugar and vanilla extract to soft peaks. Fold a spoonful of cream into the chocolate to lighten it, then gently fold the chocolate mixture back into the remaining whipped cream.
- Bring it all together:
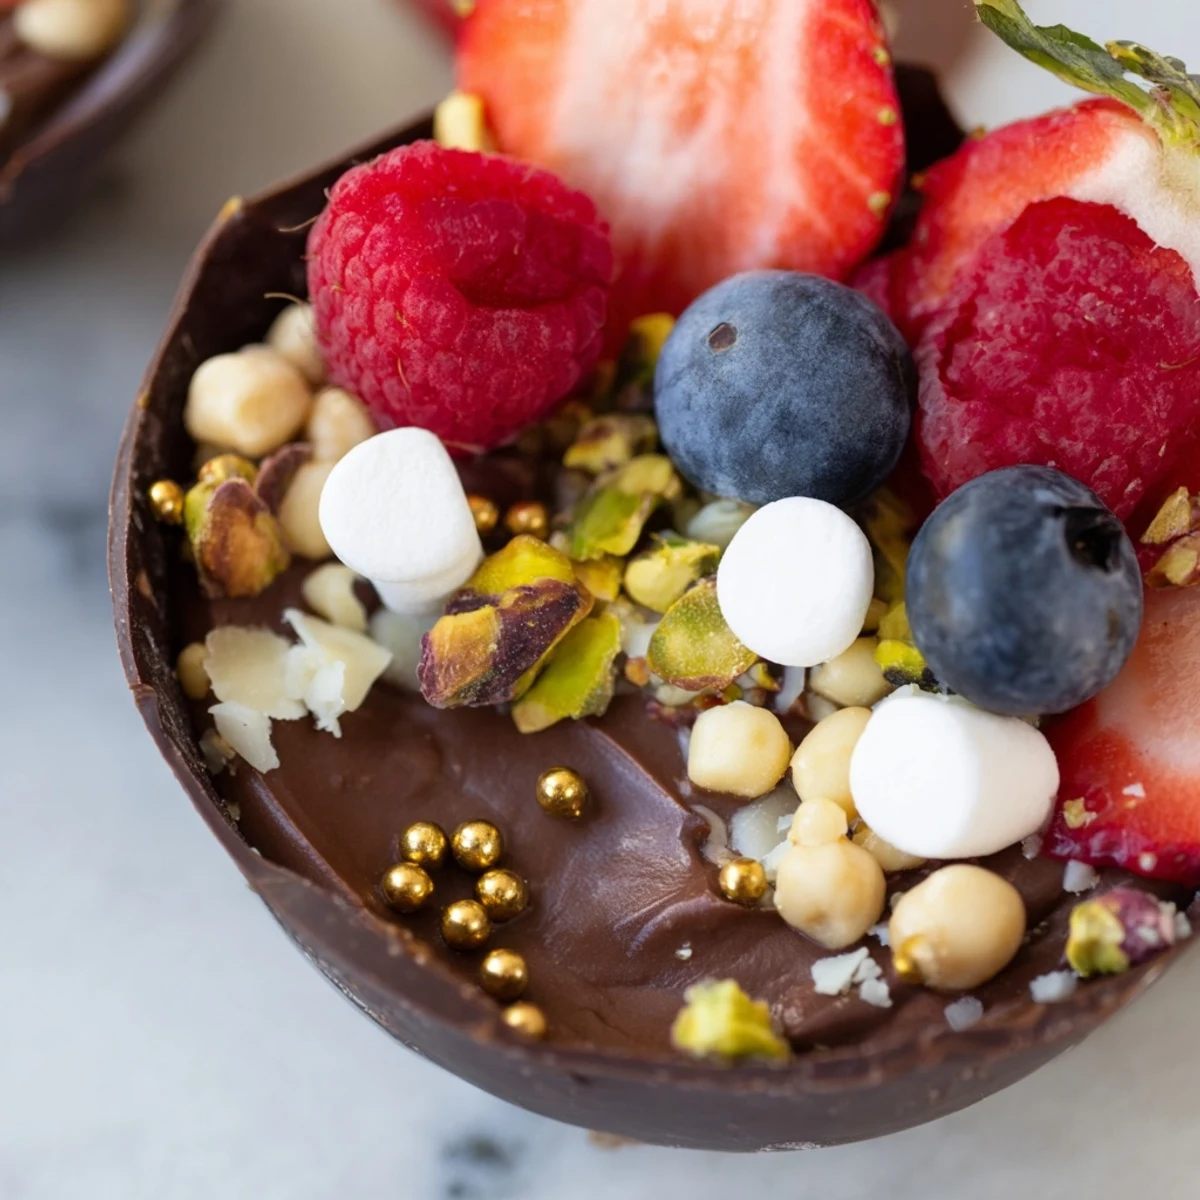
- Pipe or spoon the mousse into each chocolate cup, filling about two-thirds full, then artfully arrange fresh berries, chopped nuts, mini marshmallows, and chocolate curls on top. Chill for at least 20 minutes before serving.
 Save to Pinterest
 These became a Christmas tradition after my niece declared them better than anything at our fancy bakery downtown. Now every December, we set up an assembly line with holiday music playing, creating batches for teachers, neighbors, and anyone else we can justify spoiling with edible chocolate cups.
Making It Your Own
Swap white or milk chocolate for either the cups or mousse to completely transform the flavor profile. Sometimes I make half dark and half white so guests can choose their chocolate intensity, and the visual contrast is stunning on the dessert table.
Timing Is Everything
These really do taste best the same day they're made—the chocolate shells start to lose their perfect snap after 24 hours. I've learned to make the cups in the morning, fill them just before serving, and accept that they'll never look as perfect on day two.
Perfect Presentation
Arranging the toppings is where you can let your creativity shine and make each cup feel unique. Think about color contrast and height variation as you place each element.
- Place larger berries like strawberries first as your anchors
- Tuck smaller elements into gaps rather than piling everything on top
- Add your most delicate garnish like gold leaf at the very end
 Save to Pinterest
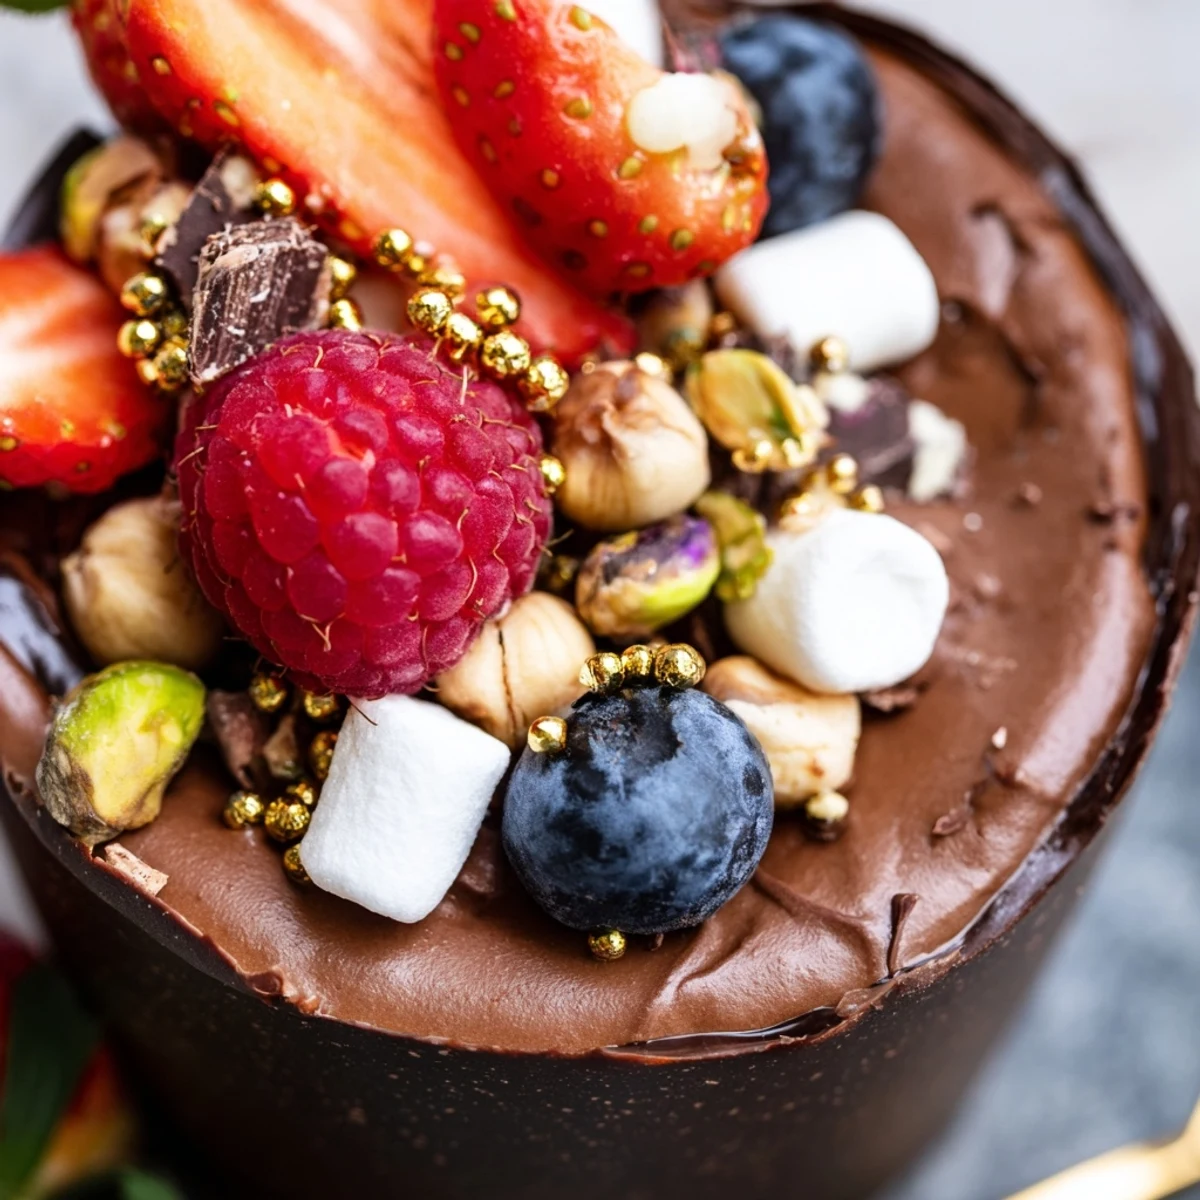
 There's something deeply satisfying about serving dessert in edible containers—it feels indulgent, playful, and utterly memorable all at once.
Recipe Questions & Answers
- → How far in advance can I make these chocolate cups?
-
Best made on the day of serving for optimal texture and freshness. The chocolate cups can be prepared up to 24 hours ahead and stored in an airtight container. Fill with mousse and toppings 2-4 hours before serving to maintain the crisp chocolate shell and fresh garnish quality.
- → Can I use milk or white chocolate instead of dark chocolate?
-
Absolutely! Swap dark chocolate for milk or white chocolate in both the cups and mousse. Note that white chocolate may require slightly different melting temperatures and can be sweeter, so adjust powdered sugar accordingly. The technique remains the same regardless of chocolate type.
- → What other toppings work well with these grazing cups?
-
Beyond berries and nuts, try crushed cookies, pretzel pieces, coconut flakes, caramel drizzle, crushed candy canes for holidays, or fresh mint leaves. For adult gatherings, consider candied ginger, citrus zest, or edible flowers. Keep toppings small and bite-sized for the best grazing experience.
- → Do I need special equipment to make the chocolate cups?
-
No specialized equipment required! Silicone or paper cupcake liners work perfectly as molds. Use a microwave-safe bowl or double boiler for melting chocolate, a pastry brush or spoon for coating liners, and basic mixing tools. The key is ensuring even chocolate coating and proper chilling time between steps.
- → How should I store leftover chocolate grazing cups?
-
Store assembled cups in the refrigerator in an airtight container for up to 2 days. Note that the chocolate shells may soften slightly from the mousse filling over time. For best results, store unfilled chocolate cups separately and fill within 4 hours of serving to maintain texture and presentation quality.
- → Can I make these cups dairy-free or vegan?
-
Yes! Use dairy-free dark chocolate (check labels for milk ingredients), coconut cream or plant-based heavy cream alternative for the mousse, and skip marshmallows or use vegan versions. The technique works beautifully with vegan alternatives, though chilling times may vary slightly.
