 Save to Pinterest
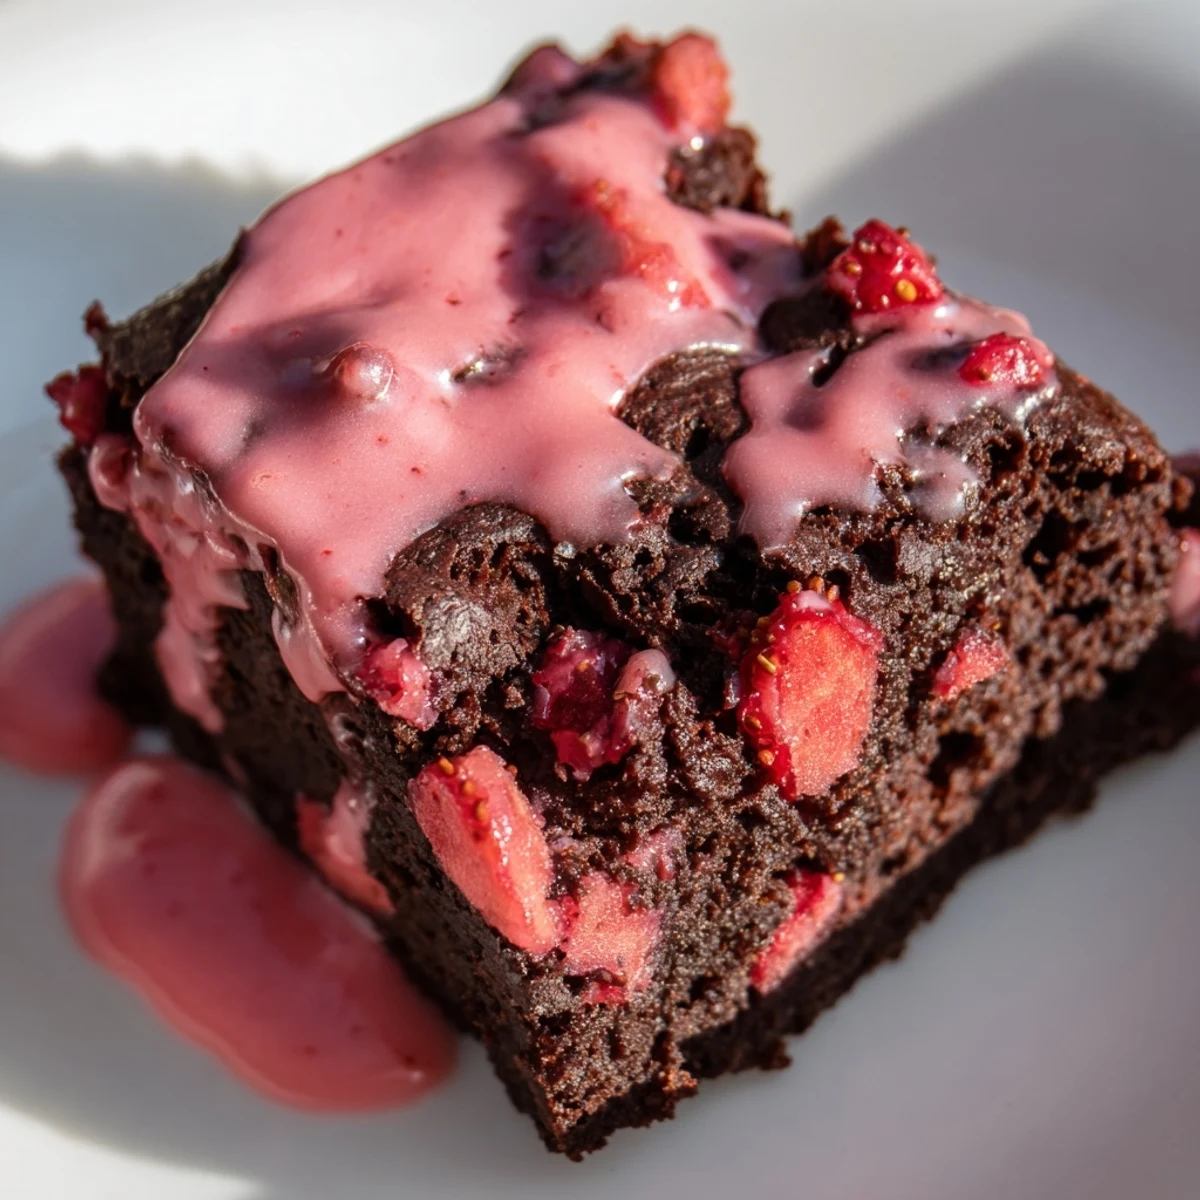
 These fudgy brownies feature fresh strawberries folded into a rich cocoa batter, creating a delightful chocolate-fruit combination. The preparation takes just 15 minutes, followed by 30 minutes of baking until set with moist crumbs. An optional strawberry glaze adds an extra layer of fruity sweetness and vibrant color. Perfect for afternoon snacks or quick desserts, these vegetarian treats stay fresh for three days when stored properly.
Last summer, my neighbor brought over a basket of strawberries from her garden, more than we could possibly eat before they turned. I was planning to make brownies for a potluck anyway, and on impulse, I decided to mash some of those berries right into the batter. Everyone kept asking what made them so different, and honestly, I almost did not tell them it was such a happy accident.
My daughter helped me make these for her birthday treat, and she was so proud telling everyone at school that she mashed the strawberries herself. The pink streaks running through the dark chocolate made them feel extra special, like something you would buy at a fancy bakery. Now she asks for strawberry brownies instead of cake every year.
Ingredients
- 1 cup fresh strawberries hulled and diced: Use ripe berries that give slightly when pressed, and do not worry about making the pieces perfectly uniform since they will be mashed anyway
- 1/2 cup unsalted butter melted: Let the butter cool slightly after melting so it does not cook the eggs when you whisk them in
- 1 cup granulated sugar: The sugar helps create that signature shiny crackly top on the brownies while balancing the tartness of the strawberries
- 2 large eggs: Room temperature eggs will incorporate more smoothly into the batter
- 1 teaspoon vanilla extract: Pure vanilla extract makes a noticeable difference here, especially since the strawberry flavor is subtle
- 3/4 cup all-purpose flour: Measure by spooning the flour into your measuring cup and leveling it off, avoid scooping directly
- 1/4 cup unsweetened cocoa powder: Dutch-processed cocoa gives a deeper chocolate flavor, but regular cocoa works perfectly fine too
- 1/4 teaspoon salt: This tiny amount brightens all the flavors and keeps the brownies from tasting flat
Instructions
- Prep your pan and oven:
- Preheat the oven to 350°F and line an 8x8-inch baking pan with parchment paper, letting the paper hang over the edges so you can lift the brownies out later
- Mash the strawberries:
- In a small bowl, use a fork to mash the diced strawberries until they are juicy but still have some visible chunks, like a rustic jam
- Whisk the wet ingredients:
- In a large bowl, whisk the melted butter and sugar until combined, then add the eggs and vanilla, whisking until the mixture looks smooth and glossy
- Add the dry ingredients:
- Sift in the flour, cocoa powder, and salt, then fold gently with a spatula just until no dry streaks remain, being careful not to overmix
- Fold in the strawberries:
- Gently fold the mashed strawberries into the batter, leaving some streaks of red visible rather than mixing them in completely
- Bake until just set:
- Pour the batter into your prepared pan, smooth the top, and bake for 28 to 32 minutes until a toothpick comes out with moist crumbs, not wet batter
- Cool completely:
- Let the brownies cool completely in the pan before slicing, which helps them set and makes cutting easier
 Save to Pinterest
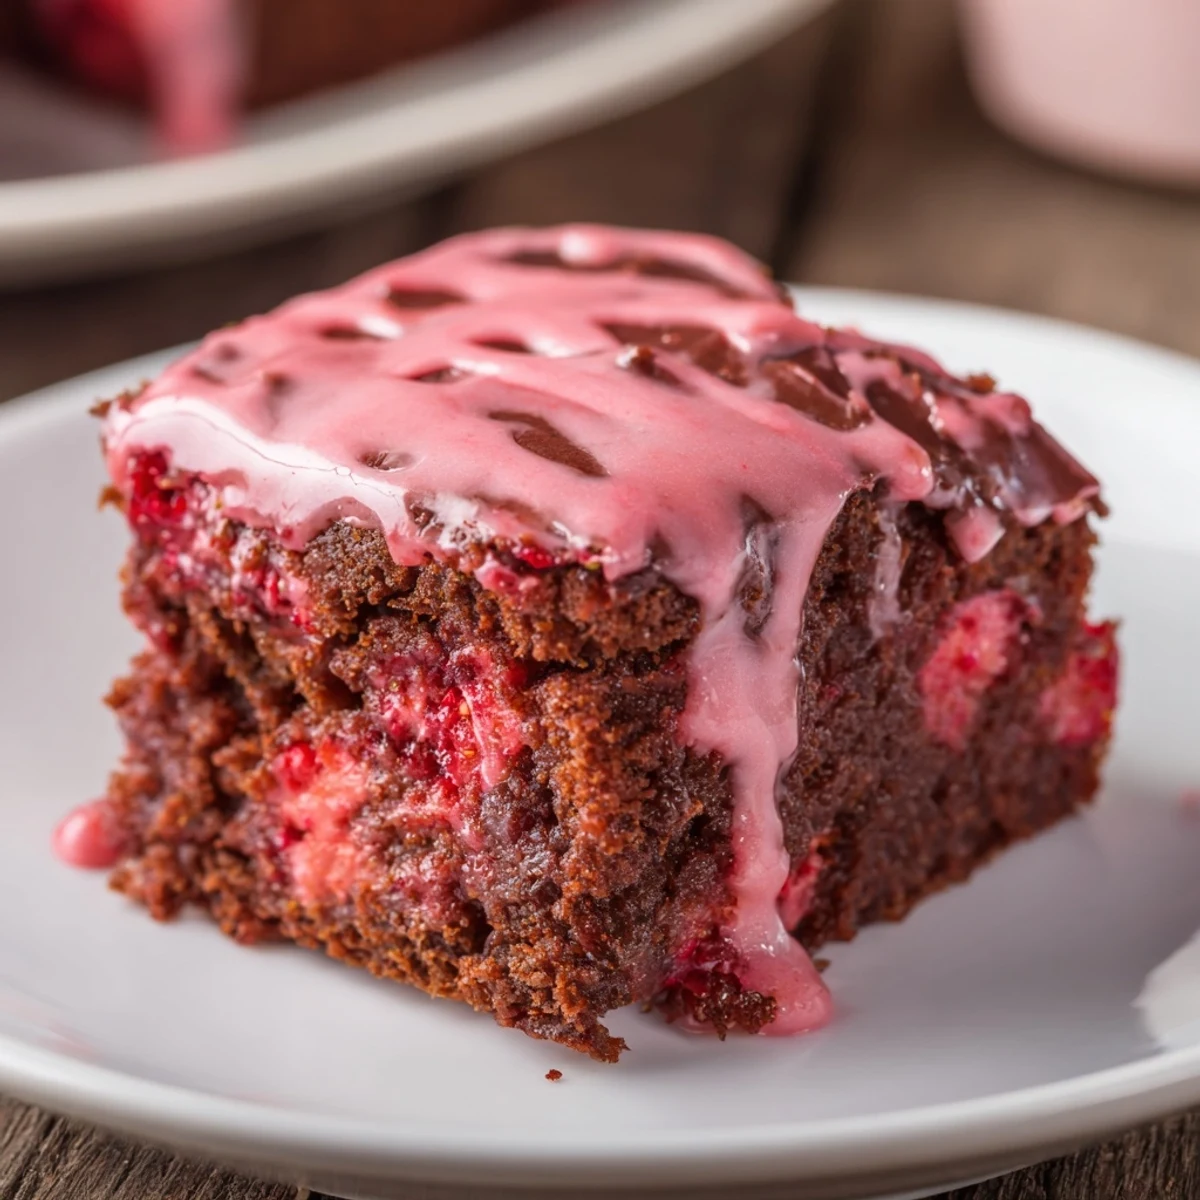
 These brownies have become my go-to for summer gatherings because they feel like something special but are not complicated to put together. People always seem surprised by how well the strawberry and chocolate flavors work together, like a chocolate covered strawberry in brownie form.
Making the Optional Glaze
The glaze is definitely not necessary, but it adds such a pretty finish and an extra punch of strawberry flavor. Puree the strawberries first, then whisk them with the powdered sugar until the mixture is smooth and drizzling consistency. Pour it over the cooled brownies and let it set for about 15 minutes before slicing.
Storage Tips
Because of the fresh fruit, these brownies are best eaten within the first two days. Store them in an airtight container at room temperature, placing a piece of parchment paper between layers if you stack them. After day three, the texture starts to soften more than most people prefer, though they still taste delicious.
Serving Suggestions
These are perfect on their own, but a scoop of vanilla ice cream turns them into a proper dessert. They also pair beautifully with fresh strawberries on the side for a simple but elegant presentation.
- Warm them slightly before serving for an extra fudgy texture
- Dust with powdered sugar if you skip the glaze but want something decorative
- Cut them into small squares since they are quite rich
 Save to Pinterest
 I hope these strawberry brownies become a favorite in your kitchen too. There is something so satisfying about turning simple ingredients into something that makes people smile.
Recipe Questions & Answers
- → Can I use frozen strawberries instead of fresh?
-
Yes, frozen strawberries work well in this batter. Thaw them completely and drain excess liquid before mashing and folding into the mixture to prevent the brownies from becoming too wet.
- → How do I know when the brownies are done baking?
-
Insert a toothpick into the center of the pan. It should come out with a few moist crumbs clinging to it, not completely clean. This indicates fudgy texture without being underbaked.
- → Can I make these without the glaze?
-
Absolutely. The glaze is optional and adds extra sweetness and visual appeal. The brownies are delicious on their own with just the strawberries folded into the batter.
- → How should I store these brownies?
-
Keep them in an airtight container at room temperature for up to three days. The glaze may soften slightly over time, but the texture remains enjoyable. Avoid refrigerating as this can dry out the fudgy interior.
- → Can I add white chocolate chips?
-
White chocolate chips complement the strawberry flavor beautifully. Fold about 1/2 cup into the batter along with the mashed strawberries for extra creamy sweetness and texture contrast.
- → What size pan should I use?
-
An 8x8-inch (20x20 cm) baking pan works perfectly for this yield. Using a larger pan will result in thinner brownies with shorter baking time, while a smaller pan creates thicker squares that may need additional minutes in the oven.
