 Save to Pinterest
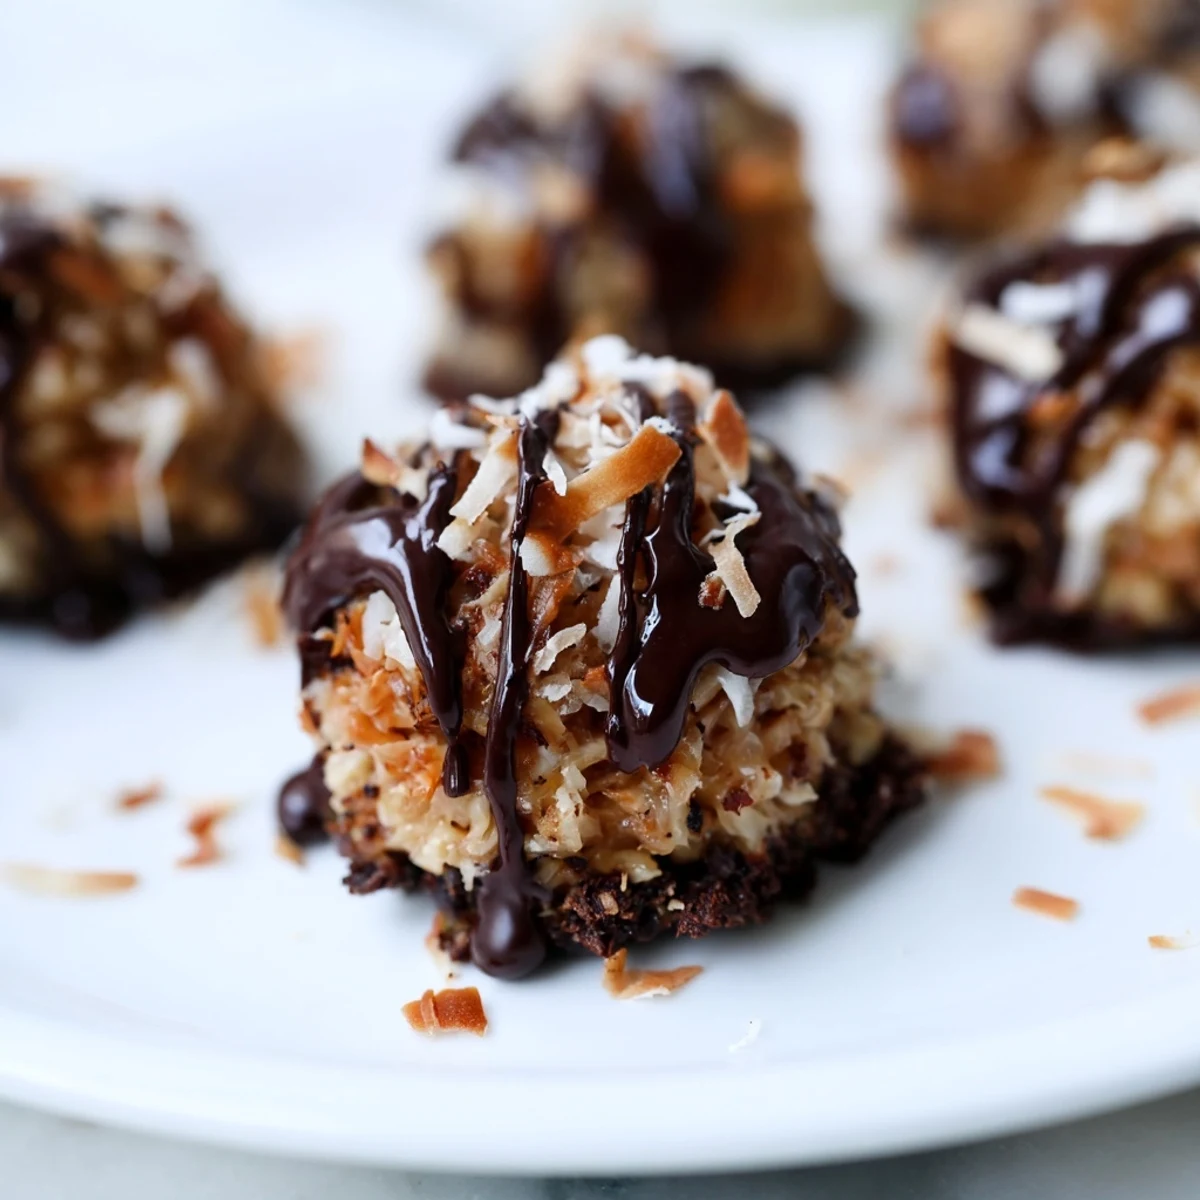
 These delightful no-bake treats bring together the classic combination of chocolate, caramel, and coconut in just 20 minutes. The base features naturally sweet dates and cocoa, while the caramel layer uses creamy almond butter with maple syrup. A final coating of dark chocolate adds the perfect finishing touch to these bite-sized desserts.
My youngest daughter came home from school one day raving about Samoa cookie season, and I stood in the grocery aisle staring at $7 boxes realizing I could make something better in my kitchen. These little bites started as an experiment during a rainy Sunday afternoon when we had coconut and dates but zero ambition to turn on the oven. Now they are the most requested treat in our house.
Last summer I made three batches for a neighborhood block party and watched them disappear in twenty minutes flat. My neighbor Sarah who claims to dislike coconut texted me at midnight that same night begging for the recipe because she could not stop thinking about them.
Ingredients
- 1 cup pitted dates: These natural sweeteners create the perfect sticky base without any refined sugar
- 1 cup unsweetened shredded coconut: The foundation of that classic Samoa flavor we all love
- 1/2 cup almond flour: Adds a subtle nutty richness and helps bind everything together
- 2 tbsp cocoa powder: Deepens the chocolate flavor and gives the base its beautiful dark color
- 1/4 tsp salt: A tiny pinch that makes all the flavors pop and feel complete
- 1/2 cup creamy almond butter: Creates the most luscious caramel-like layer you will ever taste
- 2 tbsp maple syrup: Just enough natural sweetness to make the caramel coating irresistible
- 1/2 cup toasted shredded coconut: Toasting transforms the coconut and adds that crucial crunch
- 3 oz dark chocolate: The coating that makes these feel like a truly indulgent treat
- 1 tsp coconut oil: Helps the chocolate set perfectly and creates that gorgeous snap
Instructions
- Prepare your workspace:
- Line a baking sheet with parchment paper now so you are not scrambling later when your hands are covered in sticky mixture
- Make the base:
- Blend dates coconut almond flour cocoa powder and salt in your food processor until the mixture sticks together when you press it between your fingers
- Shape the bites:
- Scoop about one tablespoon of mixture and press firmly into a ball then flatten slightly into a disc shape and repeat until all mixture is used
- Create the caramel layer:
- Mix almond butter and maple syrup in a small bowl until completely smooth then stir in your toasted coconut until every bit is coated
- Assemble the layers:
- Top each base with a heaping teaspoon of caramel coconut mixture and press gently so it sticks without squishing the base
- Melt the chocolate:
- Combine dark chocolate and coconut oil in a microwave safe bowl and heat in thirty second bursts stirring between each until glossy and smooth
- Add the chocolate coating:
- Dip the bottom of each bite into melted chocolate place back on parchment then drizzle the remaining chocolate over the tops in pretty patterns
- Let them set:
- Refrigerate for at least thirty minutes until the chocolate is completely firm before serving or storing
 Save to Pinterest
 My mom who usually turns her nose up at healthy dessert alternatives tried one and immediately asked if I could make her own stash to keep at her house. Watching someone realize that good for you can actually taste incredible is my favorite part of making these.
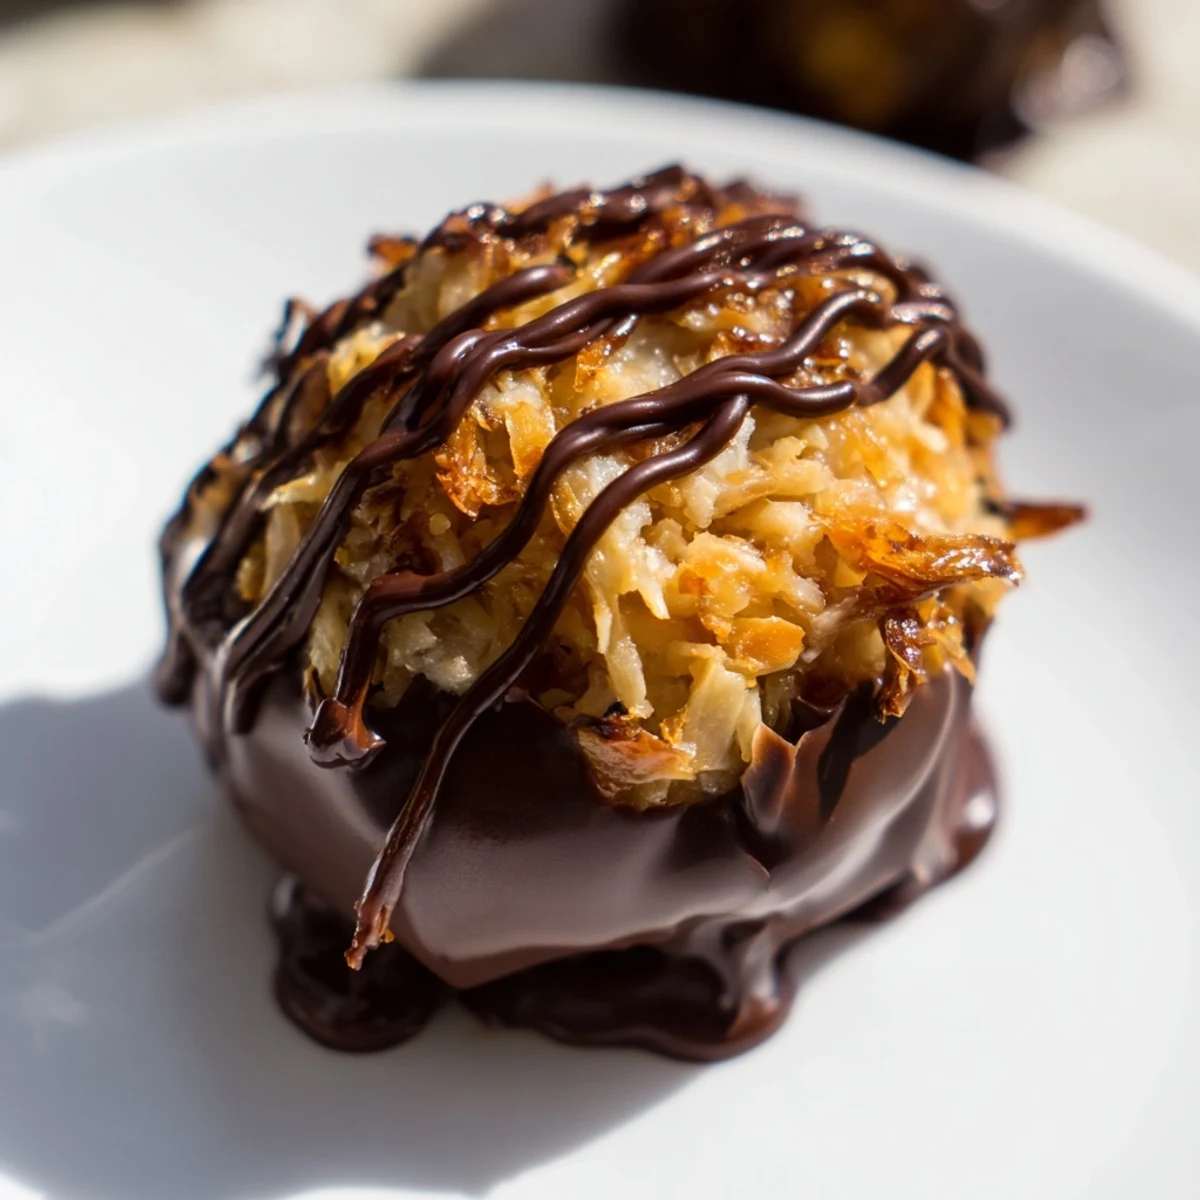
Getting The Perfect Texture
The difference between good and amazing bites comes down to how finely you process the base mixture. You want it sticky enough to hold together but still with tiny flecks of coconut visible throughout. I pulse mine about fifteen times and check the texture before continuing.
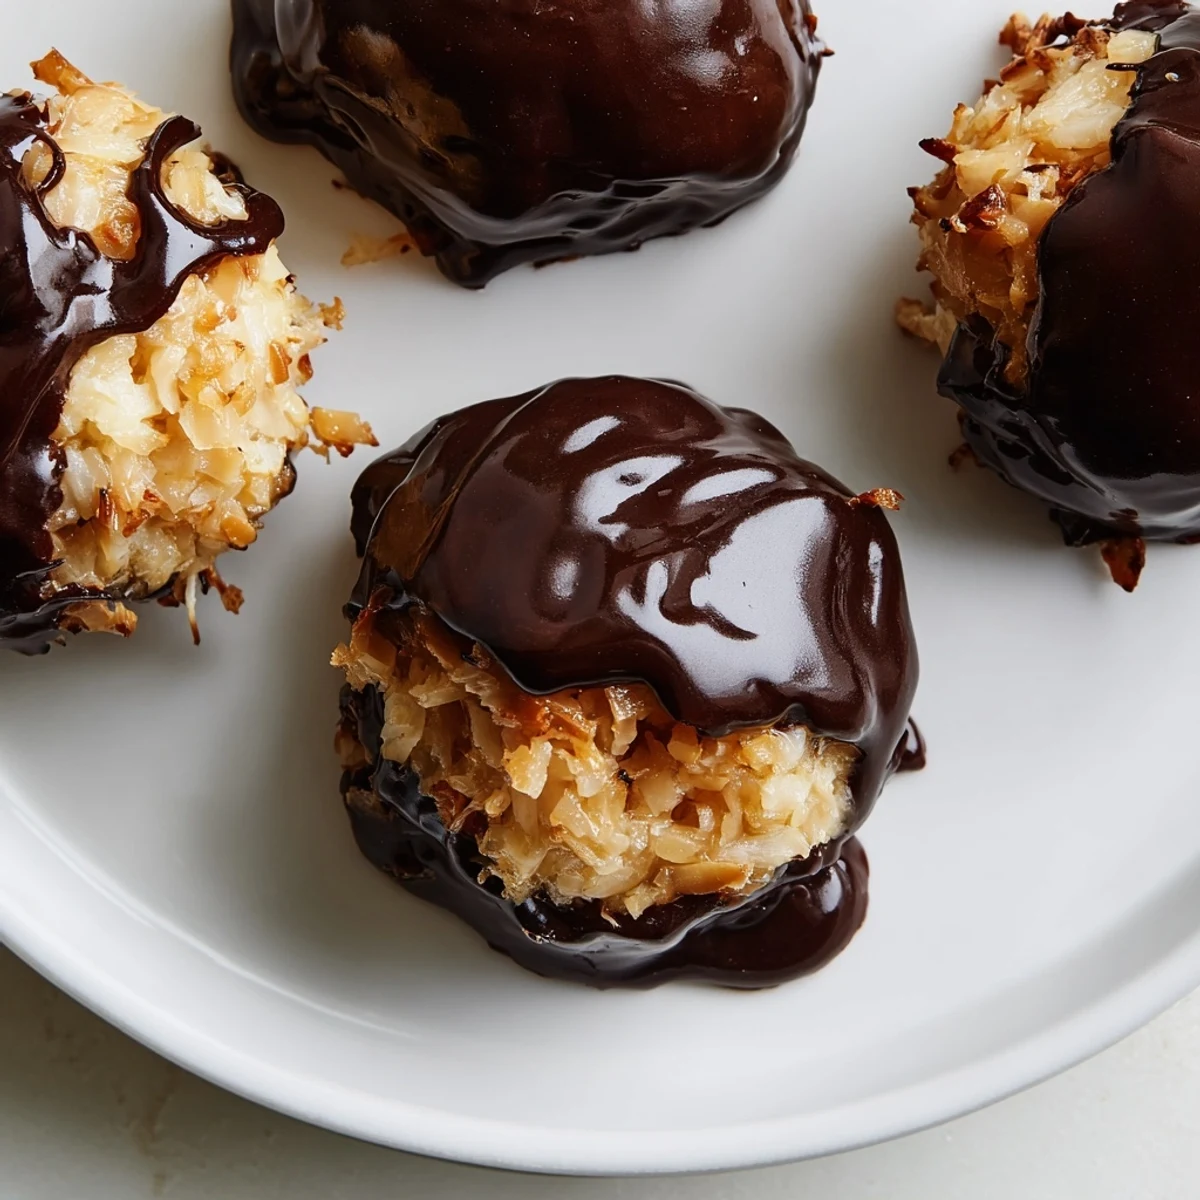
Making Ahead And Storage
These actually develop deeper flavor after sitting overnight so they are perfect for making a day before you need them. I store them in a glass container with parchment between layers and they never stick together or lose their perfect shape.
Serving Suggestions
Serve them slightly chilled straight from the refrigerator for the best snappy chocolate experience. They pair beautifully with a cup of coffee or glass of cold almond milk for an afternoon treat.
- Sprinkle a tiny pinch of flaky sea salt on top before the chocolate sets if you love that salty sweet combination
- Roll the edges in extra toasted coconut right after dipping for an even more impressive presentation
- Package three or four in small cellophane bags tied with twine for the most adorable homemade gift
 Save to Pinterest
 These little bites have become my go to for everything from school bake sales to elegant dinner parties because they please everyone without me spending hours in the kitchen. Hope they become a staple in your home too.
Recipe Questions & Answers
- → How long do these bites need to chill?
-
Refrigerate the finished bites for at least 30 minutes until the chocolate coating is completely set. For firmer texture, you can chill them longer, up to 2 hours.
- → Can I make these ahead of time?
-
Yes, these store beautifully in the refrigerator for up to one week in an airtight container. You can also freeze them for up to three months.
- → What can I use instead of almond butter?
-
Cashew butter, peanut butter, or sunflower seed butter work well as substitutes. Choose creamy varieties for the best texture and adherence.
- → Do I need to toast the coconut?
-
Toasting the coconut for the caramel layer adds wonderful depth and crunch, but untoasted coconut will also work if you're short on time.
- → Why is my mixture too crumbly?
-
If the base mixture isn't holding together, try adding 1-2 teaspoons of water or additional dates. The mixture should be sticky enough to form compact balls.
- → Can I use milk chocolate instead?
-
While dark chocolate provides a nice contrast to the sweet caramel, milk chocolate works perfectly fine if you prefer a sweeter coating.
