 Save to Pinterest
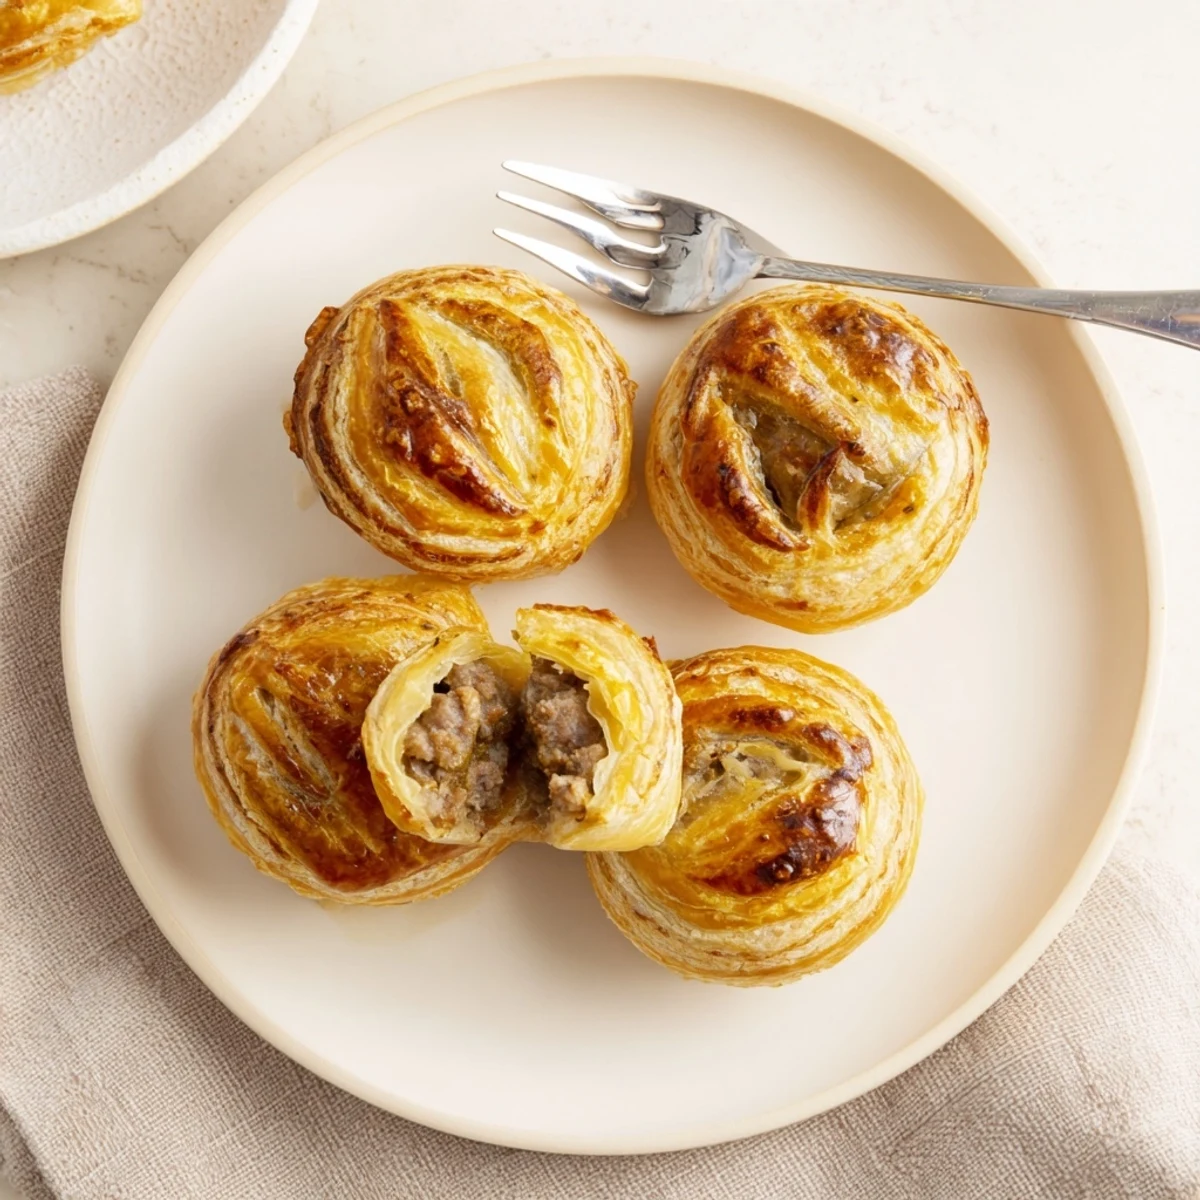
 These handheld pastries combine French puff pastry technique with Vietnamese savory flavors. The filling features seasoned ground pork blended with onions, garlic, soy sauce, and aromatic spices, all encased in buttery, flaky pastry that bakes to golden perfection.
Each batch yields ten individual pastries, making them ideal for meal prep, parties, or satisfying snacks. The pastry shells become irresistibly crisp while the filling remains juicy and well-seasoned.
Beyond the classic pork version, you can easily adapt the filling with ground chicken or turkey. A pinch of five-spice powder adds authentic depth, while a quick egg wash ensures that signature golden sheen.
The kitchen was quiet that Sunday morning when I first attempted Pâte Chaud, those golden Vietnamese-French hand pies that bridge two culinary worlds so perfectly. I had fallen in love with them at a neighborhood bakery in Little Saigon, watching steam curl from the flaky layers as I bit into the savory pork filling. Recreating them at home felt like unlocking a secret language between buttery French pastry and bold Vietnamese seasoning.
My aunt walked in just as I was crimping the edges with a fork, immediately critiquing my technique while simultaneously stealing a piece of raw filling to taste. Thats how I learned the filling needs to be seasoned aggressively because the pastry mutes flavors slightly in the oven. Now whenever I make these, I think of her standing at my counter, teaching me that good food is meant to be shared and judged in equal measure.
Ingredients
- Ground pork: The fat content keeps the filling moist and succulent as it bakes inside the pastry
- Frozen puff pastry sheets: Thaw completely but keep chilled, working quickly prevents butter from melting and ruining those flaky layers
- Soy sauce and oyster sauce: Together they create that perfect umami base that makes Vietnamese savory dishes so craveable
- Cornstarch: Binds the filling juices so your pastry stays crisp instead of getting soggy from the inside out
- Egg wash: The secret to that deep golden bakery finish that makes these impossible to resist
Instructions
- Prepare the savory filling:
- Mix ground pork with onion, garlic, soy sauce, oyster sauce, sugar, black pepper, salt, cornstarch, and sesame oil until everything is thoroughly incorporated and the mixture feels sticky and cohesive.
- Get your oven ready:
- Preheat to 200°C (400°F) and line a baking tray with parchment paper while you work on the pastry assembly.
- Cut your pastry circles:
- Roll thawed puff pastry to about 3 mm thickness on a lightly floured surface, then cut 10 circles using a 9 cm round cutter or a small bowl as a guide.
- Fill and seal the pies:
- Place 2 tablespoons of meat filling in the center of 5 circles, brush edges with beaten egg, cover with remaining circles, and crimp tightly with a fork to seal.
- Apply the golden finish:
- Brush the tops generously with remaining beaten egg, making sure to coat the crimped edges for even browning.
- Bake to perfection:
- Arrange pastries on your prepared tray with space between them, then bake for 20 to 25 minutes until puffed and deeply golden brown.
- Let them rest briefly:
- Cool for just a few minutes before serving to allow the filling to set slightly.
 Save to Pinterest
 These became my go-to contribution to family gatherings after my niece declared them better than the bakery version. Theres something magical about pulling a tray of golden, puffed pastries from the oven and watching everyones faces light up. Now they are requested at every holiday, a small way of bringing our family together across generations.
Making Ahead
You can assemble the entire tray of Pâte Chaud, freeze them on the baking sheet until firm, then transfer to a freezer bag. Bake straight from frozen, adding a few extra minutes to the cooking time. Having a batch ready to go has saved me more times than I can count.
Getting the Perfect Seal
The most common failure point is filling leaking out during baking. I learned to press the edges together firmly before crimping, then give the fork a little wiggle to really seal the layers. Sometimes I double-crimp for insurance on especially full pastries.
Serving Suggestions
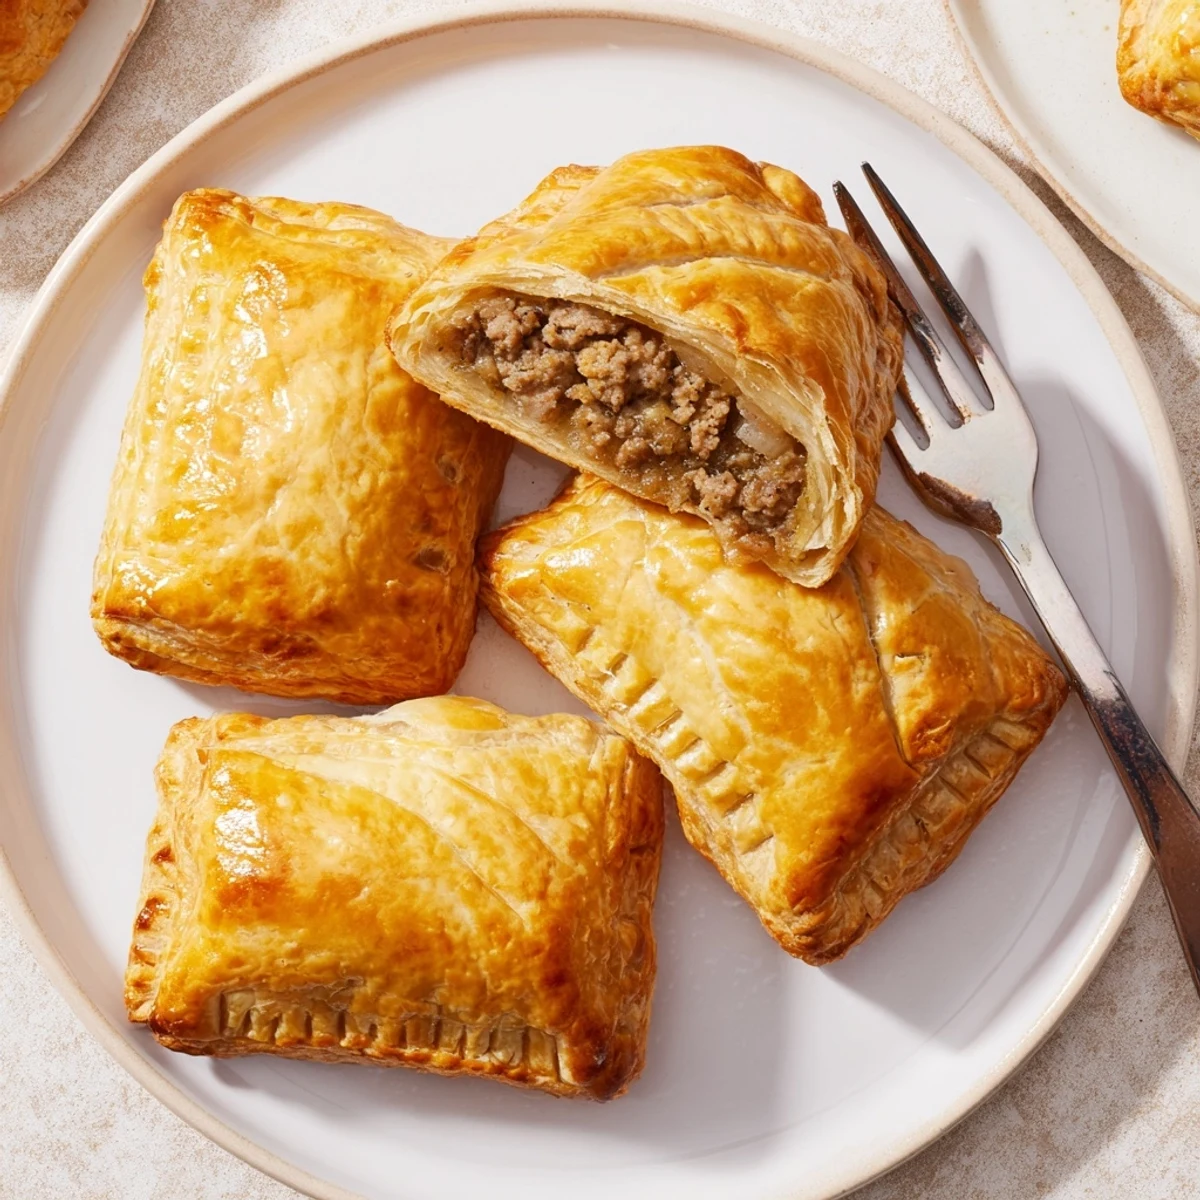
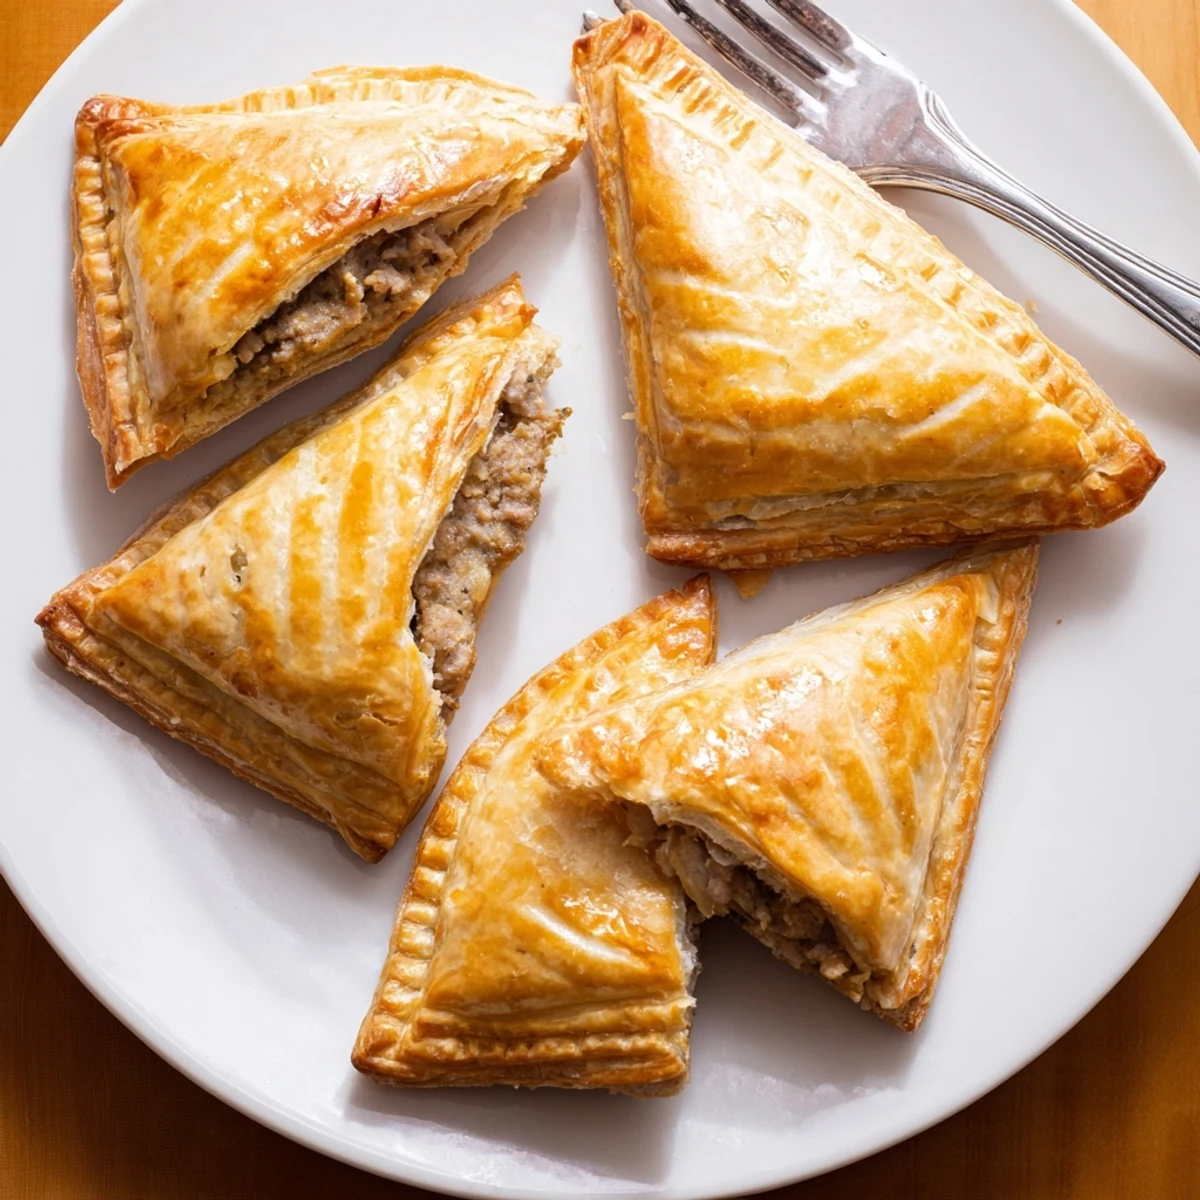
These are delightful on their own but absolutely sing with a bit of spicy chili sauce on the side. At parties I cut them in half to make them go further, revealing that beautiful cross-section of golden pastry and savory filling.
- Try adding chopped wood ear mushrooms to the filling for texture variation
- A pinch of five-spice powder adds an aromatic depth that feels very authentic
- Leftovers reheat beautifully in a toaster oven, keeping the pastry crisp
 Save to Pinterest
 Theres something deeply satisfying about making pastry that tastes like it came from a professional bakery. These Pâte Chaud have become part of my cooking story, a dish that connects me to family traditions while letting me create something new.
Recipe Questions & Answers
- → What does pate chaud mean?
-
Pate chaud translates to 'hot pastry' in French, reflecting its Vietnamese-French colonial heritage. The name describes these warm, flaky handheld pastries filled with savory meat.
- → Can I make these ahead of time?
-
Absolutely. Assemble the pastries and refrigerate unbaked for up to 24 hours. Bake fresh when needed, adding a few extra minutes if baking from chilled. You can also freeze assembled pastries for up to 3 months.
- → What's the best way to seal the edges?
-
Brush beaten egg along the edge of the bottom pastry circle before placing the top layer. Press firmly to seal, then crimp with a fork for both decoration and extra security to prevent filling leakage during baking.
- → Can I use homemade puff pastry?
-
Homemade puff pastry works beautifully if you have the time. However, store-bought frozen sheets deliver excellent results and significantly reduce prep time. Just ensure the pastry is fully thawed but still cold before working with it.
- → What dipping sauces pair well?
-
Traditional Vietnamese serving suggestions include Maggi seasoning, hot chili sauce, or a simple soy sauce dip. The pastries also shine on their own, with the savory filling providing plenty of flavor.
- → How do I know when they're done?
-
The pastries are ready when they're deeply golden brown and puffed up significantly. The pastry should feel crisp and flaky to the touch, with no doughy spots visible. This typically takes 20–25 minutes at 200°C.
