 Save to Pinterest
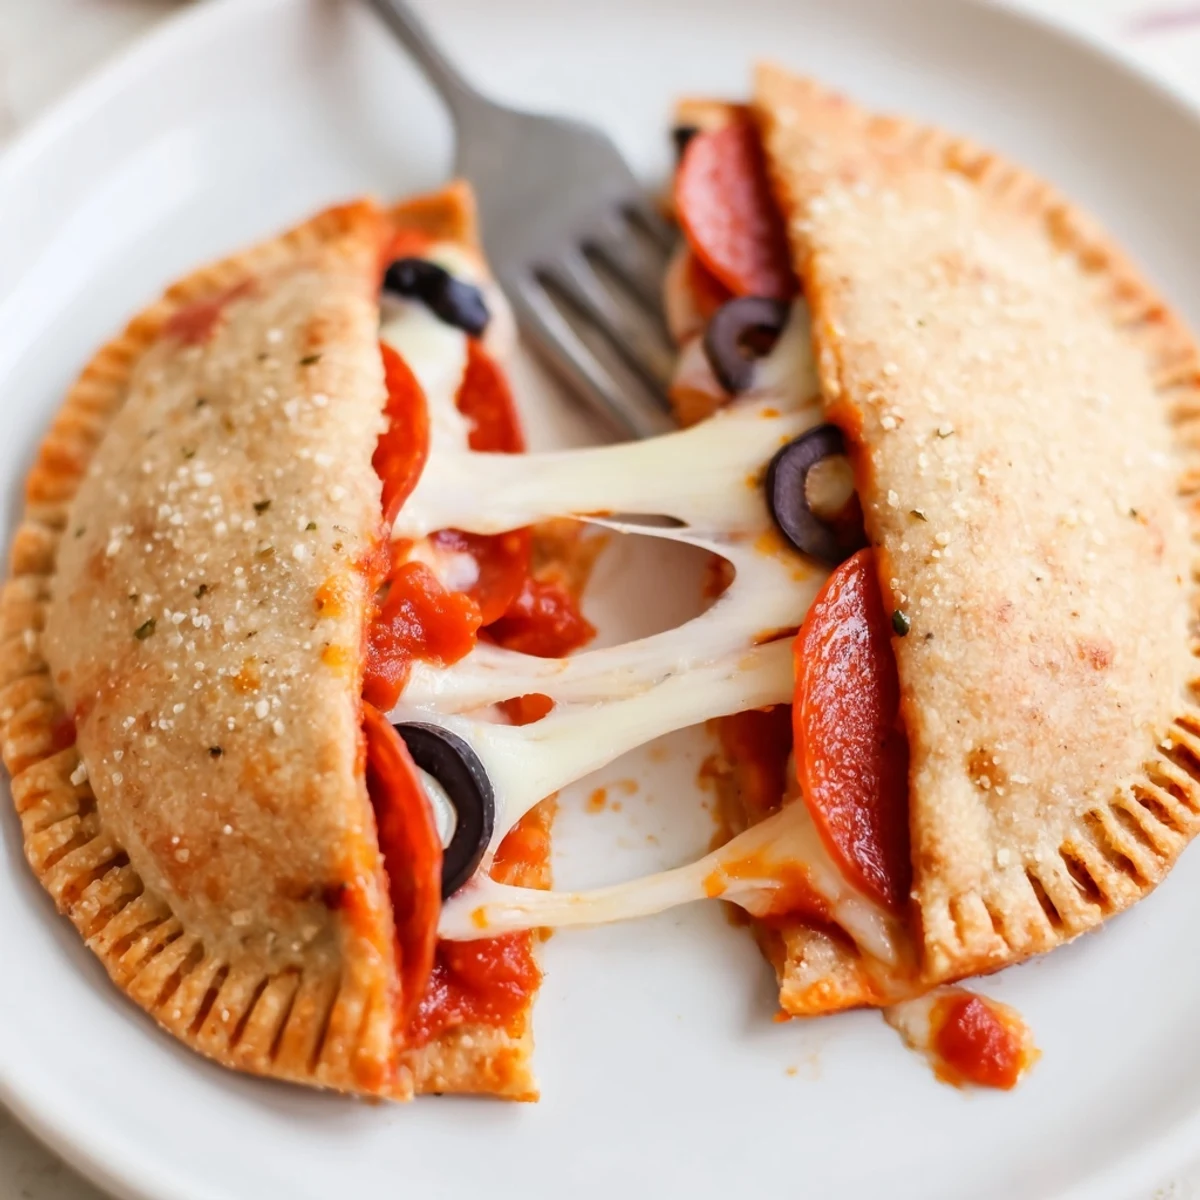
 Quick handheld pockets assembled from sandwich bread, pizza sauce, shredded mozzarella and chosen toppings, then sealed and cooked in a preheated pie iron over medium heat. Prep takes about 10 minutes and cook about 8 minutes for four pockets. Buttering the bread gives a crisp, golden crust; trim edges and rotate the iron for even browning. Great for camp cooking, adaptable with gluten-free bread or plant-based cheese.
You know that unmistakable woodsmoke clinging to your jacket and the excitement of cooking something utterly unfussy outside I think of that every time I use my old pie iron for pizza pockets. The sizzle when the buttered bread hits those hot cast iron plates always draws a curious crowd, whether it's kids or grownups. Something about tailoring your own pocket—picking extra cheese or sneaking in more olives—turns a campfire into a makeshift pizzeria. The best part is watching everyone linger, waiting for theirs with impossibly crispy edges and lava-hot fillings.
One chilly fall weekend, I handed the pie iron and topping bowls to my nieces and their giggling friends around the fire. There was marinara on someone's jeans, and creative combinations ranging from classic pepperoni to a whole cluster of olives in one bite. Our laughter echoed into the dusk as the scent of bubbling cheese kept us circling back for seconds.
Ingredients
- Bread: Regular sliced sandwich bread works best (I've learned not to use ultra-thick slices or you'll struggle to close the iron).
- Pizza sauce: Jarred or homemade both work—spreading to the edges keeps every bite saucy.
- Mozzarella cheese: Pre-shredded for convenience, but hand-grated melts luxuriously and strings better when you pull it apart.
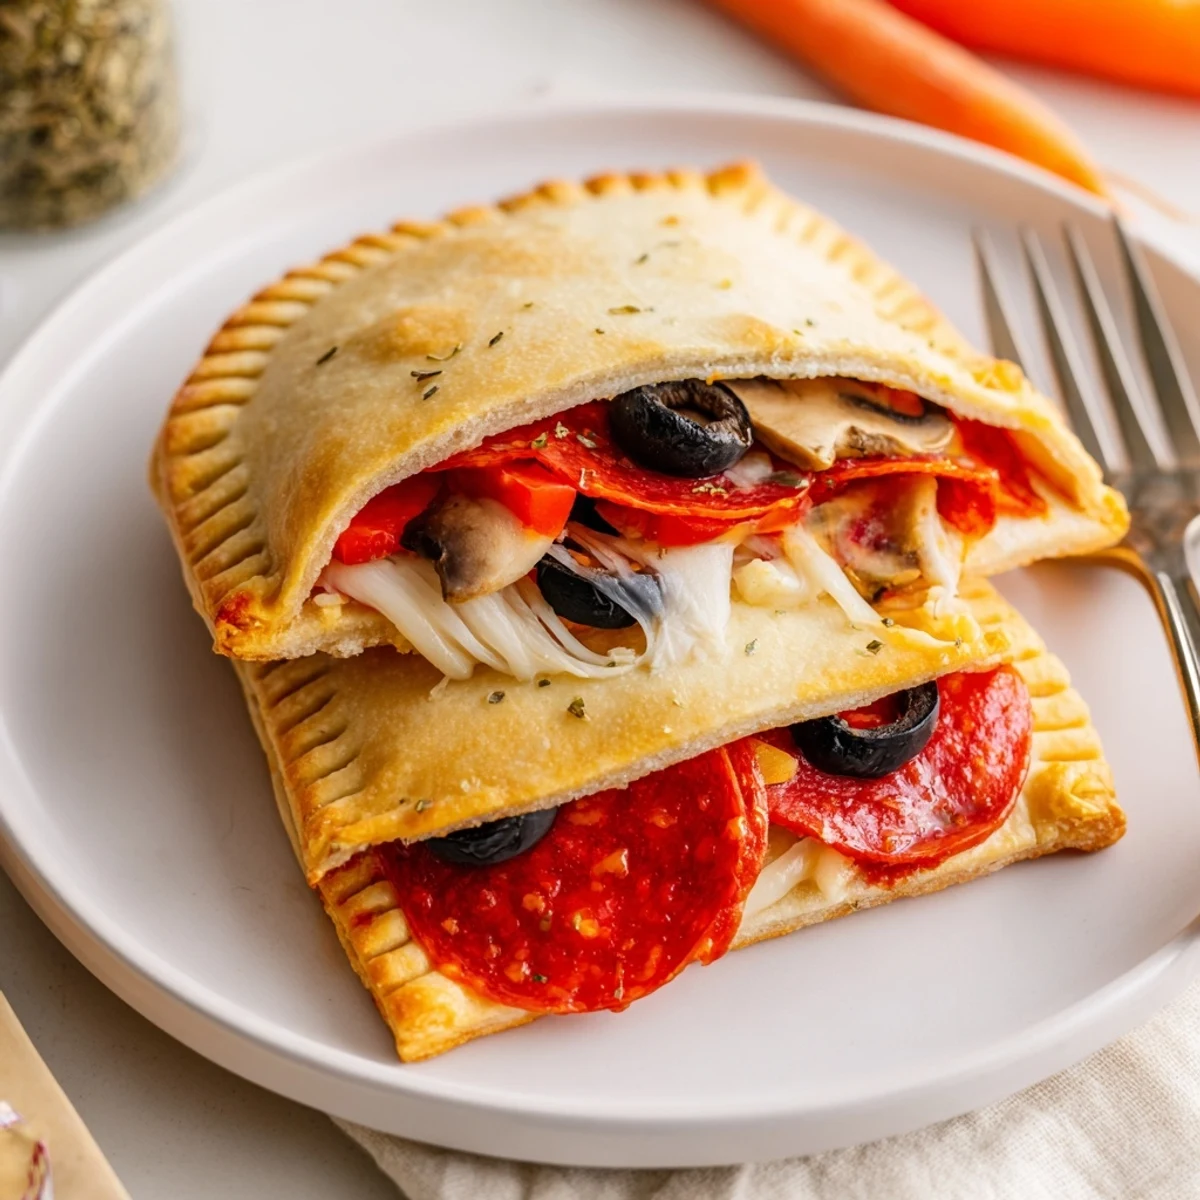
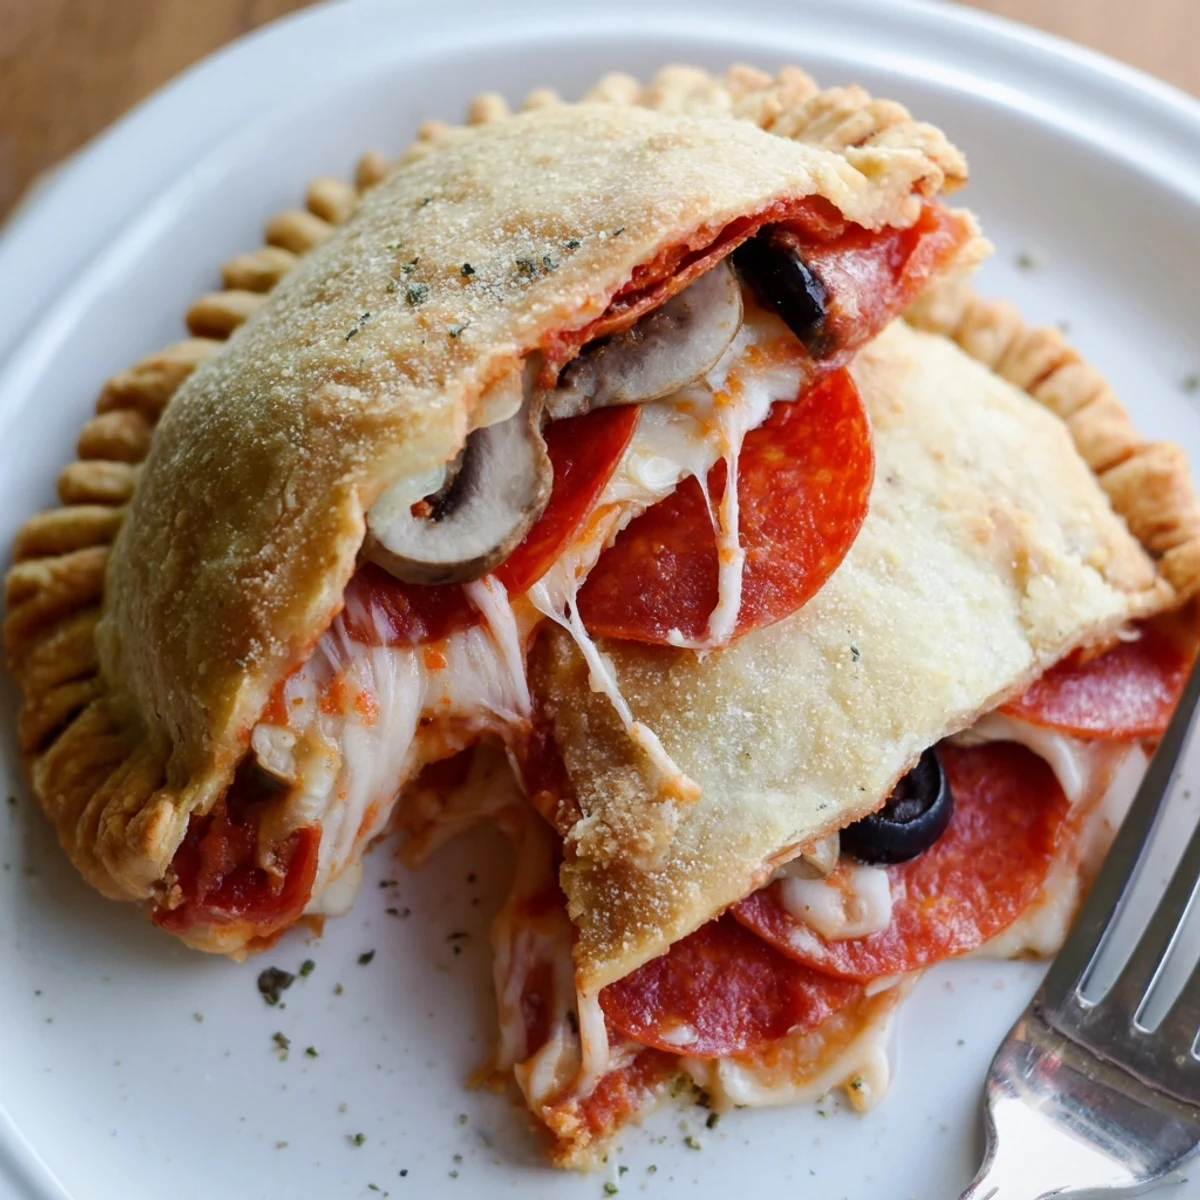
- Toppings: Whether classic pepperoni or inventive veggies, don’t overstuff—I’ve definitely lost a rogue olive to the flames.
- Butter: Brushing melted butter all over guarantees golden, crackly crust and slides out of the pie iron with zero sticking.
- Italian herbs: A sprinkle of dried herbs adds that unmistakable “pizza parlor” aroma as you lift the iron.
Instructions
- Warm up the pie iron:
- Hold your pie iron over the campfire or set it on the stove for 2-3 minutes—it should feel hot to the touch and sizzle water instantly.
- Prep your bread:
- Brush one side of each slice with melted butter, stacking them buttered side up to avoid a greasy mess on your table.
- Layer the fillings:
- Spread a thick layer of pizza sauce on four slices (butter side down), then sprinkle a cushion of mozzarella and add your toppings and herbs if you like.
- Top and close:
- Finish with the matching bread slices, butter side out, then gently nestle the sandwich into the hot pie iron and close firmly. Trim off any extra bread peeking out.
- Fire-cook to perfection:
- Hold the closed iron over medium coals or on a burner, about 3-4 minutes a side, peeking once for a deep golden color with plenty of cheesy bubbles.
- Cool and enjoy:
- Open carefully (the steam is real), slide onto a plate, and let cool for a minute before that first molten bite.
 Save to Pinterest
 Years later, I still get grins and eager questions when a fresh pie iron emerges on group camping trips. For kids, adults, and even myself, it reliably means impromptu stories and someone inevitably asking if there’s one more to go around.
Getting Kids in on the Action
Letting little hands pick their own toppings always leads to funny combos and proud tastes. Setting out bowls of cheese, olives, and sauce turns pizza pockets into a DIY adventure, and the anticipation makes waiting for them that much sweeter.
Campfire Cooking, Minus the Stress
Pie irons are forgiving and low-fuss, with extra crispy edges that never need fancy technique. Cleanup is easy—just brush them out and wipe with oil for next time, no scrubbing required.
Making It Your Own, Indoors or Out
I've made these on stovetops when rain chased us inside, and the outcome is just as gooey and satisfying (plus, no smoky hair). Try pesto instead of pizza sauce or sneak in leftover roasted veggies for a change—there's no wrong way.
- Keep a damp towel nearby: cheese explosions happen.
- Swirl the pie iron in the fire for even browning if your coals are uneven.
- You can make these ahead and reheat in foil if you're feeding a crowd.
 Save to Pinterest
 A pie iron pizza pocket is the easiest way to make friends around a campfire—or your own kitchen table. There’s something about that hot, melty first bite that invites everyone to slow down and simply enjoy.
Recipe Questions & Answers
- → How long should I cook each pocket?
-
Cook each pocket about 3–4 minutes per side over medium heat, or until the bread is golden and the cheese is fully melted. Adjust time slightly for higher or lower heat and check one side before flipping.
- → Can I use a stovetop instead of a campfire?
-
Yes. Preheat the pie iron on the stovetop for 2–3 minutes and cook over medium burner heat. Watch closely to prevent burning and reduce heat if the bread browns too quickly before the cheese melts.
- → How do I prevent soggy pockets?
-
Butter the outer sides of the bread for a barrier, avoid overly wet toppings, drain oily ingredients, and trim any overhanging bread so the iron seals tightly. A slightly higher heat and extra minute can help crisp the crust.
- → What cheeses work best?
-
Shredded mozzarella melts nicely for that classic pull; try a blend with provolone or mild cheddar for extra flavor. Finely shredded or thinly sliced block cheese melts more evenly than thick pre-sliced pieces.
- → Can I prepare these ahead or freeze them?
-
Assemble and freeze uncooked pockets on a tray, then wrap tightly. Cook from frozen, adding a couple extra minutes per side. Alternatively, cook ahead and reheat in a hot skillet or oven to crisp the crust.
- → How can I adapt for gluten-free or dairy-free diets?
-
Use gluten-free sandwich bread and swap to plant-based shredded cheese and a vegan butter alternative for brushing. Ensure fillings and packaged ingredients are labeled gluten-free or dairy-free.
