 Save to Pinterest
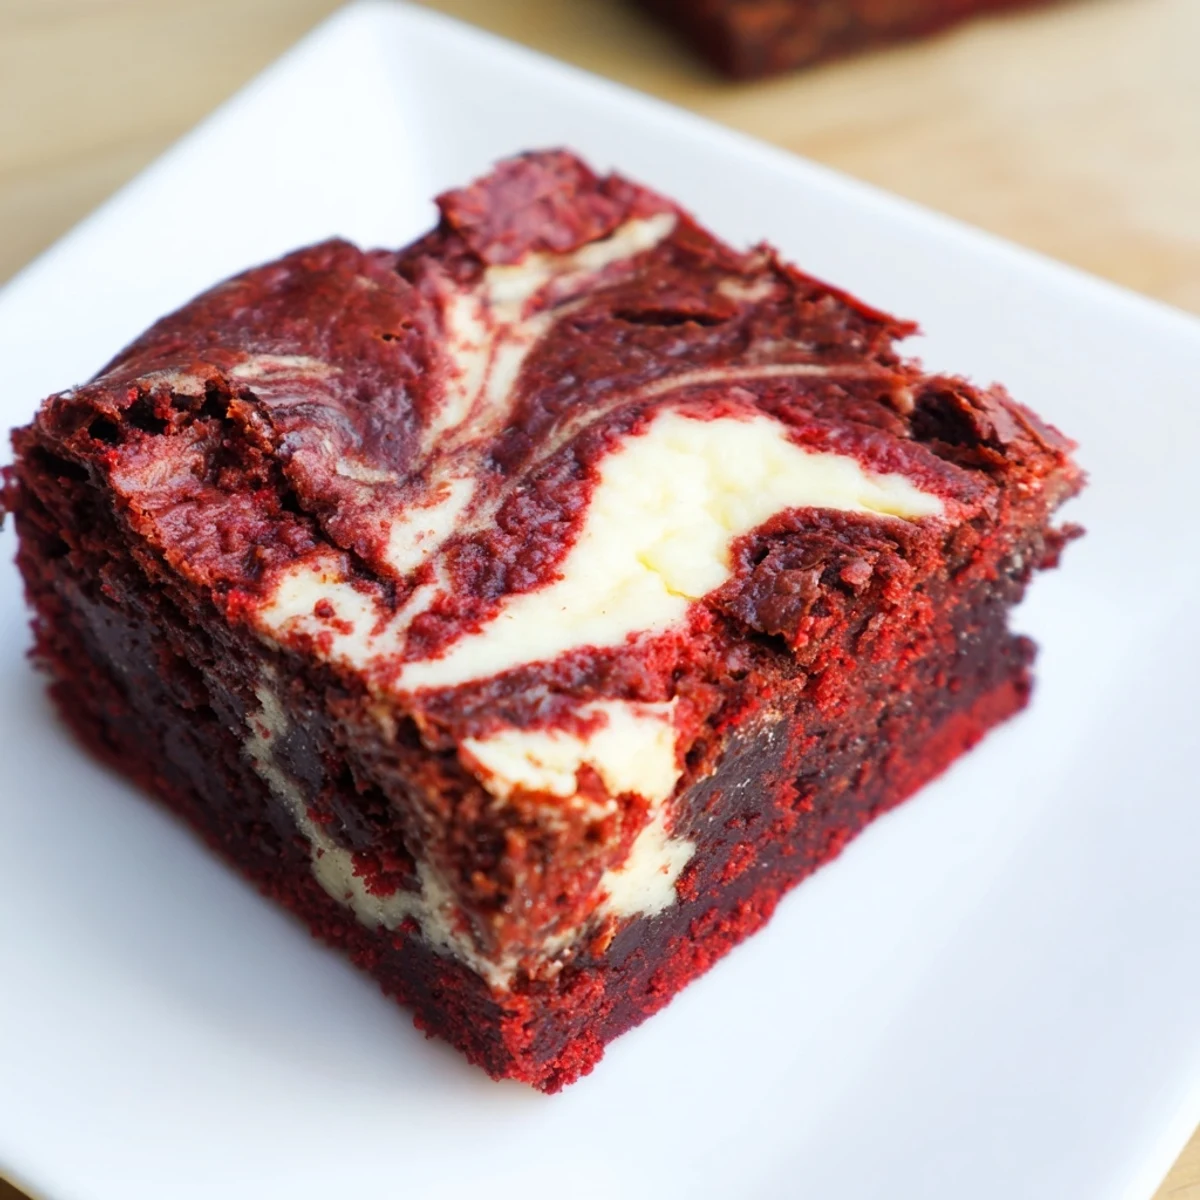
 Experience indulgence with these rich red velvet brownies, enhanced by a smooth cheesecake swirl. The fudgy texture pairs perfectly with the creamy, tangy cheesecake marbling to create a visually stunning and delicious dessert. Crafted with melted butter, cocoa, and vanilla, and balanced with a hint of vinegar, these brownies deliver a moist crumb and deep flavor. Ideal for sharing or pairing with fresh berries or vanilla ice cream, this dessert blends classic American flavors with a decadent twist.
The first time I made these, my kitchen looked like a crime scene with red specks everywhere, but one bite of those marbled squares made every paper towel worth it. My roommate walked in, took one look at the swirling patterns, and asked if I'd secretly become a pastry chef overnight. We ate them warm while watching movies, and I've never seen brownies disappear so fast in my life.
I brought these to a friend's birthday potluck last winter, and three different people asked for the recipe before they even finished their first square. Someone joked they should be illegal because they're dangerously addictive. The best part was watching people's faces light up when they cut into that first slice and saw the marble pattern inside.
Ingredients
- Unsalted butter: Melt it gently and let it cool slightly so it doesn't cook your eggs when you mix everything together
- Red food coloring: Gel coloring gives you that vibrant restaurant quality red without needing as much liquid
- Distilled white vinegar: This reacts with the cocoa to enhance that classic red velvet flavor you know and love
- Cream cheese: Soften it completely at room temperature so your swirl stays silky smooth without any lumps
- All purpose flour: Measure it by spooning into your cup and leveling off, don't scoop directly or you'll pack too much in
Instructions
- Prep your pan and oven:
- Set your oven to 350°F and line an 8x8 inch baking pan with parchment paper, letting the edges hang over like handles so you can lift the whole thing out later like a pro.
- Mix the brownie batter:
- Whisk melted butter with both sugars until combined, then beat in eggs, red food coloring, vanilla, and vinegar until smooth. Sift in flour, cocoa, and salt, then fold gently until just combined.
- Make the cheesecake swirl:
- Beat softened cream cheese with sugar, egg yolk, and vanilla until completely smooth and creamy, about 2 minutes.
- Layer and marble:
- Spread most of the brownie batter in your prepared pan, dollop spoonfuls of cheesecake mixture on top, then add small dots of reserved brownie batter. Run a knife through everything in a figure eight pattern just once or twice.
- Bake to perfection:
- Bake for 32 to 36 minutes until the center is just set and a toothpick comes out with moist crumbs, then cool completely before slicing into clean squares.
 Save to Pinterest
 My mom called me the day after I first made these, asking if there was any way I could ship some across the country because she couldn't stop thinking about them. Now they're her go to request for every family gathering, holiday, or random Tuesday when she needs something special.
Getting The Perfect Marble
The trick to those beautiful swirls is not overthinking it. Drop your cheesecake mixture in uneven spoonfuls across the brownie batter, then add small dots of the reserved red velvet batter. One or two figure eight motions with a knife or skewer is all you need to create those gorgeous ribbon like patterns. Less swirling actually looks more professional and keeps distinct layers of flavor.
Storage and Serving
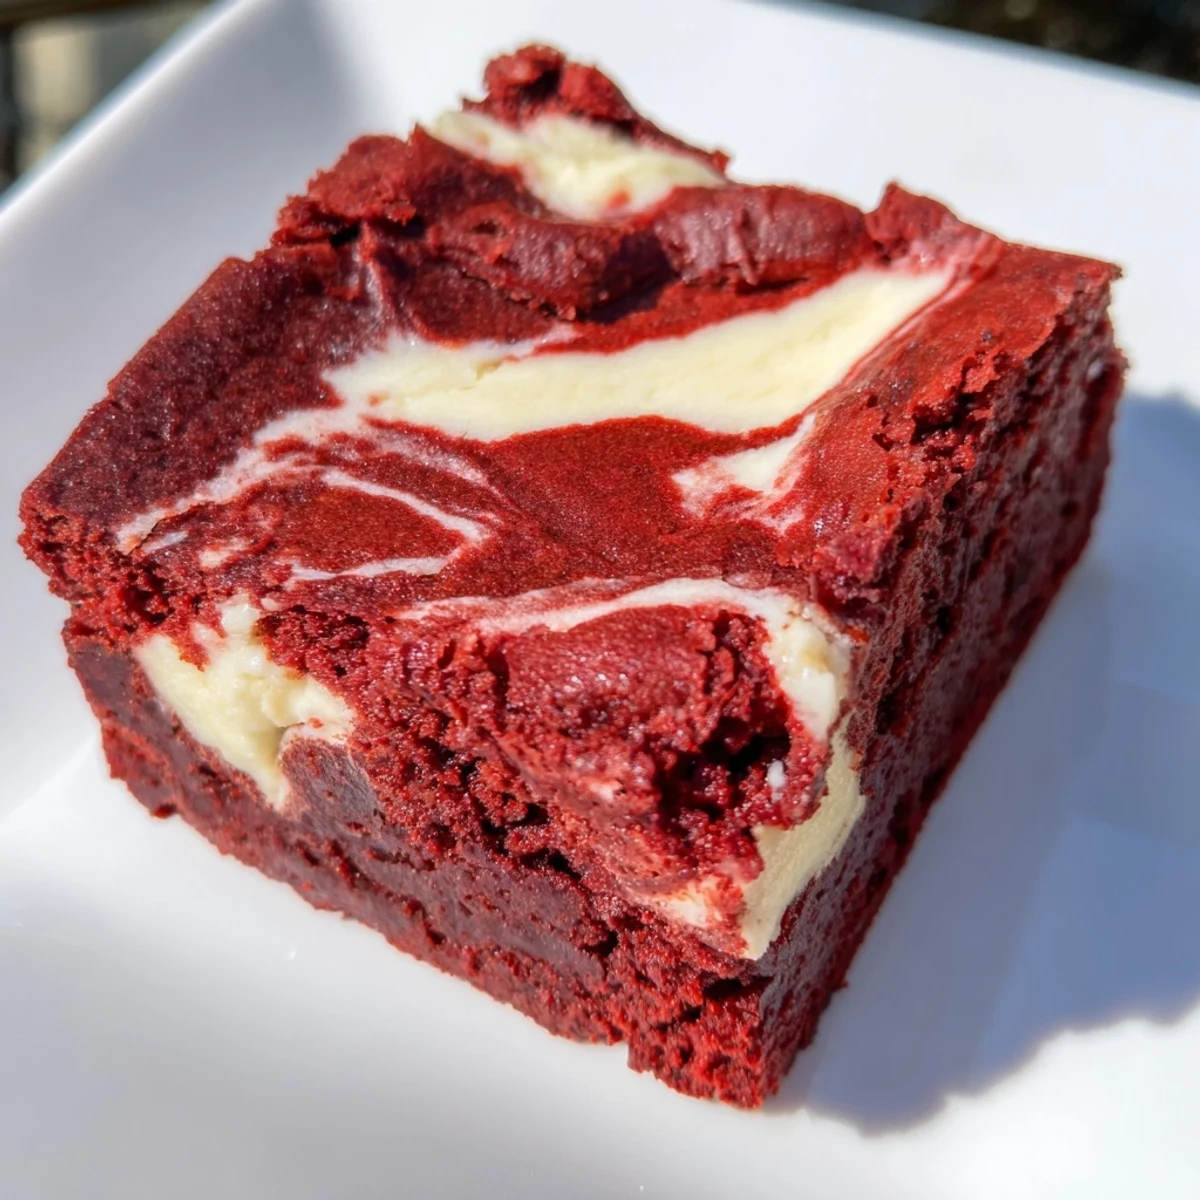
These brownies are actually at their best after chilling overnight in the refrigerator. The cold firms up the cheesecake layer and makes cutting perfectly clean squares effortless. Serve them at room temperature for the fudgiest texture, or slightly chilled if you prefer a denser bite. They'll keep covered in the fridge for up to five days, though I've never seen them last past day three in my house.
Ways to Customize
Once you have the basic technique down, these brownies are incredibly forgiving to experimentation. The red velvet and cheesecake combination is classic, but there are so many ways to make it your own based on what you have in your kitchen or what flavors you're craving.
- Swap the red coloring and cocoa for melted dark chocolate in the brownie base
- Add a teaspoon of espresso powder to the cheesecake mixture for a mocha version
- Top with white chocolate chips after swirling for extra texture and sweetness
 Save to Pinterest
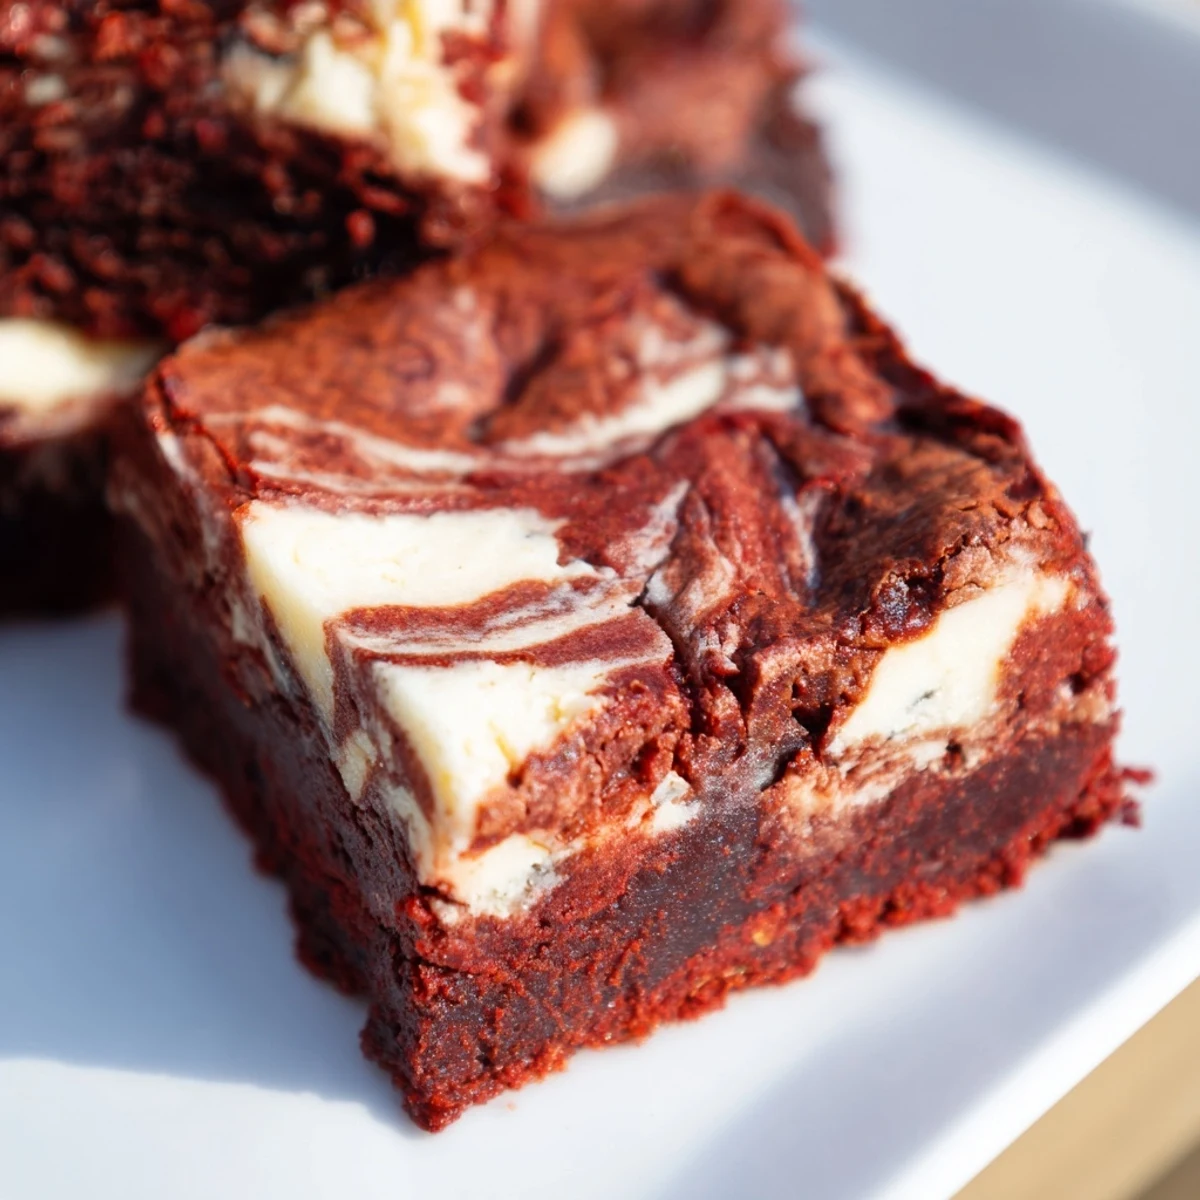
 There's something deeply satisfying about cutting into that first cooled square and seeing the perfect marbled pattern you created. These brownies have become my secret weapon for everything from potlucks to midnight cravings, and I hope they find their way into your regular rotation too.
Recipe Questions & Answers
- → What gives the brownies their red color?
-
The vibrant red hue comes from red food coloring, which is added to the batter to achieve the signature red velvet appearance.
- → How is the cheesecake swirl made?
-
The swirl is created by blending cream cheese, sugar, egg yolk, and vanilla until smooth, then gently swirling it into the brownie batter before baking.
- → Can these brownies be stored after baking?
-
Yes, they can be stored covered in the refrigerator for up to five days while maintaining freshness and flavor.
- → What tools are needed for preparation?
-
An 8x8-inch baking pan, mixing bowls, a whisk or spatula, and optionally an electric mixer, along with parchment paper and a knife or skewer for swirling.
- → How do I ensure a moist and fudgy texture?
-
Using melted butter, folding the batter gently, and avoiding overmixing help maintain a moist crumb and fudgy consistency.
- → Can I substitute the food coloring?
-
Gel food coloring is recommended for a brighter red tone, but alternatives may alter both color and texture slightly.
