 Save to Pinterest
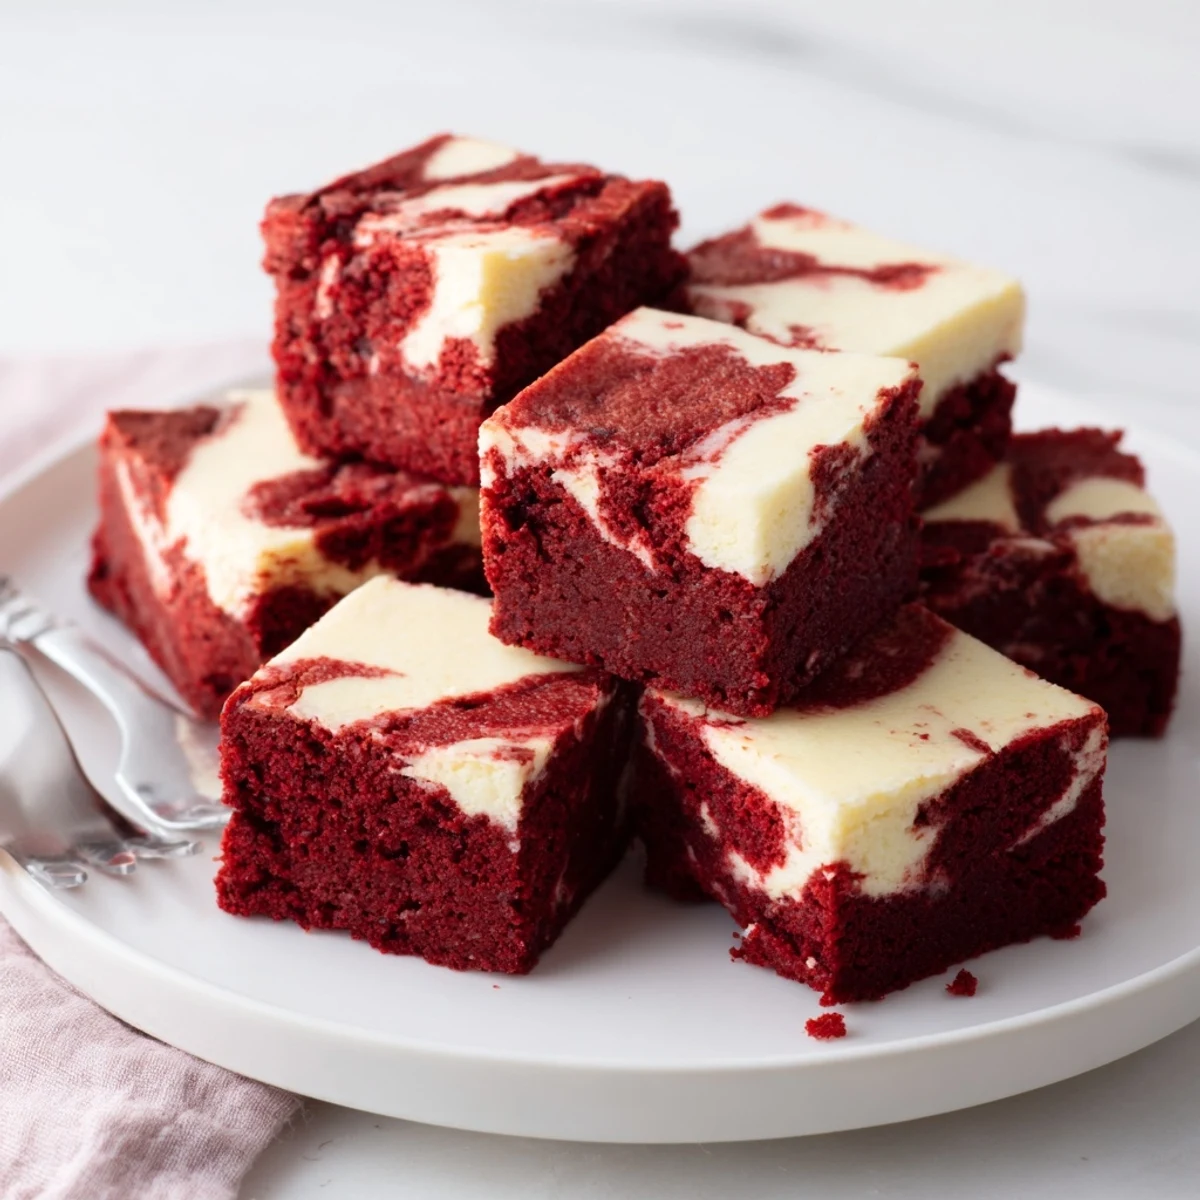
 These red velvet brownies combine a moist, cocoa-infused base with a creamy cheesecake swirl, creating an elegant marbled dessert. The batter is gently folded to maintain fluffiness, then baked until just set for the perfect texture. Cream cheese is softened and mixed with sugar, egg yolk, and vanilla, then spooned over the brownie layer and swirled together for a visually stunning finish. Cooling before slicing ensures clean squares, perfect for serving with fresh berries or a dusting of powdered sugar.
My sister called me at 11 PM one Tuesday, breathless about a red velvet dessert she'd tasted at a new bakery downtown. She described it as somewhere between a brownie and a piece of cheesecake, with this stunning marbled pattern that made it look like something from a fancy magazine. I spent the next three days in my kitchen, covered in red food coloring and cream cheese splatters, trying to reverse engineer the magic she'd raved about.
I brought my fourth attempt to a friend's birthday dinner, secretly nervous they'd turn out dry or the swirl would look messy. When someone asked if I'd ordered them from a boutique bakery, I knew I'd finally cracked the code. Now they are my go to for anything that calls for something impressive but deeply comforting.
Ingredients
- Unsalted butter: Melt it completely and let it cool slightly so it does not scramble the eggs when you mix everything together
- Red food coloring: Gel coloring works better than liquid for a deeper red without adding extra moisture to the batter
- Cocoa powder: Sift it first to avoid any stubborn lumps that will create dry spots in your brownies
- Cream cheese: Leave it out on the counter for a full hour so it blends into a silky smooth swirl layer
- Egg yolk only: Using just the yolk in the cheesecake portion makes it richer and helps it set without becoming rubbery
Instructions
- Prep your pan and oven:
- Parchment paper is non negotiable here because those cheesecake pockets love to stick. Leave those wings hanging over the sides like a little sling.
- Mix the red velvet base:
- Whisk your melted butter and sugar until you cannot feel any sugar grains at all. The batter will turn a gorgeous glossy red when you add the coloring.
- Fold in the dry ingredients:
- Sift everything in and use a spatula with a light hand. Overmixed brownie batter equals tough brownies nobody wants.
- Reserve some batter:
- That quarter cup you save will create those beautiful red ribbons on top of the white cheesecake swirl.
- Make the cheesecake layer:
- Beat that cream cheese until it is absolutely smooth before adding anything else. Lumpy cream cheese does not disappear in the oven.
- Create the marble:
- Drop alternating spoonfuls of cheesecake and reserved red velvet batter over the base. Drag a knife through once or twice but resist the urge to over swirl or you will lose the definition.
- Bake until just set:
- The center should still have a slight wobble like gelatin when you gently shake the pan. They continue cooking as they cool.
 Save to Pinterest
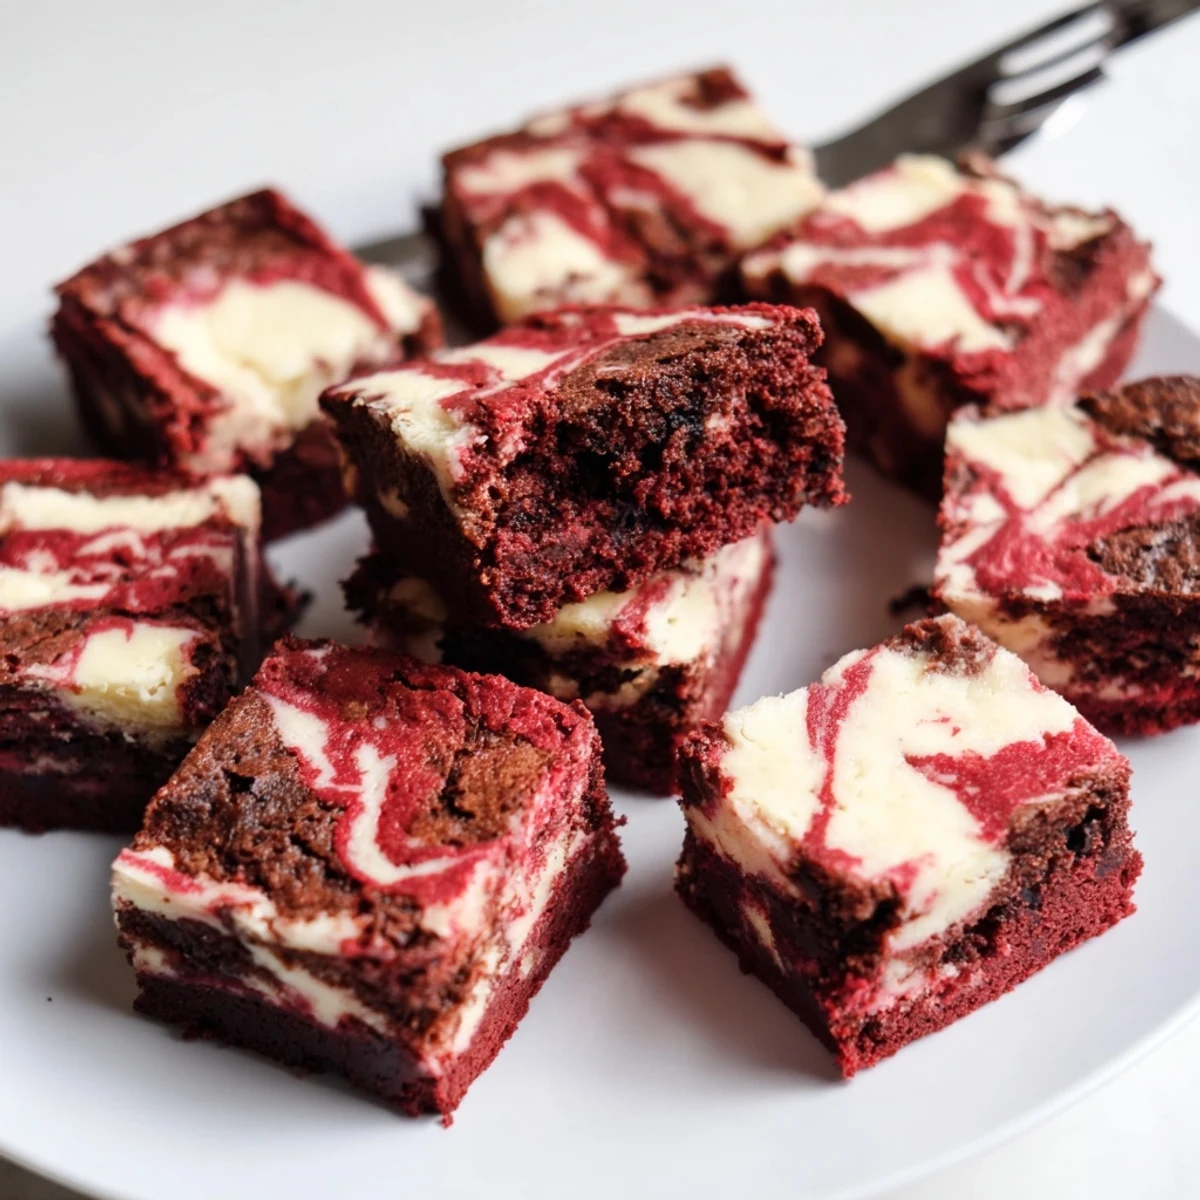
 These have become my emergency dessert for every occasion from potlucks to Valentine's Day. Something about that red and white pattern makes people feel special before they even take a bite.
Getting The Perfect Swirl
I used to go crazy with the knife and create a muddy mess instead of those distinct ribbons. Now I limit myself to three figure eight motions total and walk away. Less is truly more when you want that restaurant quality marble pattern.
Storage and Make Ahead
These actually improve after a night in the refrigerator because the flavors meld together. I have kept them for up to five days though they rarely last past day two in my house. For longer storage wrap individual squares and freeze them.
Serving Suggestions
A dusting of powdered sugar makes them look even more stunning though I am partial to a dollop of whipped cream. Fresh berries add brightness that cuts through all that rich chocolate and cream cheese.
- Bring to room temperature for 20 minutes before serving for the best texture
- A glass of cold milk or hot coffee perfectly balances the sweetness
- Cut them small because these are incredibly rich
 Save to Pinterest
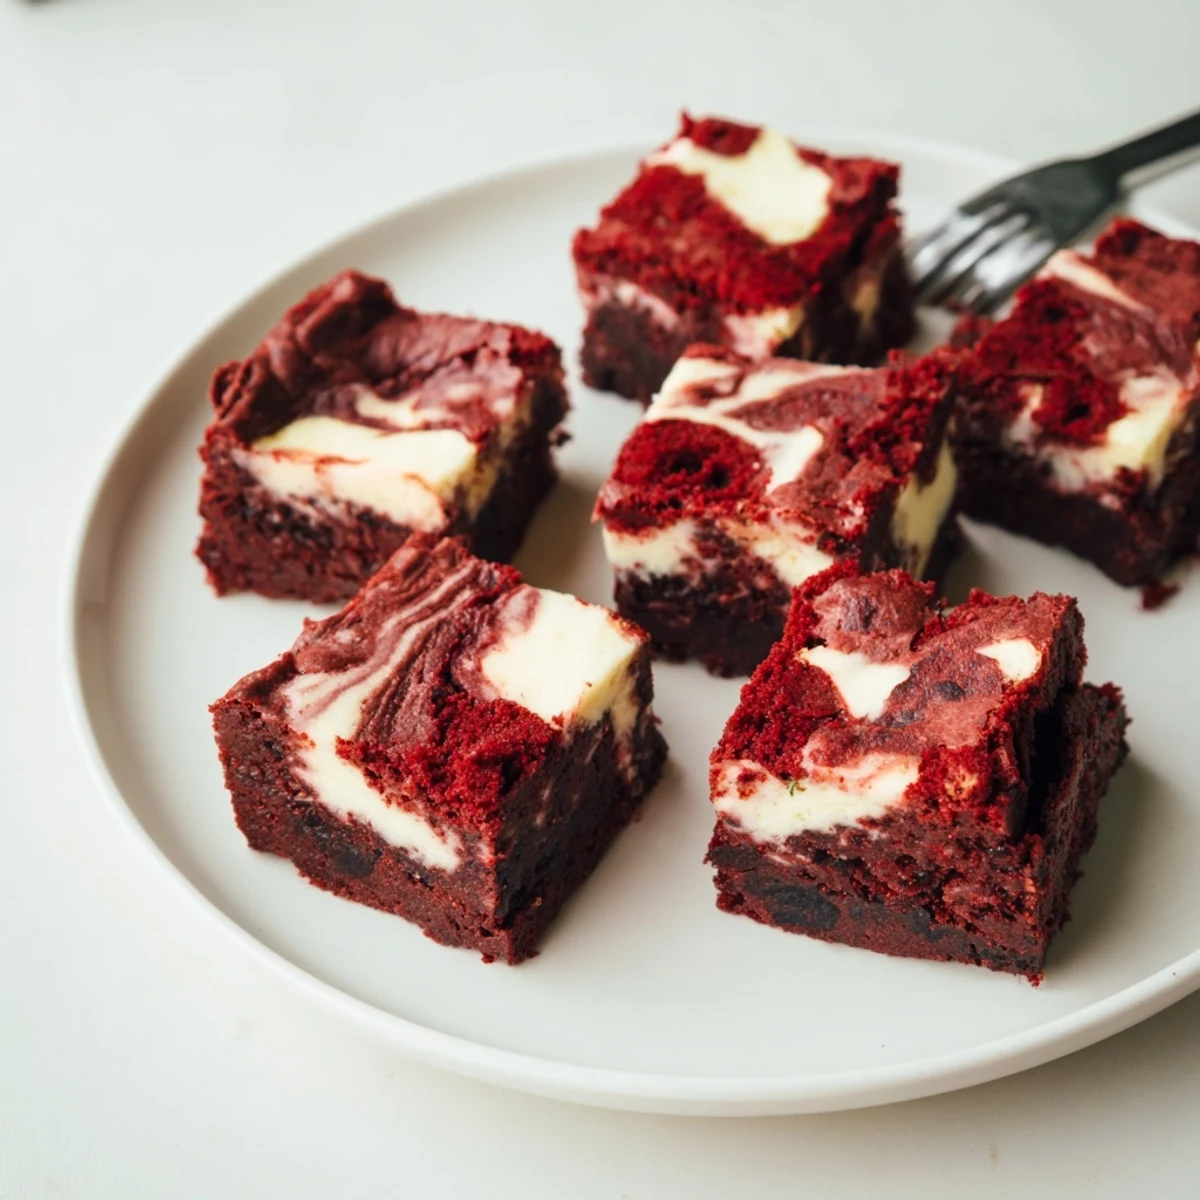
 There is something so satisfying about cutting into that first square and seeing the pattern you created. These never fail to make people smile.
Recipe Questions & Answers
- → What gives the brownies their red color?
-
The vibrant red color comes from the added red food coloring combined with cocoa powder for the classic red velvet look and flavor.
- → How do you achieve a smooth cheesecake swirl?
-
Beating cream cheese until smooth before adding sugar, egg yolk, and vanilla ensures a creamy mixture that can be easily dropped and swirled into the brownie batter.
- → Can the texture be made fudgier?
-
Adding mini chocolate chips to the batter enhances the chocolate richness and increases fudginess without altering the swirl effect.
- → How should the brownies be cooled before slicing?
-
Allow brownies to cool completely in the pan to set properly; chilling them afterwards helps achieve cleaner slices without crumbling.
- → What equipment is needed for the swirl technique?
-
A skewer or knife is ideal for gently swirling the cheesecake into the brownie batter to create a marbled pattern.
