 Save to Pinterest
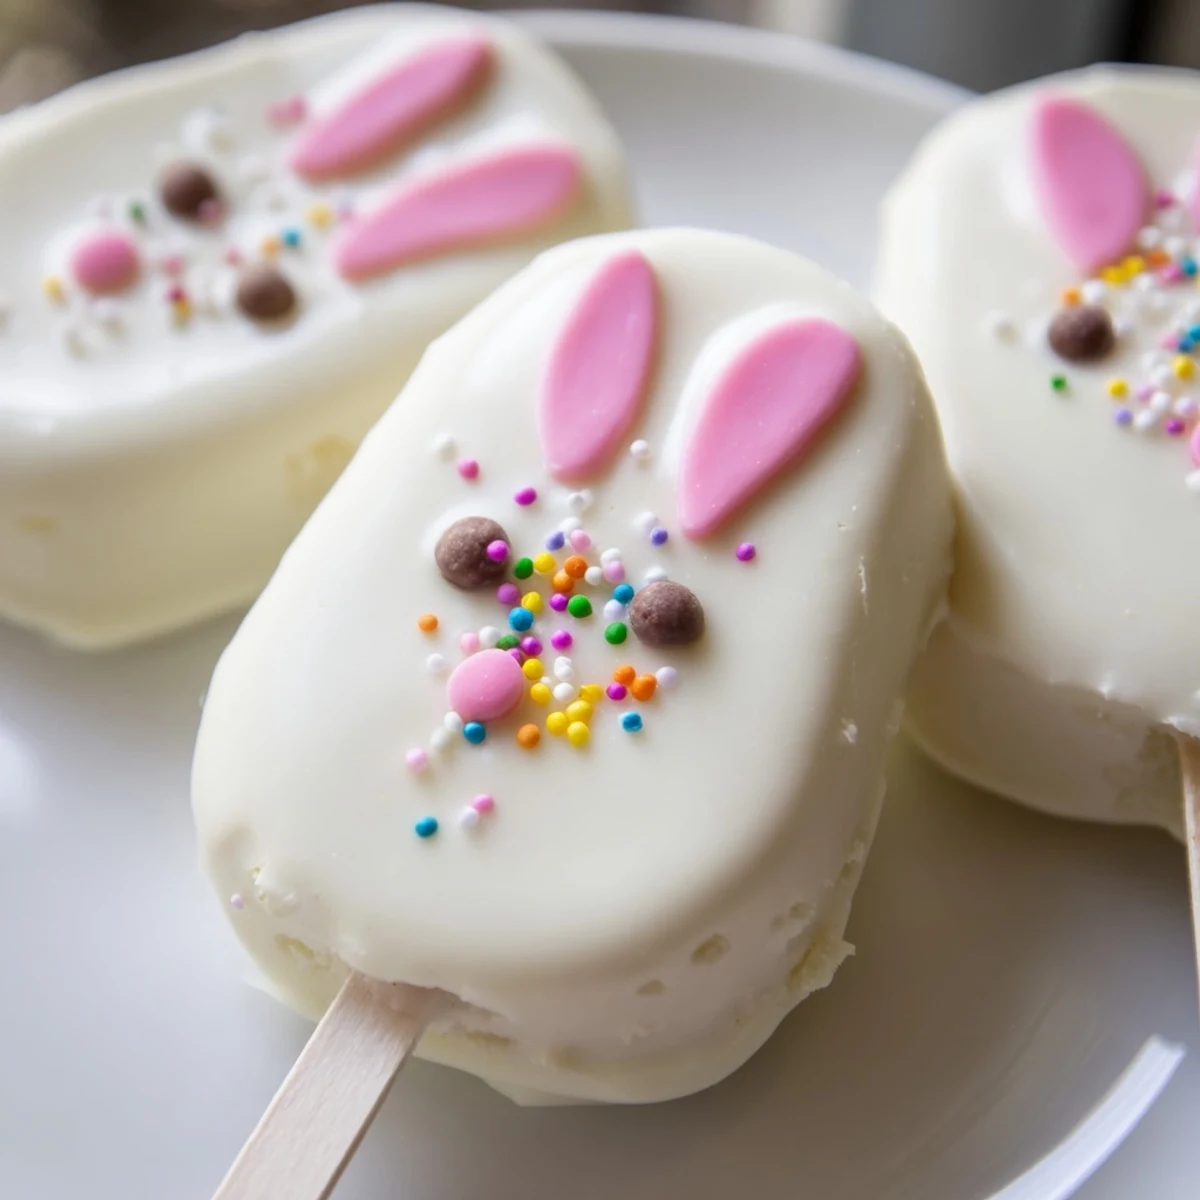
 These charming bunny-shaped cakesicles combine moist vanilla cake with a rich white chocolate coating, creating the perfect festive treat for your Easter celebration. The delightful combination of creamy cake crumbs blended with cream cheese and butter creates a tender interior, while the smooth white chocolate exterior provides satisfying sweetness and a beautiful canvas for decoration.
Perfect for both kids and adults, these handheld treats are easy to customize with colorful sprinkles, candy eyes, and fondant bunny ears. The preparation is simple—mix, shape, chill, dip, and decorate—making them an ideal project for family baking time or Easter gatherings.
Last Easter my niece grabbed a still-wet chocolate bunny ear and announced she wanted to make her own. We ended up with sticky fingers and these cakesicles, and honestly they have become more requested than the actual Easter baskets.
The first batch I made had droopy bunny ears because I did not let the cake centers firm up enough in the fridge. Now I know that twenty minutes of patience makes the difference between sad floppy bunnies and perky festive ones that actually stand up on the serving tray.
Ingredients
- Vanilla cake crumbs: The foundation of these treats, use leftover cake or bake a simple vanilla sponge specifically for this
- Cream cheese and butter: These bind the crumbs together into a moldable dough that holds its shape perfectly
- Powdered sugar: Adds just enough sweetness without making the cake mixture too dense
- Vanilla extract: A little splash enhances the cake flavor throughout the centers
- White chocolate: Melts beautifully and creates that gorgeous white canvas for bunny decorations
- Edible gel food coloring: Essential for pink bunny noses and any colorful ear details
- Cakesicle sticks: Make sure to insert these before coating so the centers stay secure
- Sprinkles and candy eyes: The personality makers that turn these into actual bunny faces
Instructions
- Mix the cake centers:
- Combine cake crumbs, cream cheese, butter, powdered sugar and vanilla until the mixture holds together like soft dough
- Shape the bunnies:
- Divide into eight portions and flatten each into an oval face shape about half an inch thick
- Add the sticks:
- Press a cakesicle stick into the bottom third of each shape and place on a parchment-lined tray
- Chill thoroughly:
- Refrigerate the shapes for at least twenty minutes so they are firm enough to dip without falling apart
- Melt the white chocolate:
- Heat white chocolate in thirty second bursts, stirring between each until completely smooth
- Dip and coat:
- Hold each cake pop by the stick and dip into the melted chocolate, tap gently to remove excess coating
- Decorate immediately:
- While the chocolate is still soft, add candy eyes, sprinkle whiskers and any fondant bunny ears
- Set and serve:
- Let the chocolate harden at room temperature or in the fridge for five minutes before serving
 Save to Pinterest
 My mom admitted she originally thought these were too much work until she saw how quiet the kitchen got when all six grandkids were decorating their own bunnies. Now she asks me to bring the supplies three days before Easter.
Making Ahead And Storage
I learned the hard way that these do not survive overnight at room temperature. The white chocolate gets soft and the cake centers start weeping moisture which makes the coating streaky and sad.
Flavor Variations
Chocolate cake crumbs with white chocolate coating creates an amazing cookies and cream vibe. Lemon cake with white chocolate and pastel sprinkles feels extra springlike and fresh.
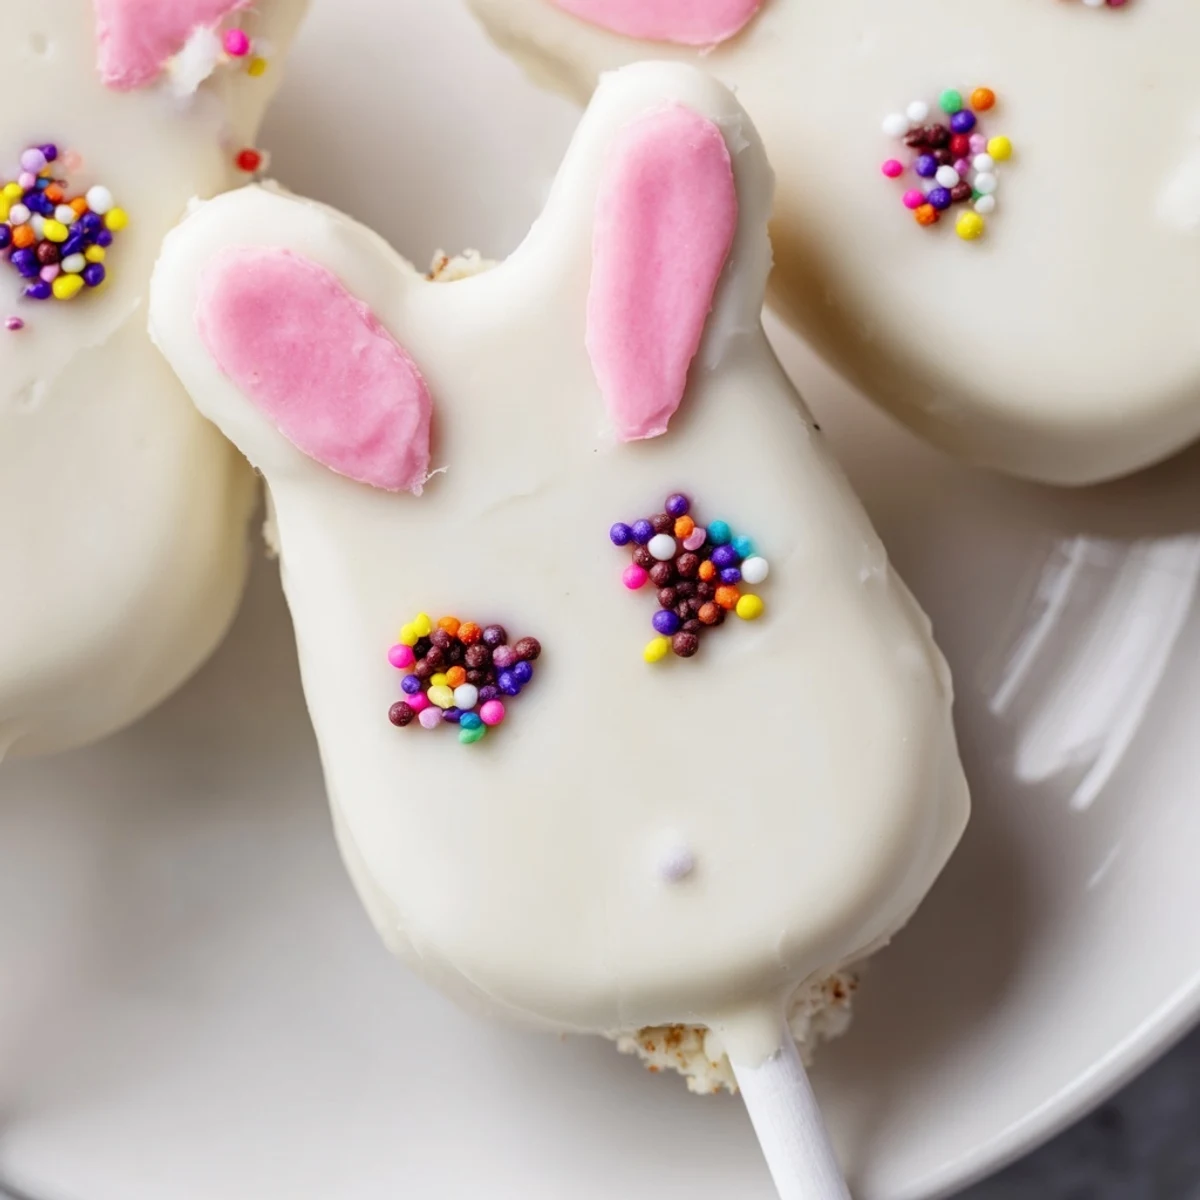
Decorating Tricks
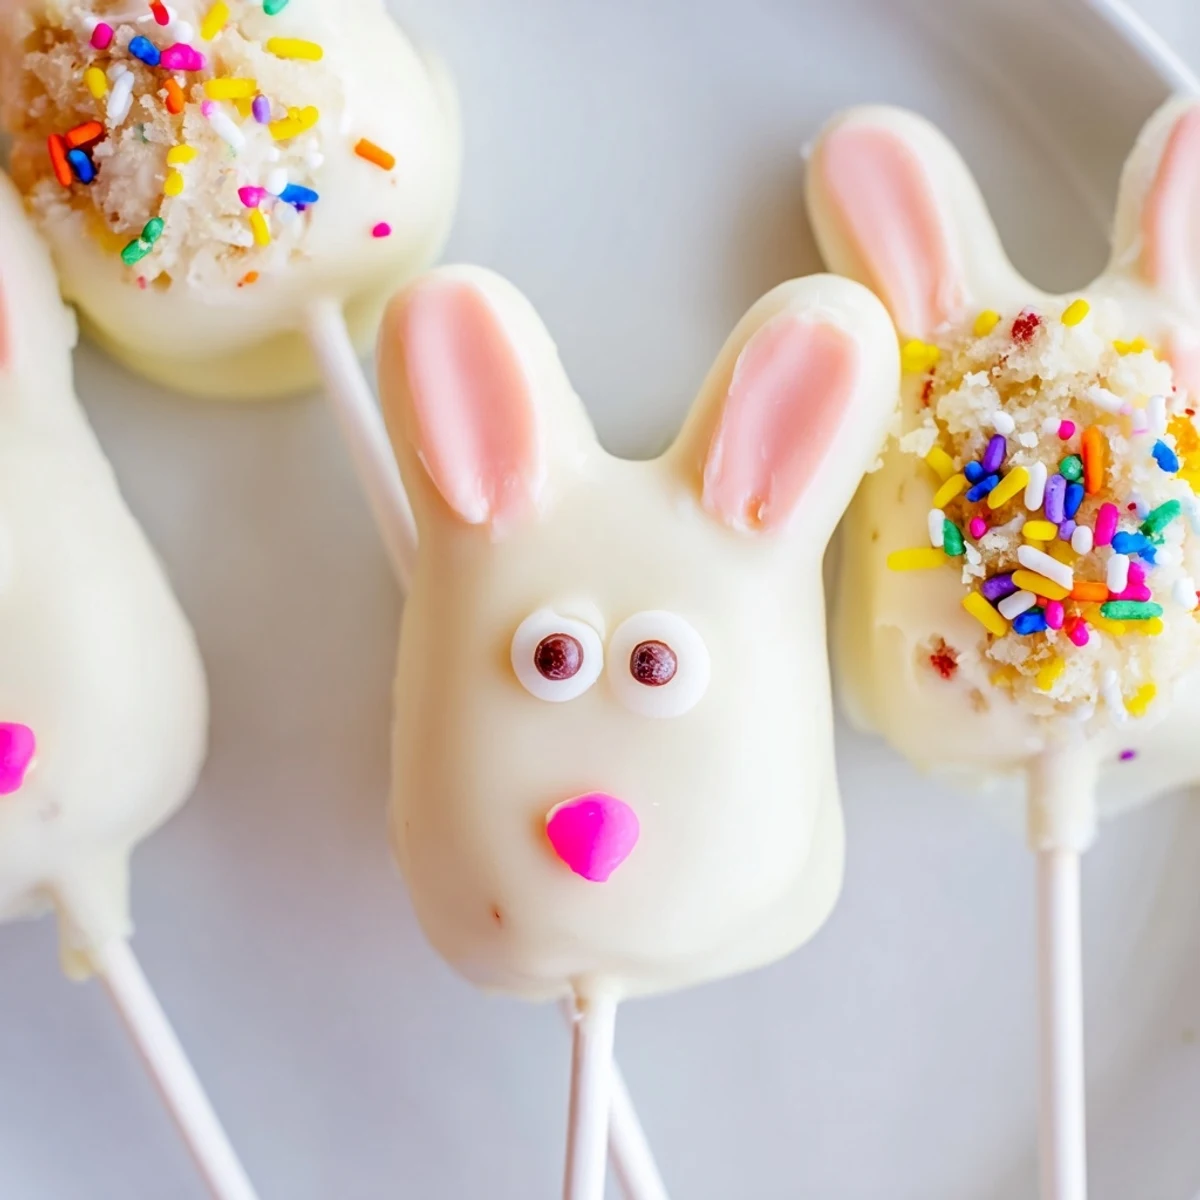
After dozens of batches I have found that less is actually more with these bunny faces. One candy suggestion that works consistently well is using heart sprinkles sideways for adorable pink bunny noses.
- Apply candy eyes while the chocolate is still wet so they stick properly
- Draw whiskers with food coloring pens after the coating has fully set
- Use mini marshmallow halves for cute puffy bunny tails on the back of each cakesicle
 Save to Pinterest
 These have officially replaced dyed eggs at our Easter brunch because everyone actually wants to eat them. Happy baking and may your bunnies be perky and your chocolate be smooth.
Recipe Questions & Answers
- → How far in advance can I make bunny cakesicles?
-
These cakesicles stay fresh for up to 3 days when stored in an airtight container in the refrigerator. You can prepare them the day before your Easter celebration, though they're best enjoyed within 24-48 hours for optimal texture and freshness.
- → Can I use different cake flavors besides vanilla?
-
Absolutely! Chocolate, lemon, red velvet, or funfetti cake crumbs work wonderfully. The white chocolate coating pairs beautifully with most cake flavors, allowing you to customize based on your preferences or what you have available.
- → What's the best way to melt white chocolate for coating?
-
Melt white chocolate in a microwave-safe bowl in 30-second intervals, stirring between each burst. This prevents overheating and seizing. If the chocolate seems too thick for dipping, add a teaspoon of vegetable oil or coconut oil to achieve a smooth, dippable consistency.
- → Do I need a cakesicle mold to make these?
-
While a cakesicle mold helps create uniform shapes, it's not essential. You can hand-shape the cake mixture into flattened ovals or bunny face forms, then insert the sticks. The molded versions just provide more consistent sizing and professional-looking results.
- → How can I prevent the sticks from falling out?
-
After inserting the sticks into the shaped cake mixture, refrigerate for 20-30 minutes until firm before dipping. This chilling step helps the cake set around the stick, creating a secure hold. When coating, let a small amount of chocolate cover the base of the stick where it meets the cake for extra stability.
- → What decorations work best for bunny faces?
-
Candy eyes, pink sprinkles or confetti for noses, and fondant or modeling chocolate shaped into ears create classic bunny faces. You can also use edible food coloring markers to draw whiskers and expressions. Pretzel sticks dipped in pink chocolate make adorable ear alternatives.
